Using the Raspberry Pi Ground Station
A Raspberry Pi 3B or 3B+ can be used as a Ground Station for the CubeSat Simulator.
This assumes you have setup and configured your Raspberry Pi Ground Station.
In order to connect to the Raspberry Pi Ground Station, you will need SSH client software. This is built in to Linux and Mac computers, but on Windows, you will need to download and install PuTTY. Follow the instructions here https://www.chiark.greenend.org.uk/~sgtatham/putty/latest.html
Make sure your GL AR-150 WiFi hub is powered up and the CubeSatSim WiFi is active. Make sure SD card is inserted in Raspberry Pi. Connect your Raspberry Pi power supply. If you have a wired Ethernet connection, connect it to the Ethernet jack on the Pi. Your Pi will turn on as soon as power is supplied. After about 30 seconds, you will be able to login using SSH.
In order to login to the Pi, you will need to join the same WiFi network as the Pi and you will need to know the IP address of the Pi. On a PC or laptop, join the CubeSatSim WiFi network. The password is written on the WiFi hub. On the Pi case will be written the IP address of the Pi - it will be in the form of 192.168.8.xxx where xxx is a number from 0 to 255. The login password will also be written there.
Run your SSH client or open PuTTY. In the Hostname or IP Address field, type in the address of the Pi. Leave the port at the default of 22. Click the Open button, and a black window will open and prompt you for a username. Type pi then hit enter. Next, enter the password. You should see a login screen - you are now connected to the Pi.
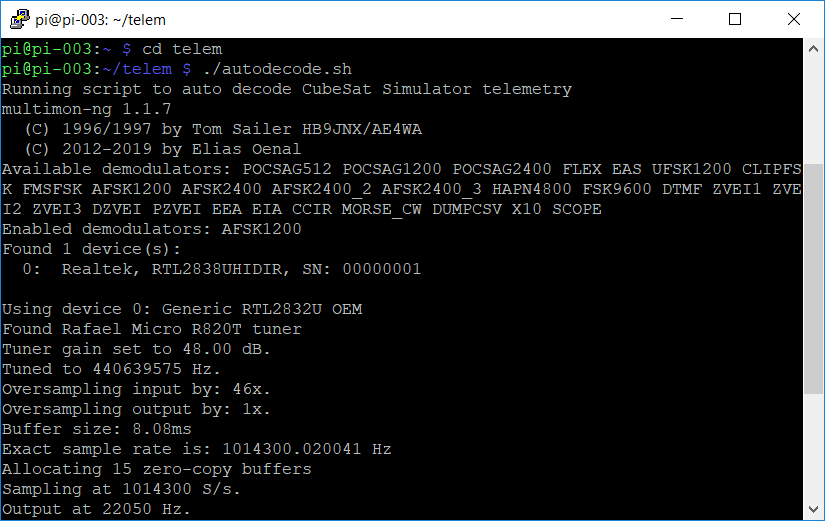
Once you have used PuTTY to SSH into the Raspberry Pi, you can run the auto decode script. When you have a command prompt, such as pi@pi-003: type
cd telem
then type
./autodecode.sh

and you will see the startup results:
If the CubeSat Simulator is transmitting telemetry, you will see packets decoded like this:
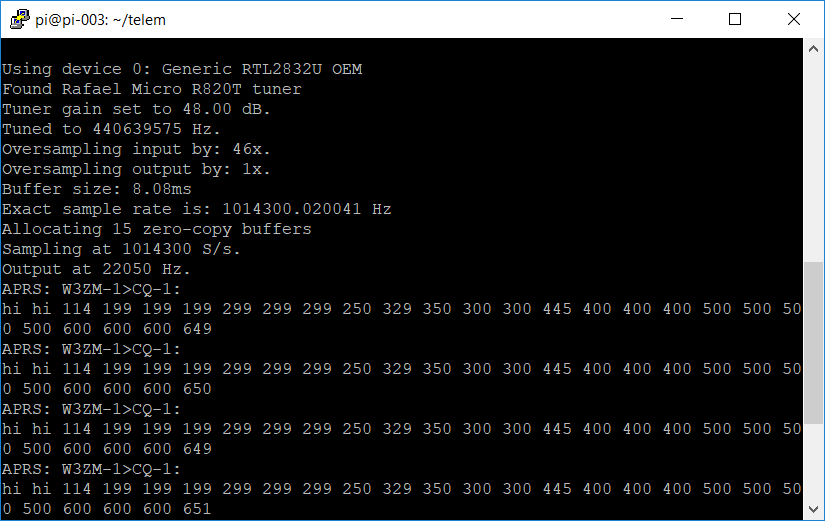
After you have enough packets decoded, hit Control-C to stop the decoding. You can then select and copy and paste them into a spreadsheet for analysis.
VNC is a great way to remotely access your Pi Ground Station. Download and install the software from https://www.realvnc.com. Run VNC Viewer after joining the CubeSatSim Wifi. On the Connect line, enter the IP address of the Pi, a colon, then 5900 then enter:
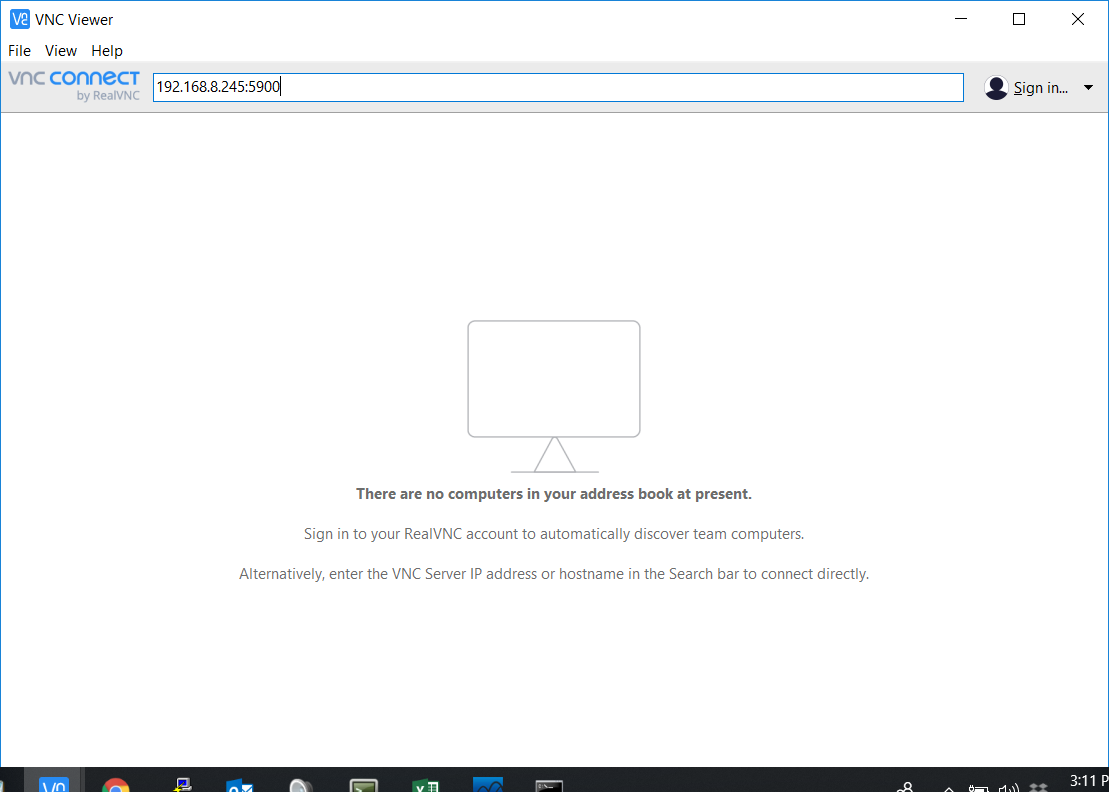
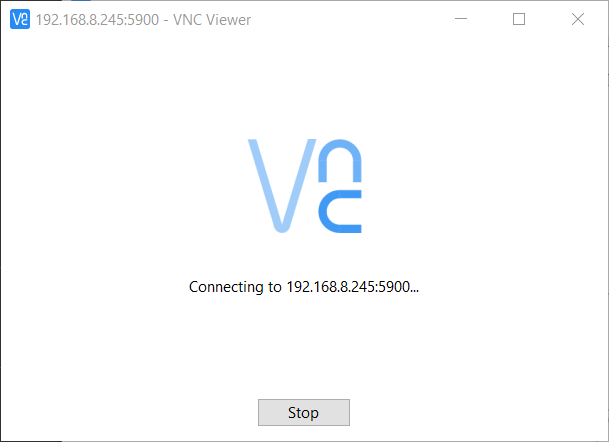
You will get a Connecting message
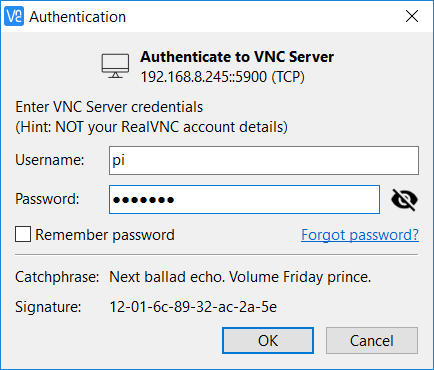
If this is your first time connecting, you will be prompted for the username (pi) and password of the Pi:
Once connected, you will see the Raspberry Pi deskop as if you have an HDMI monitor connected!
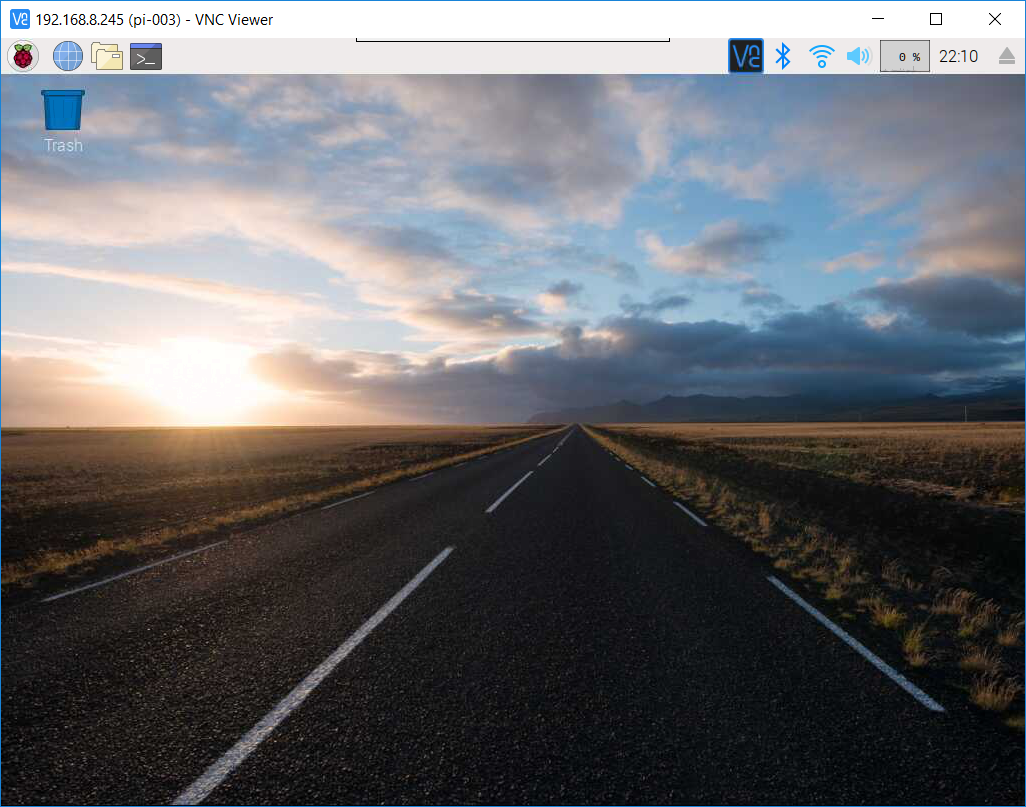
Note that VNC does not give you access to the sound from the Raspberry Pi.
From VNC, you can run a terminal window by clicking on a black window icon at the top and run ./autodecode.sh to decode the telemetry.
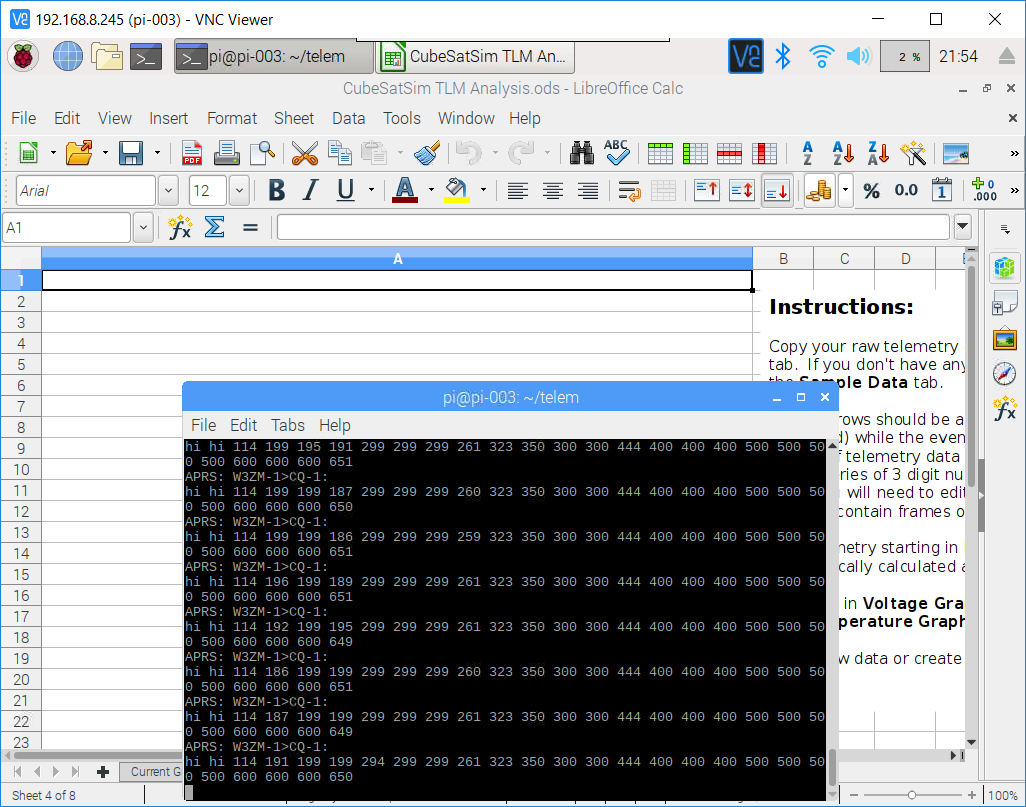
After enough telemetry has been decoded, type Control-C to stop the decoding. Then highlight the desired telemetry, and right click and select Copy.
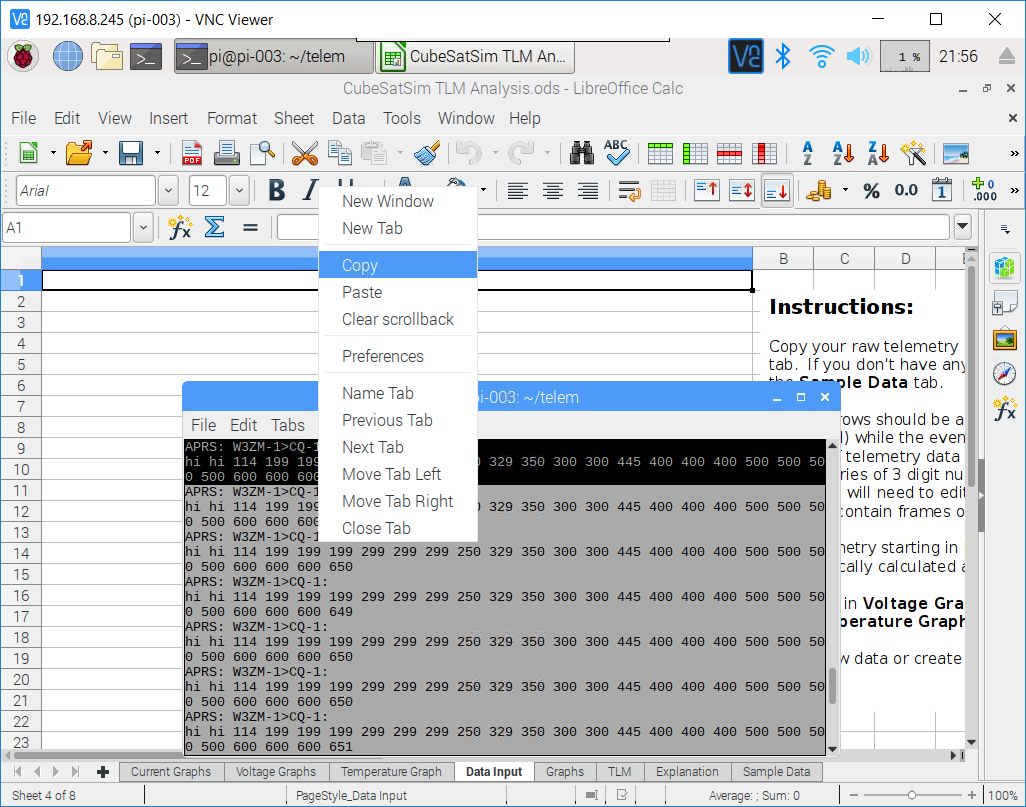
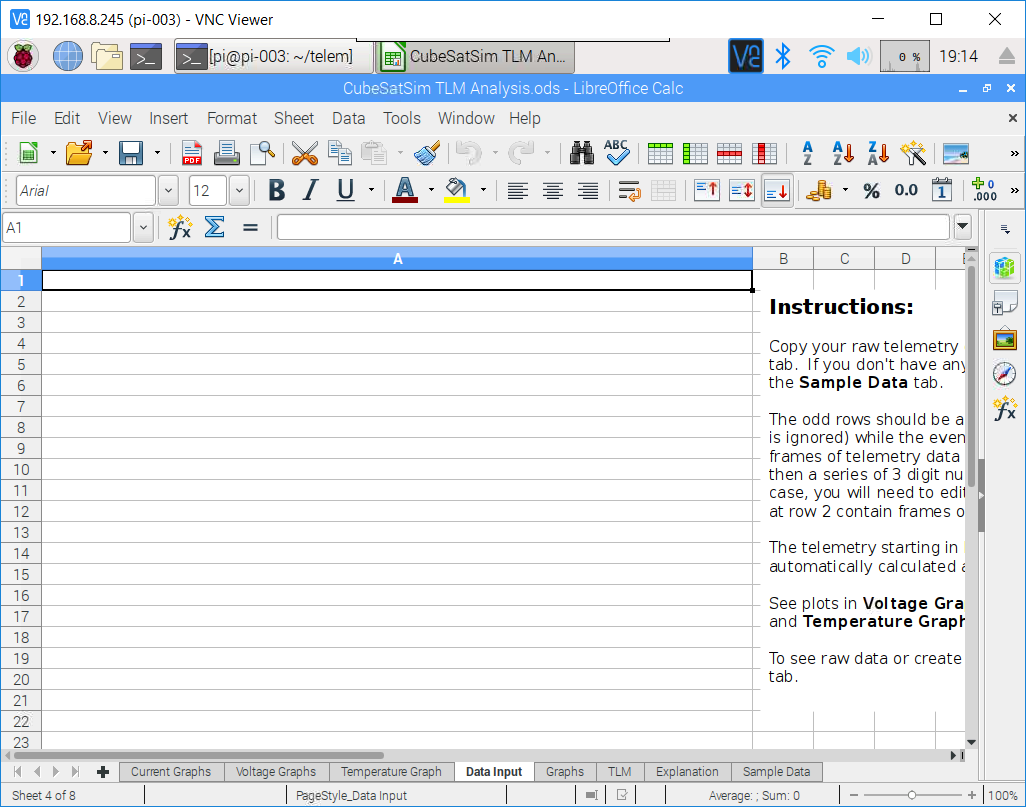
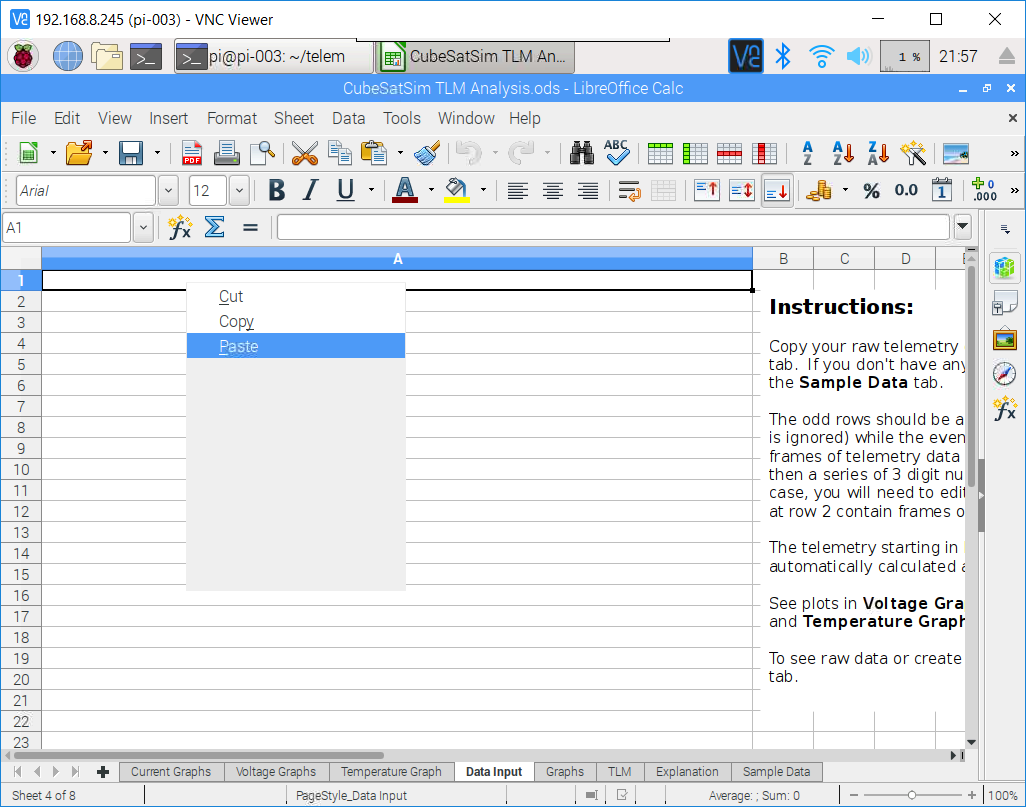
Click on LibreOffice Calc (or open) and select the Data Input tab, top left cell. Right click and select Paste
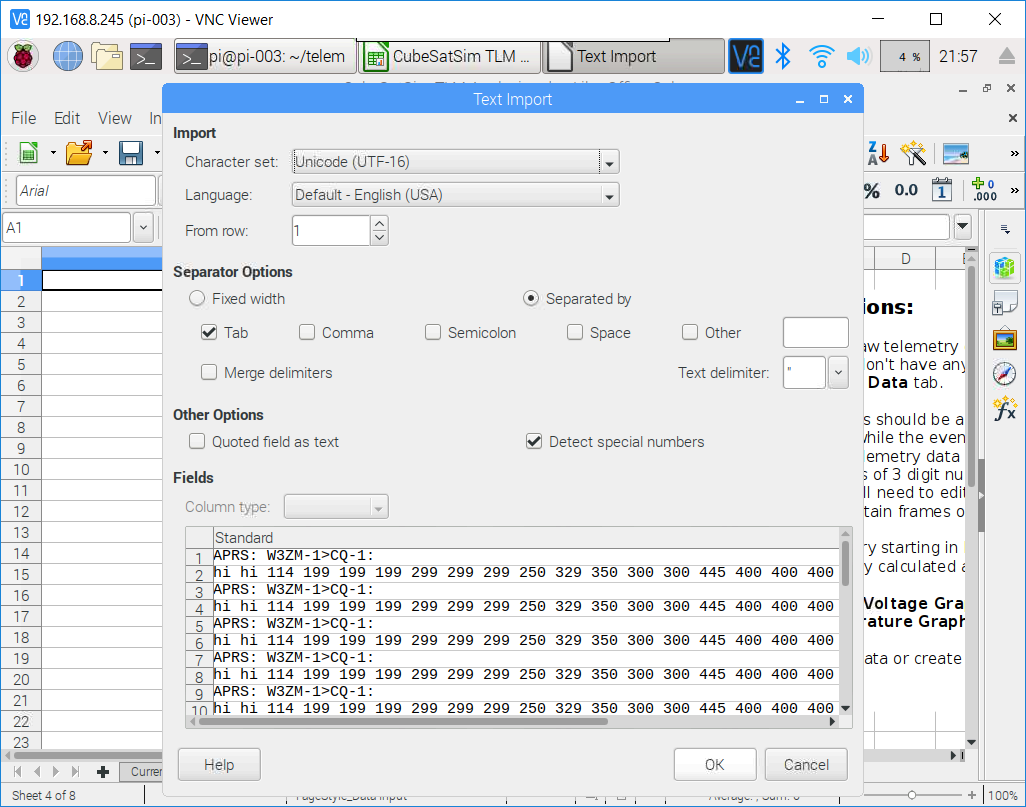
Click on OK to select the default options:
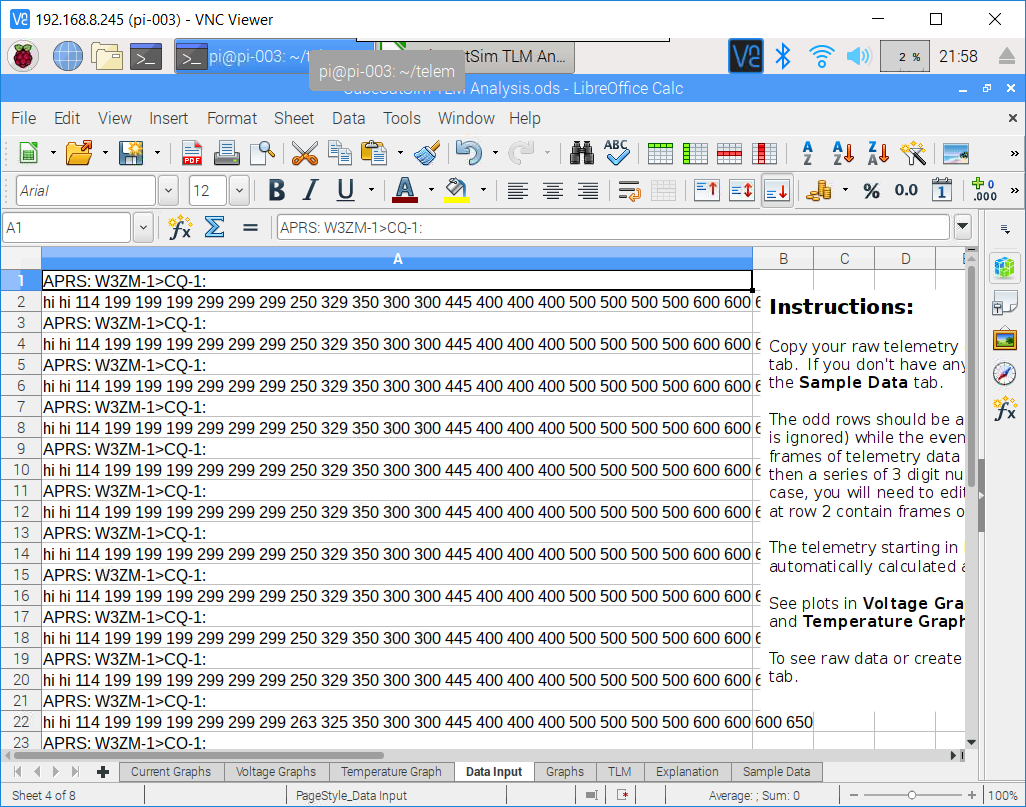
The telemetry data will be pasted in the spreadsheet:
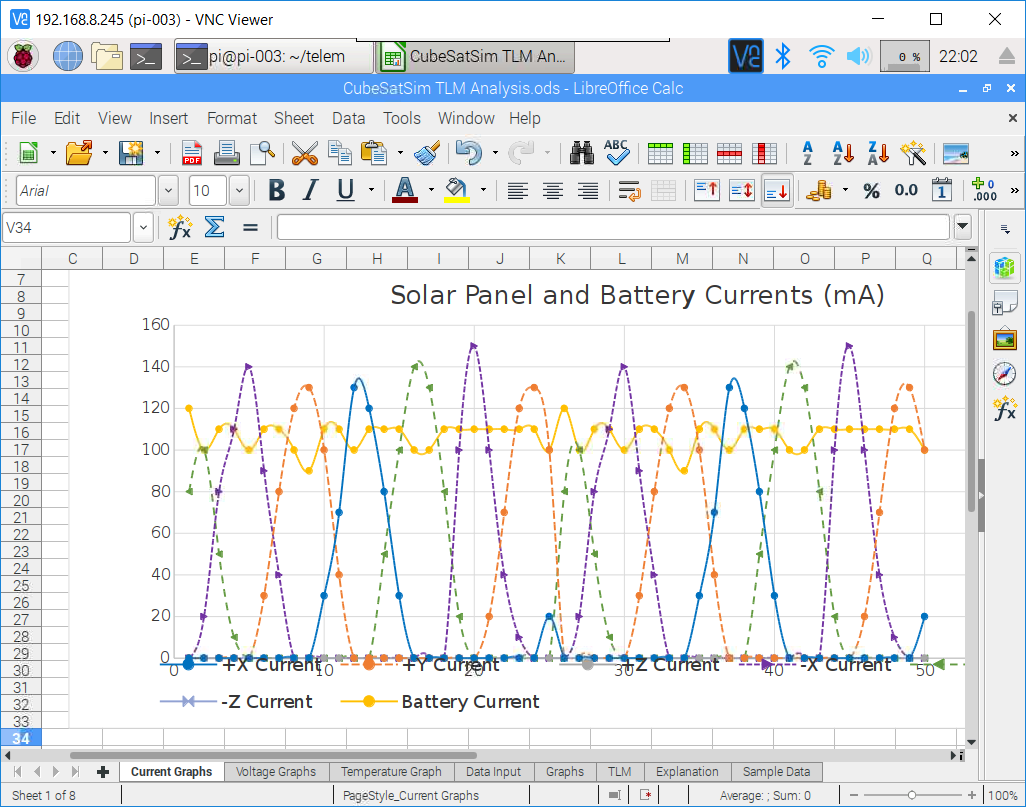
Click on the Current tab, and wait for the graphs to be drawn and displayed:
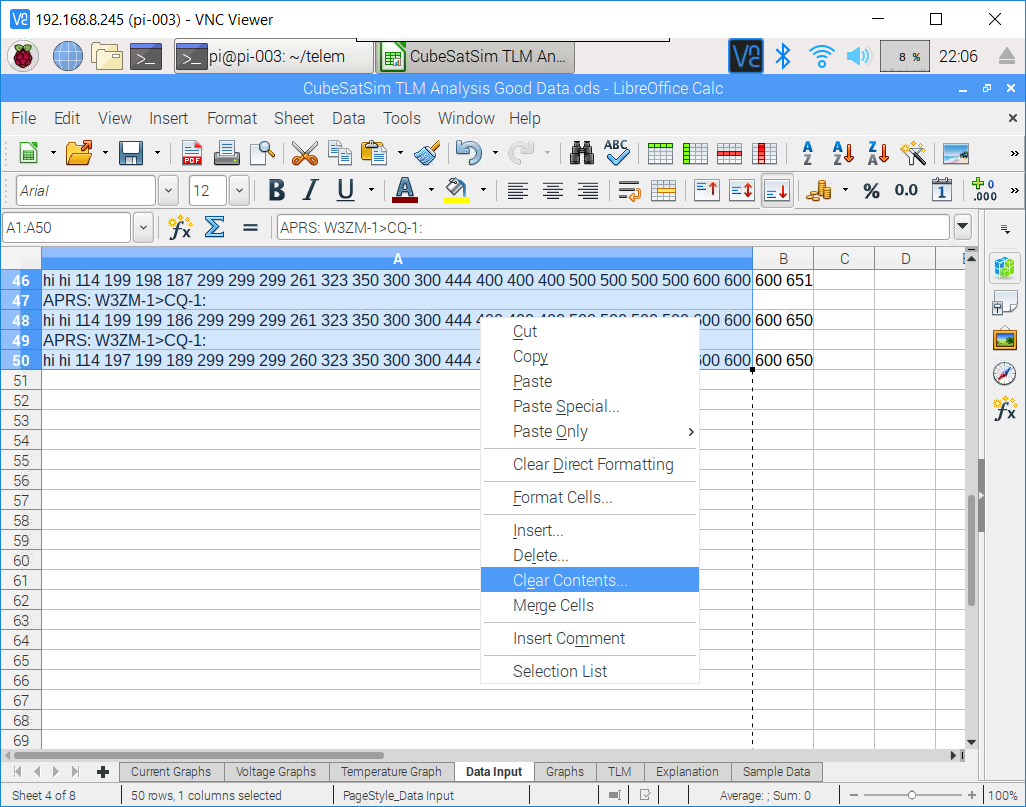
To graph new data, you will need to highlight the old data in the Data Input tab and right click to Clear Contents:
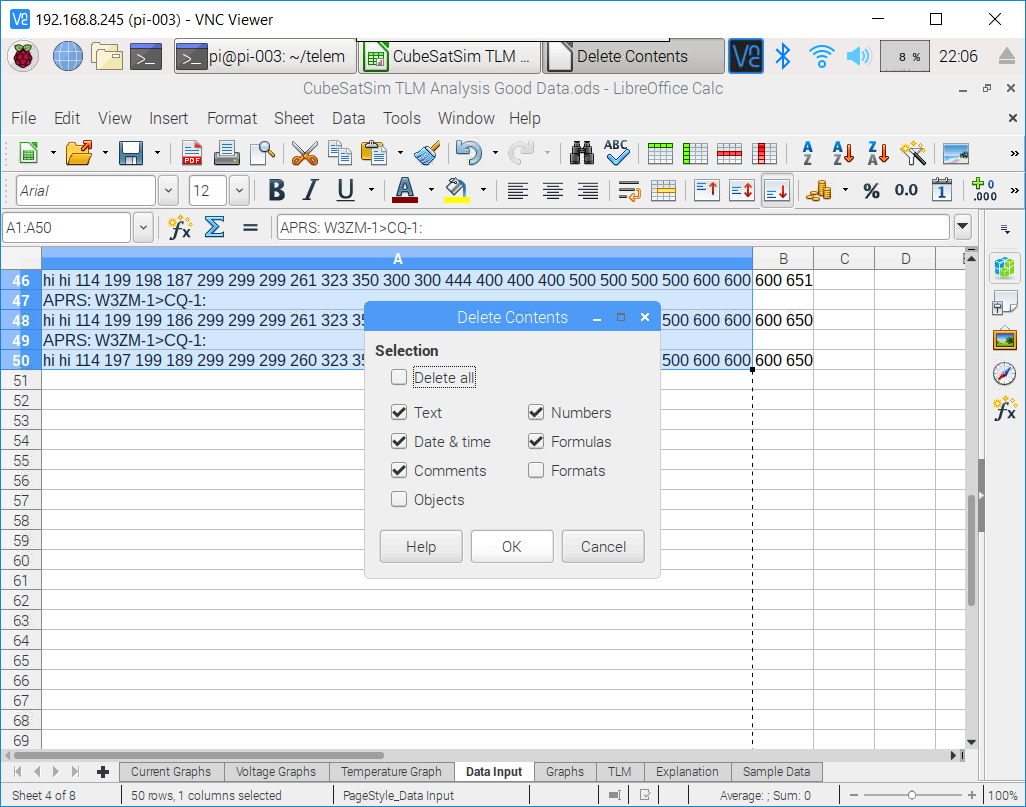
Click OK to accept the defaults and clear the contents:
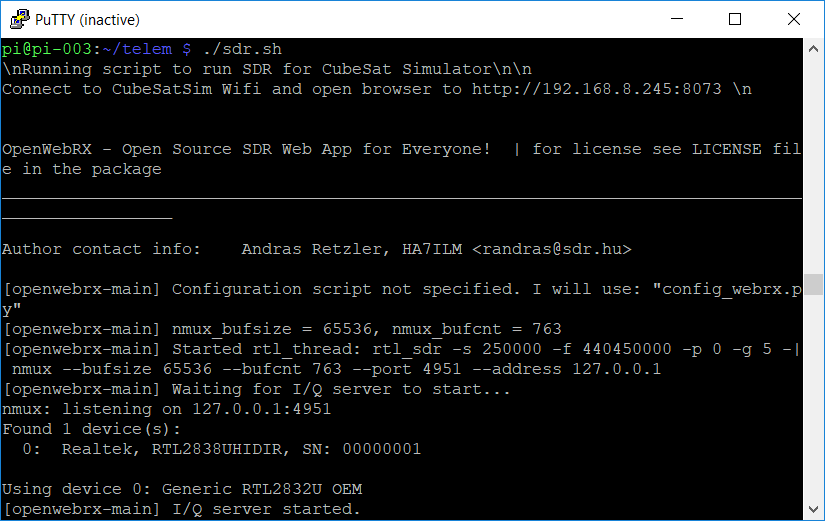
cd telem
./sdr.sh
You will see the script startup:
On your laptop connected to the CubeSatSim WiFi, or another laptop, open a web browser such as Chrome or Firefox. In the address bar type the IP address of the Pi from before (192.168.8.xxx) then type :8073 then hit enter. The OpenWebRX web page should load as shown here.
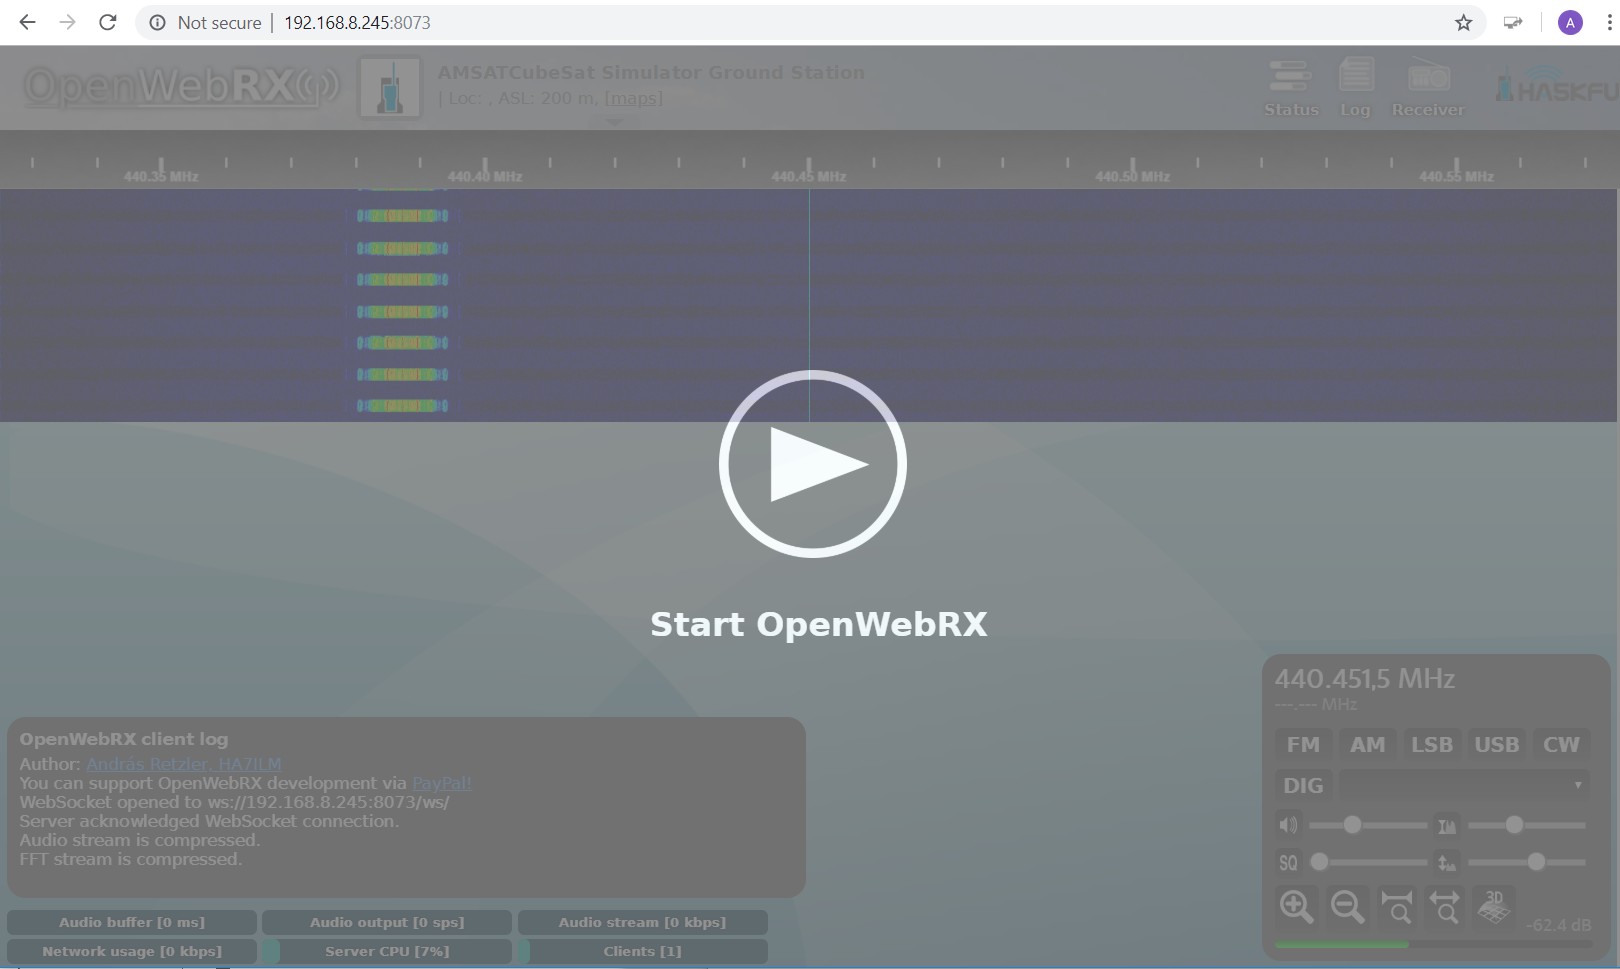
Click on the triangle to start, and you should see the waterfall. If your CubeSat Simultor is running and transmitting telemetry, you should see data packets arriving, looking like this:
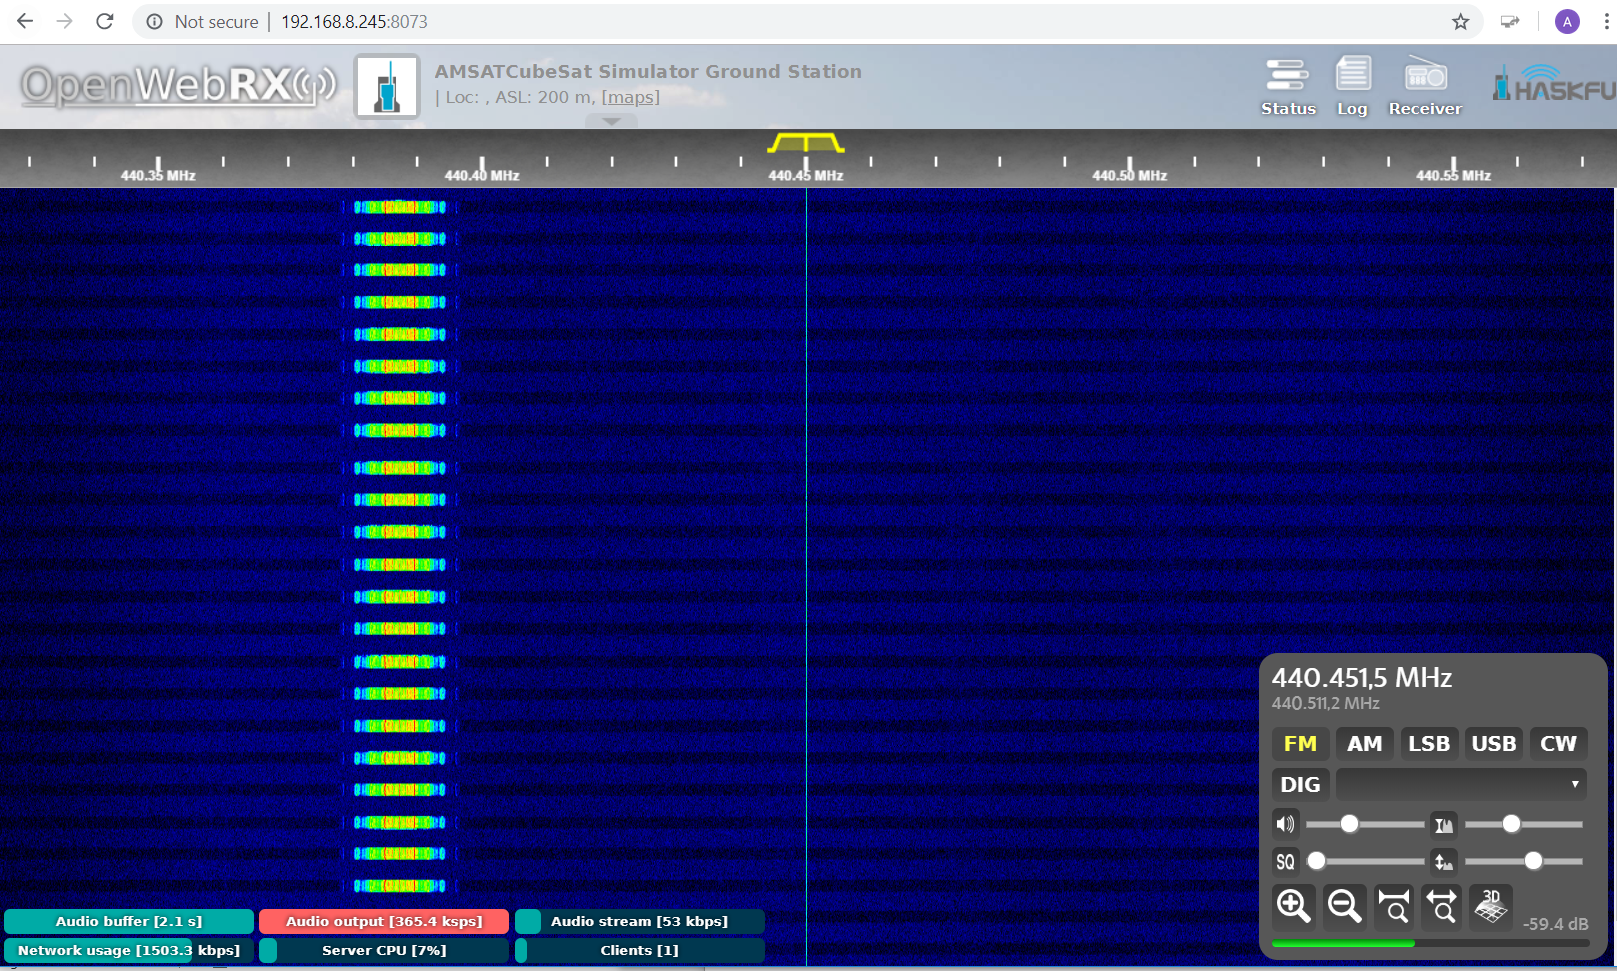
Click on the middle of the packets to move the tuner (Yellow line near the frequency) to tune the telemetry.
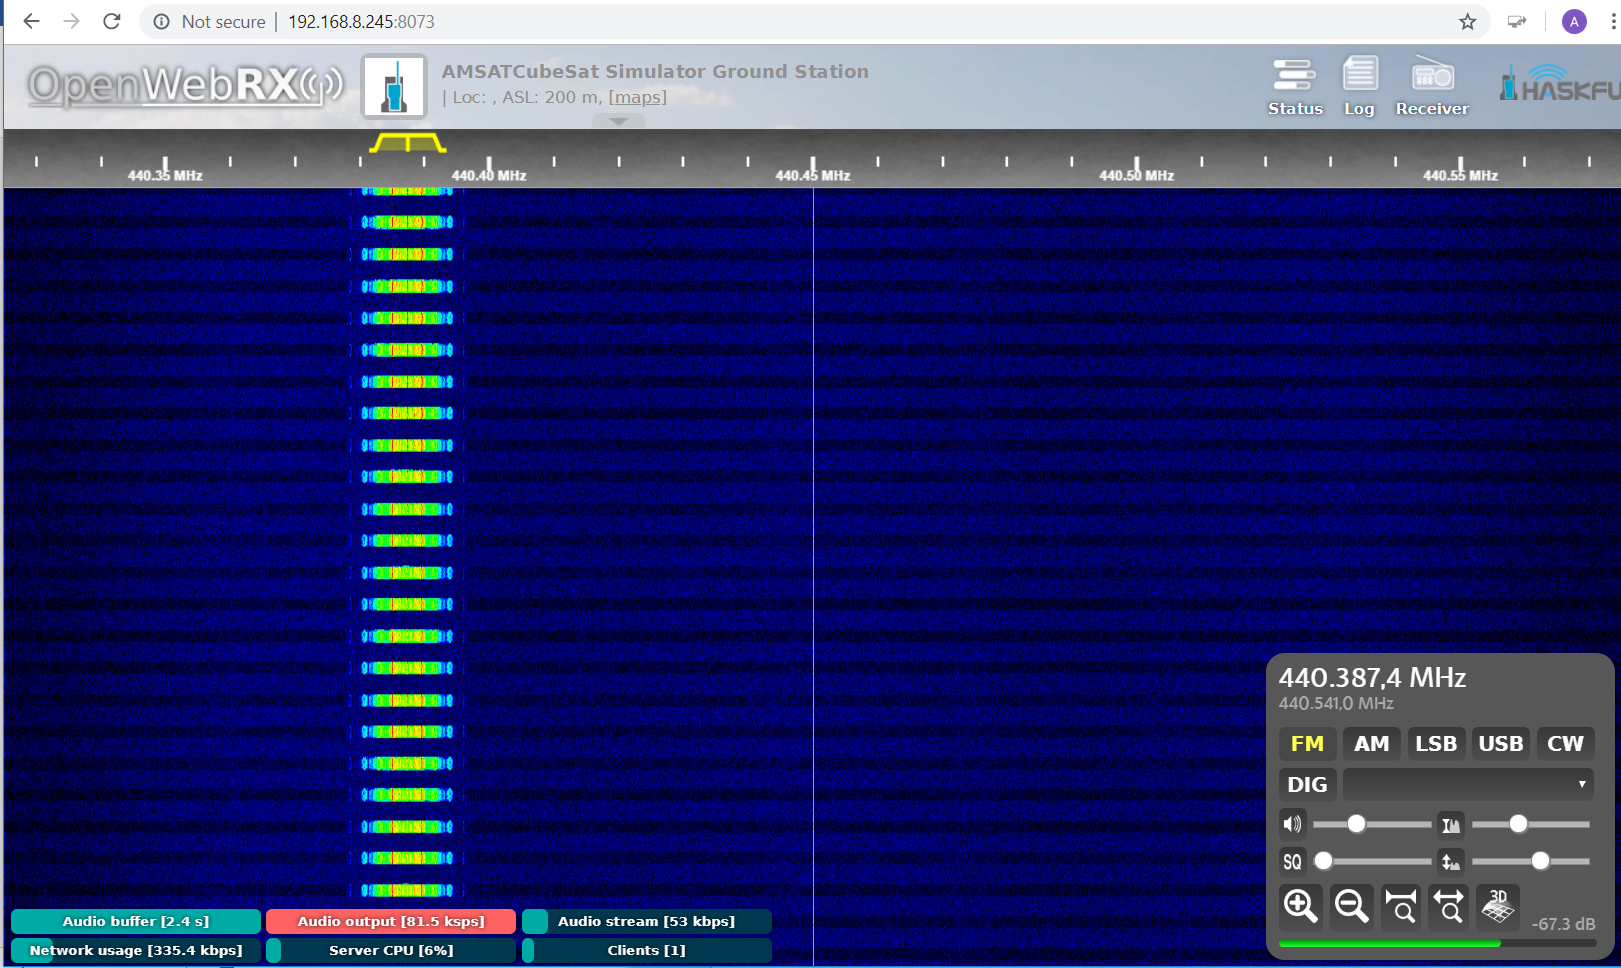
If your Speaker or headphone is the Default Playback Device in the Windows Sound control panel, you will hear each data packet as it arrives. If you have VBCable installed and configured, if you make the Cable Input the Default Playback Device in the Sound control panel, and the Cable Output the Default Recording Device in the Sound control panel, then AFSK 1200 Decoder should decode the telemetry packets.
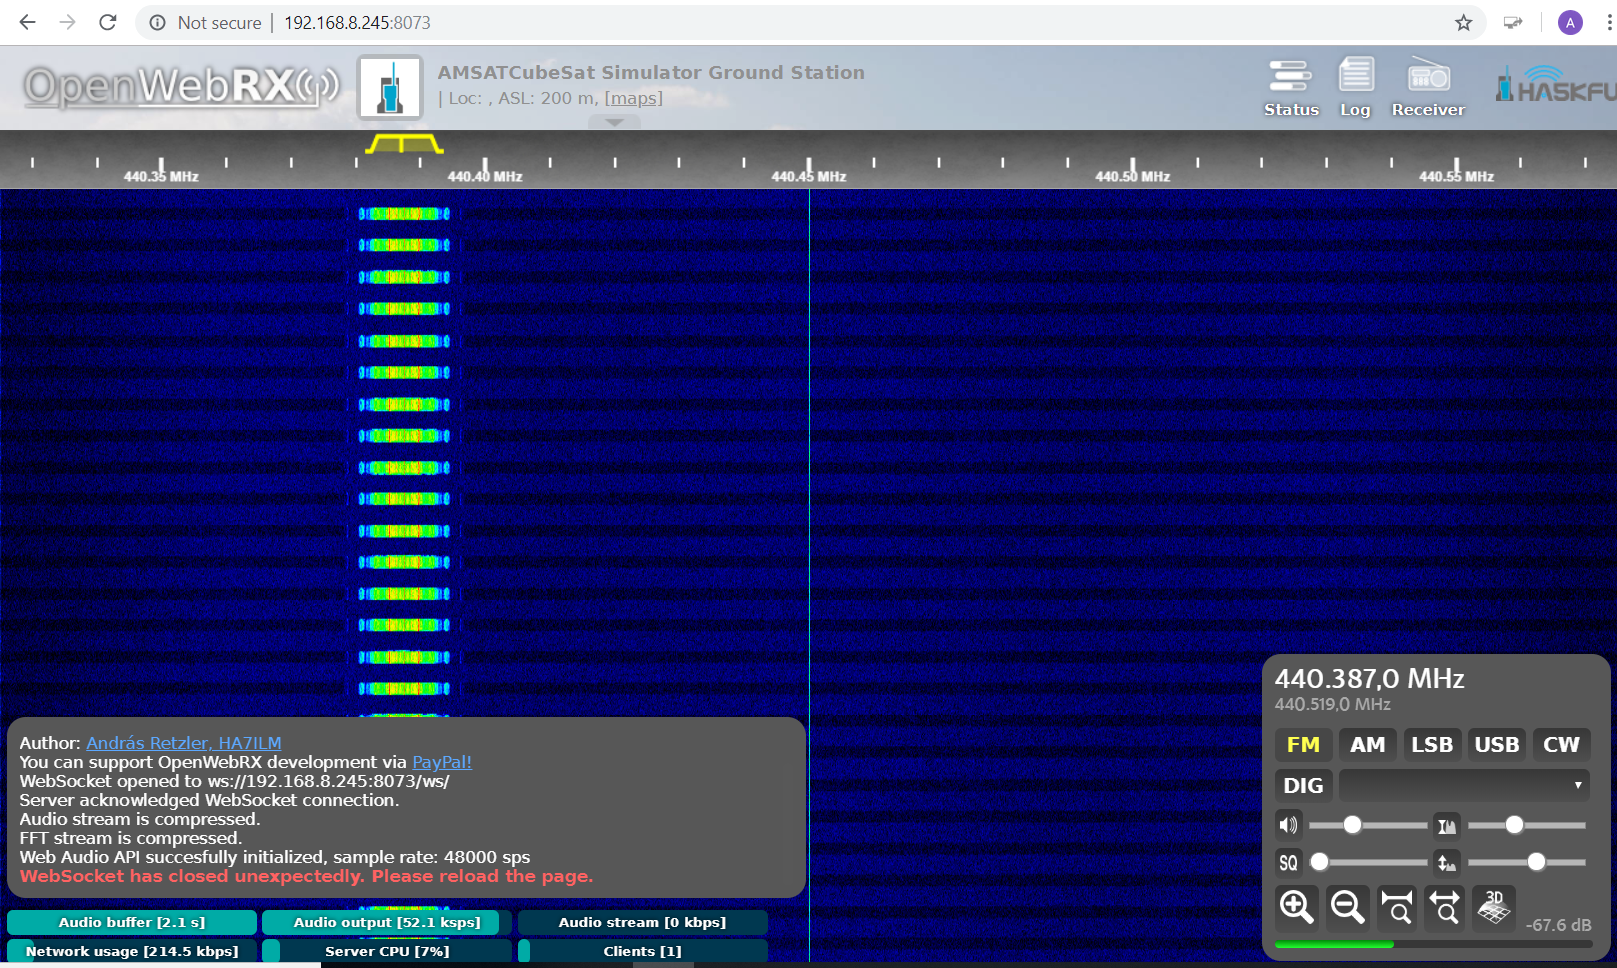
If the python process closes while the web page is open, the waterfall will stop moving, and you will get the WebSocket error in red in the bottom left corner
Since the Raspberry Pi comes with LibreOffice Calc pre-installed, you can use the spreadsheet directly in the Raspberry Pi. You will need to use the Raspberry Pi Desktop, so you will either need to use VNC to login (see above) or connect an HDMI monitor, and USB mouse and keyboard to the Raspberry Pi.
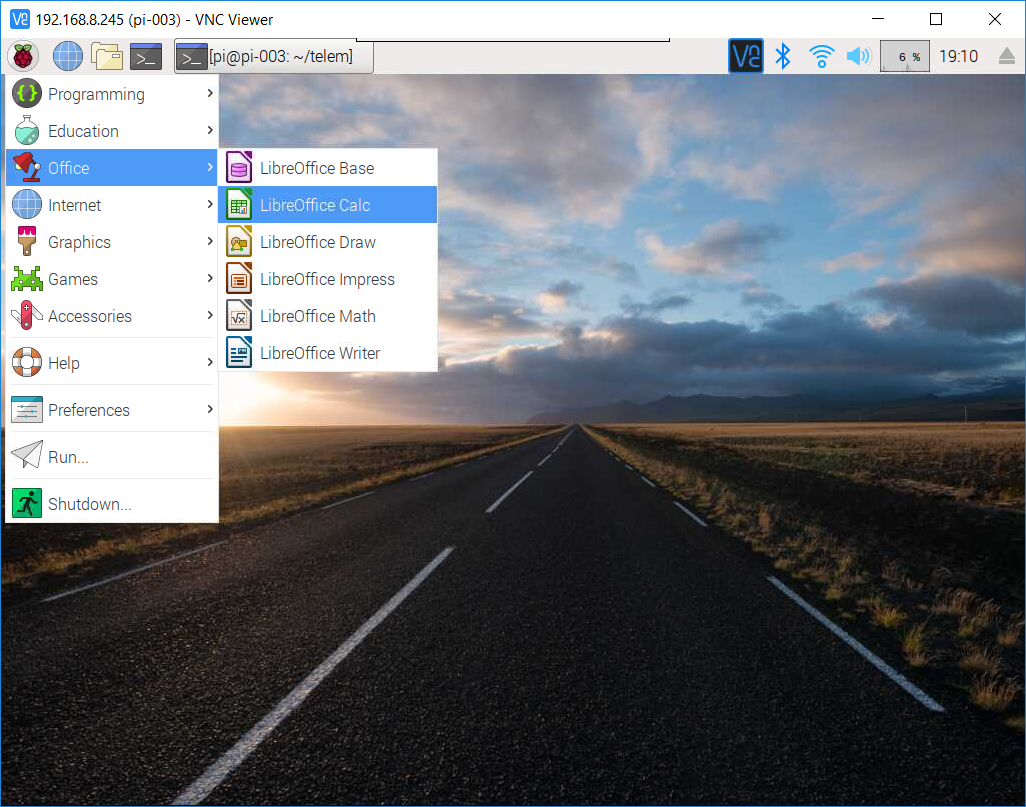
Run Office/LibreOffice Calc using the Desktop by clicking on the Raspberry, Office, LibreOffice Calc:
Open the CubeSat Simulator Telemetry spreadsheet by clicking Open, Recent Documents, and opening any TLM spreadsheet.
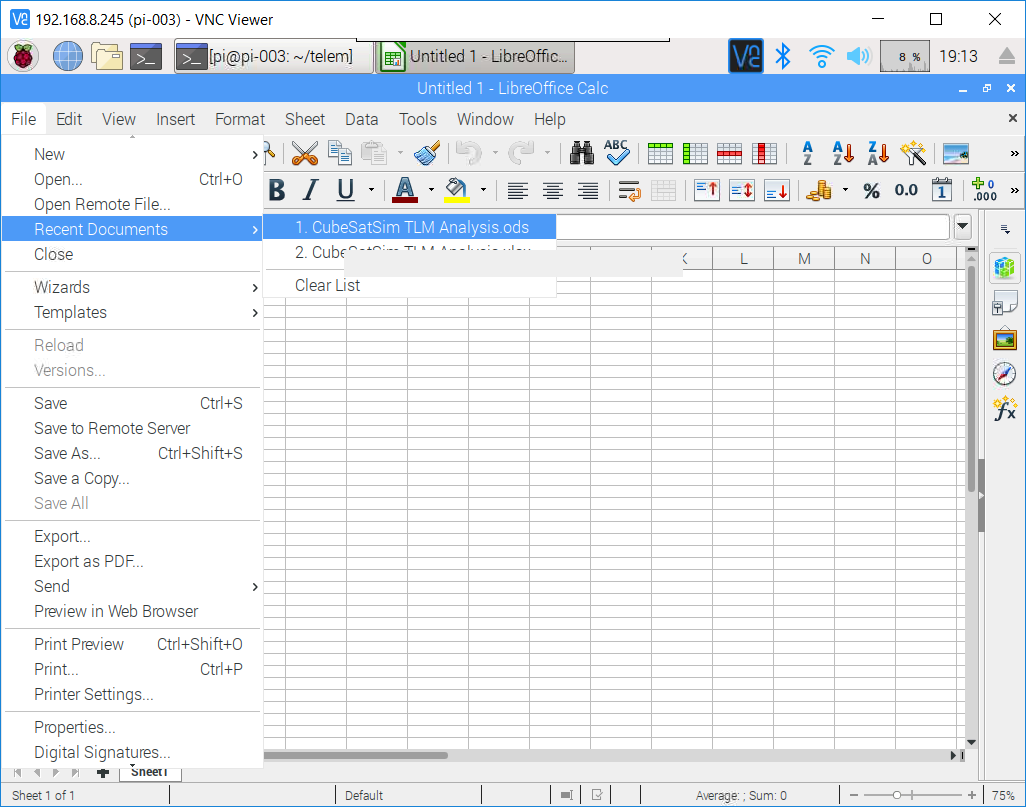
Save the spreadsheet under a different filename, and you are ready to paste in decoded telemetry.