This activity will demonstrate how to deploy a simple Web Application using CodeCommit, CodeDeploy, and CodePipeline.
Pre-requisites:
- This activity will require a Cloud9 environment that runs on Ubuntu.
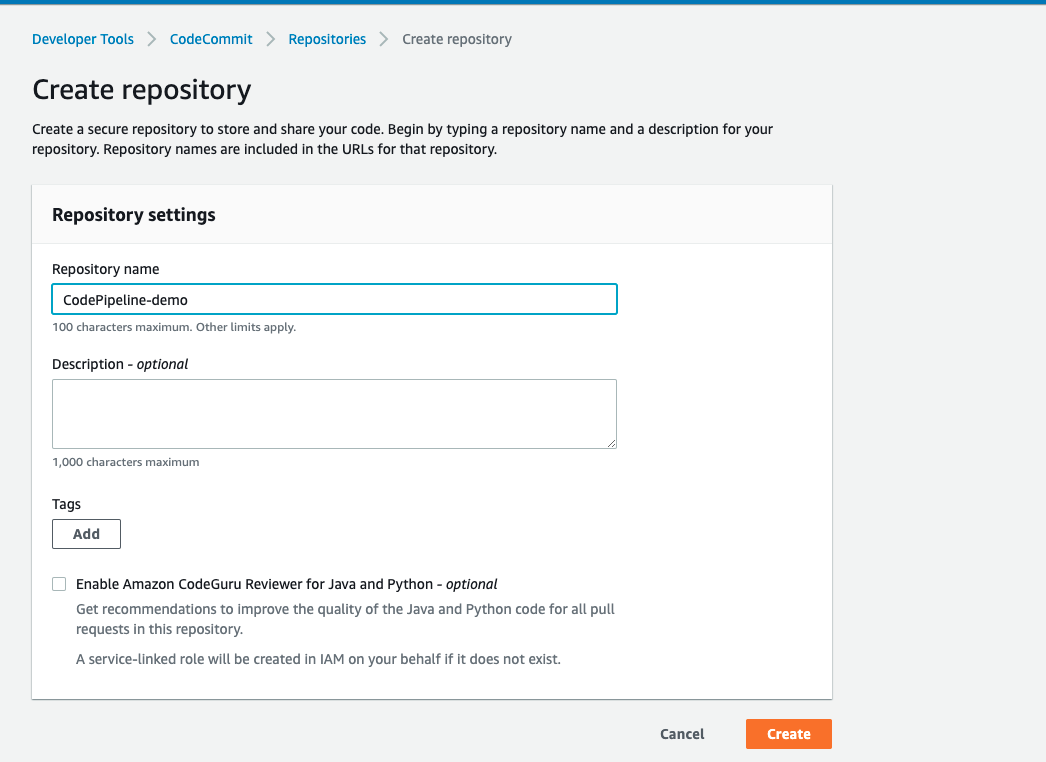
1-a. Navigate to the AWS CodeCommit console and create your repository.
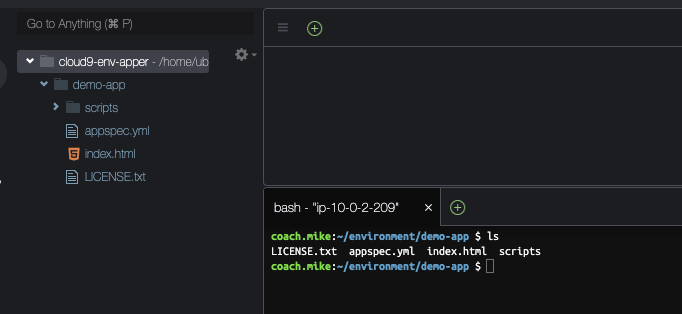
1-b. Fire up your Cloud9 environment and create a folder (in this demo my folder name is demo-app). Once the folder is created download the sample application from this URL:
https://docs.aws.amazon.com/codepipeline/latest/userguide/samples/SampleApp_Linux.zip into the recently created folder.
Your code structure should be similar to this:
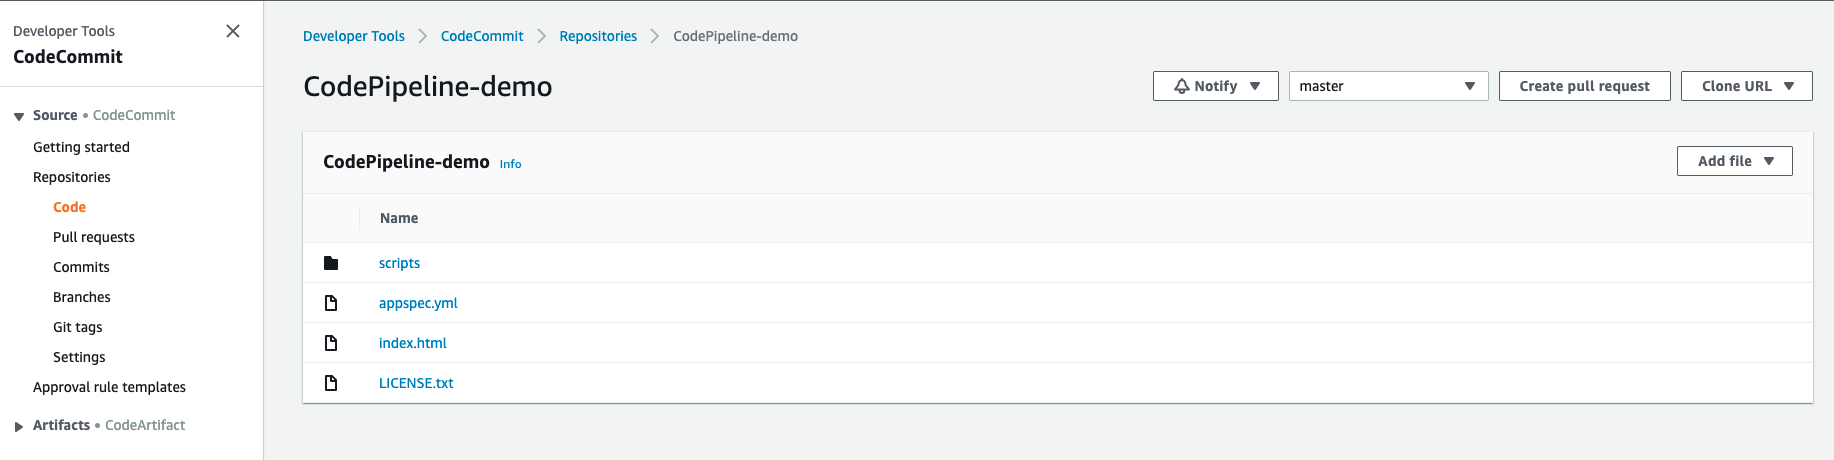
1-c. While in the demo-app folder (your folder name might be different) initialize git and push it to your CodeCommit repository.
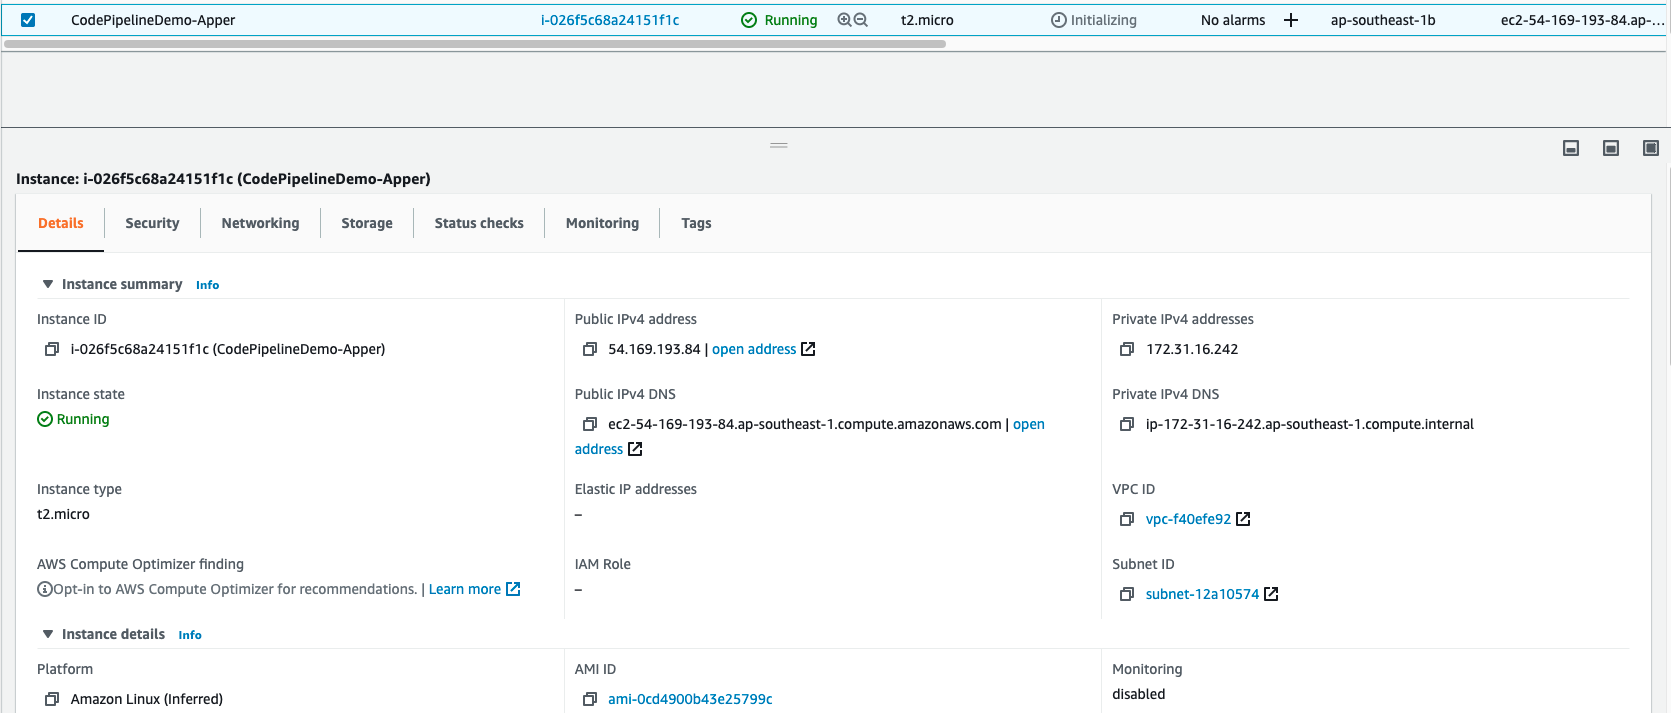
2-a. Navigate to the AWS Console and create an EC2 instance with the following configuration
- AMI: Amazon Linux 2
- Instance Type: t2.micro
- Security Group: Allow HTTP (port 80) and SSH (port 22) to the public
- Subnet: Place the EC2 instance inside a Public Subnet
- Make sure to enable Auto-assign Public IP (You know what will happen if you don’t do this)
- Make sure you have a copy of the SSH keys on your machine
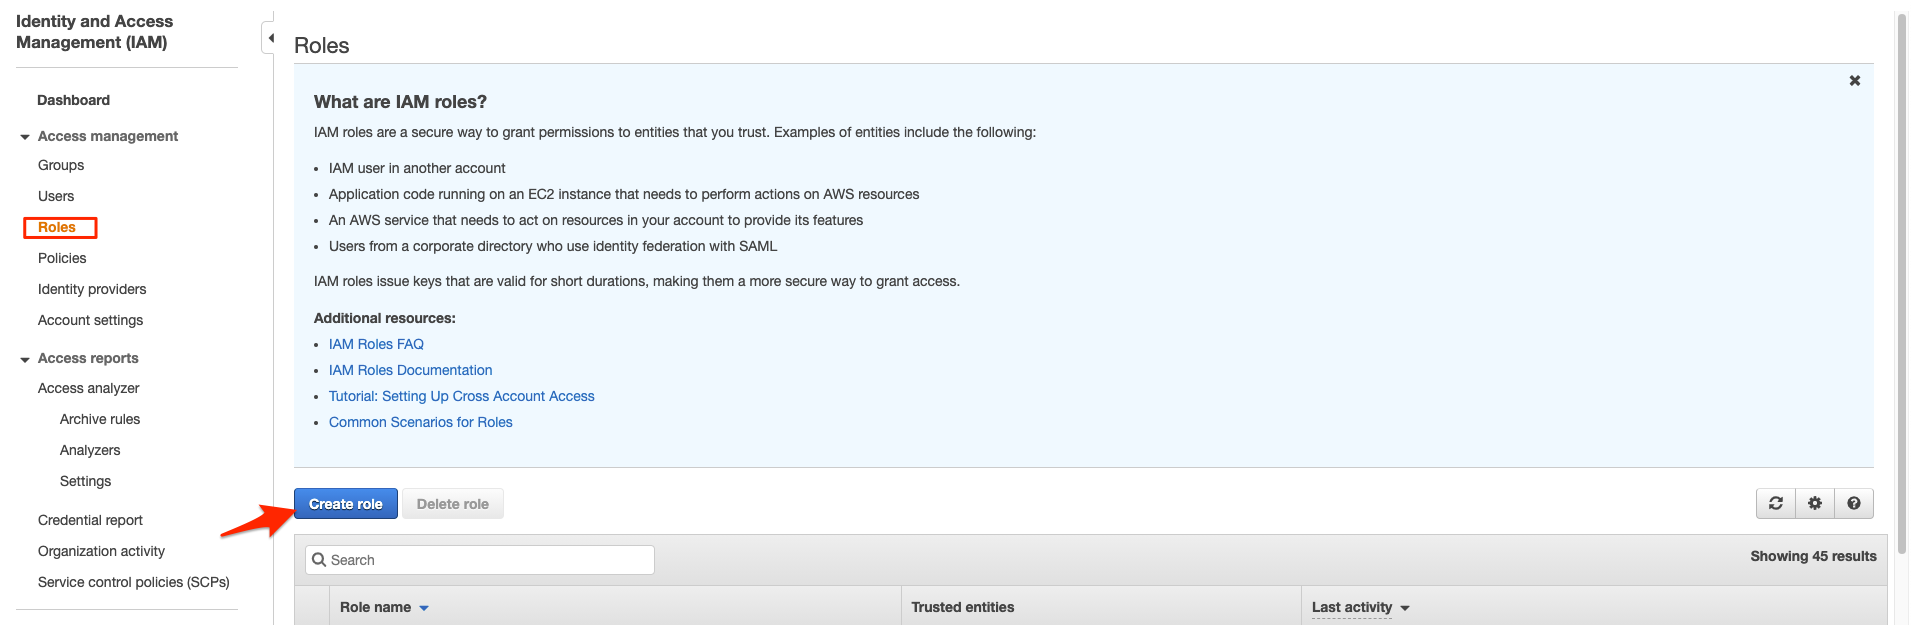
3-a. We need to allow our EC2 instance to use the CodeDeploy service, to do this we need to create a role that allows EC2 access to Code Deploy. Let’s navigate to IAM and create a role.
3-b. Select AWS Service and EC2, and click next.
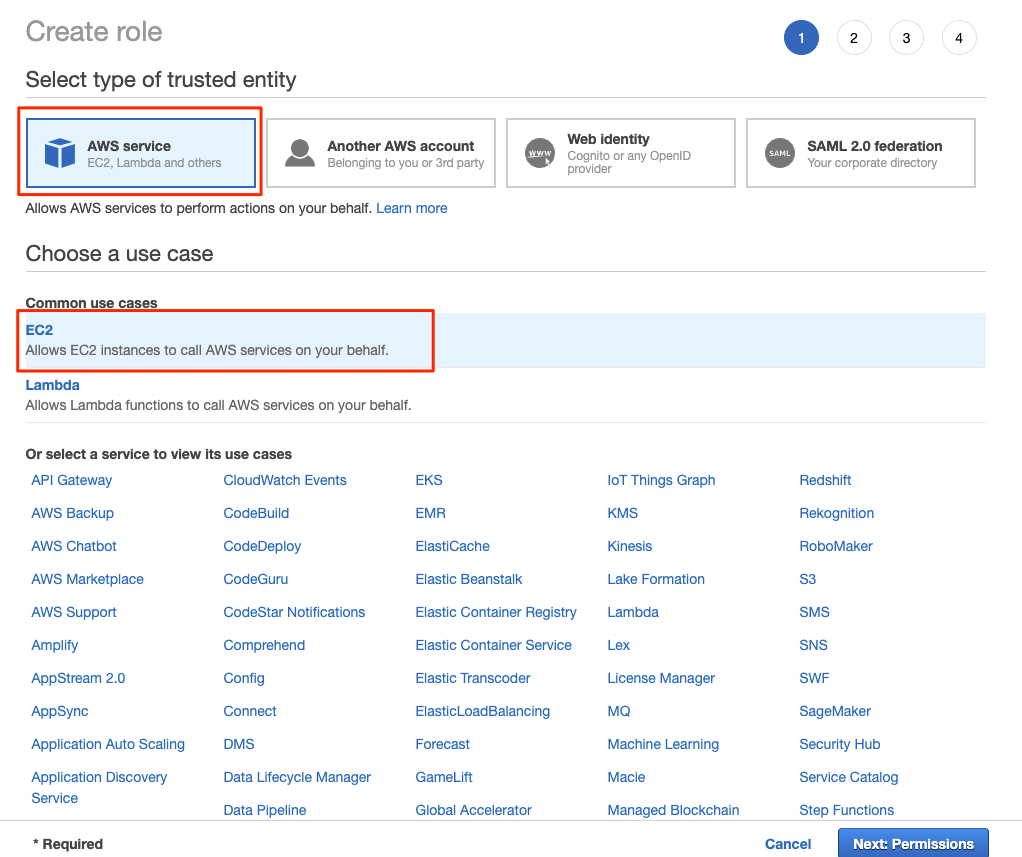
3-c. Search for AmazonEC2RoleforAWSCodeDeploy and select it, then click next, it’s up to you if you want to set tags.

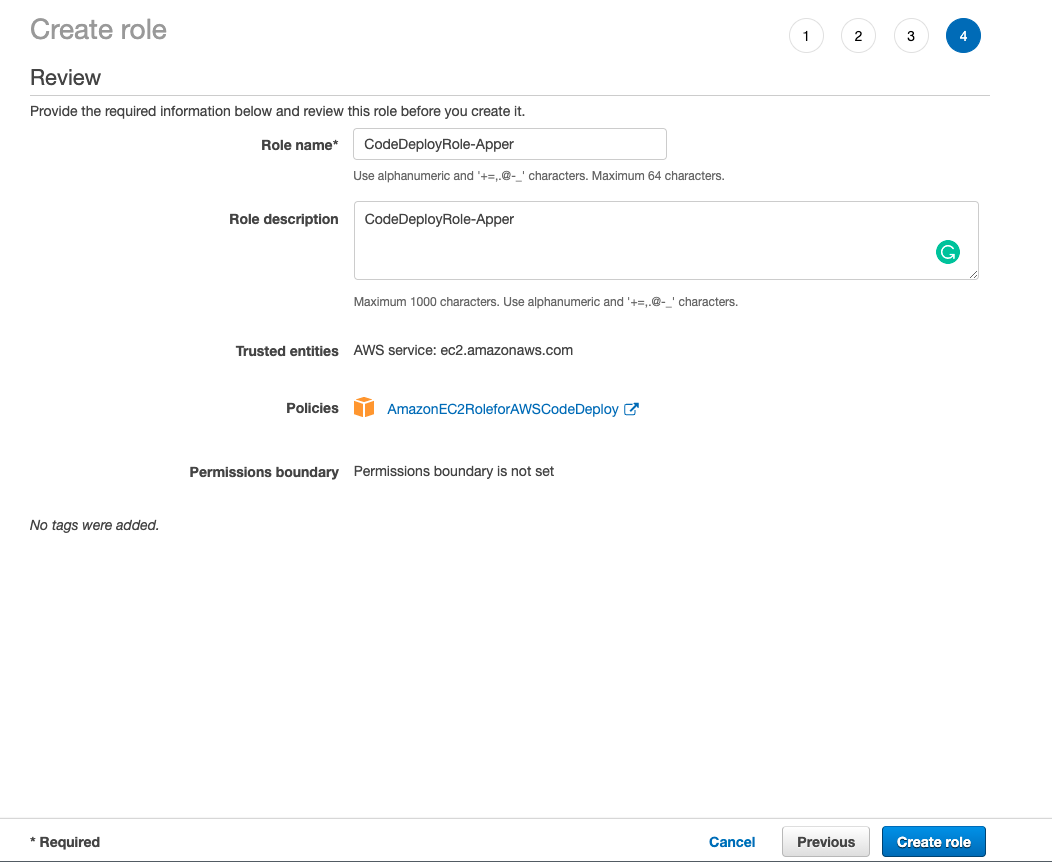
3-d. Set the name of your role and click create.
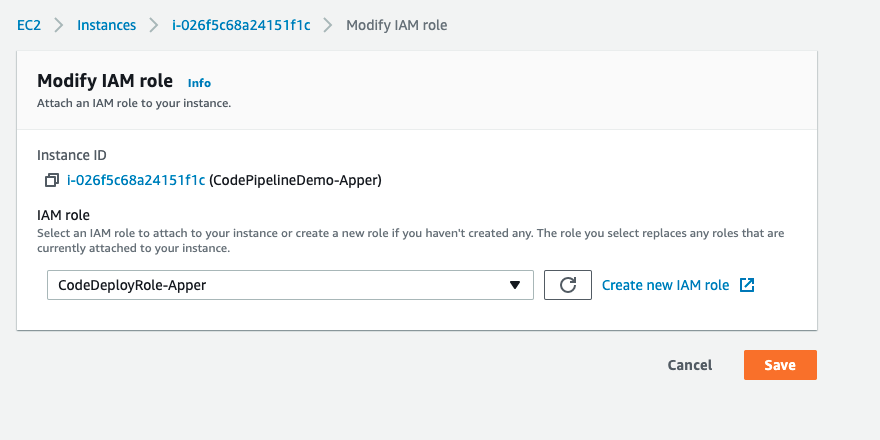
3-e. Once the role is created, navigate back to your EC2 instance and attach the role.
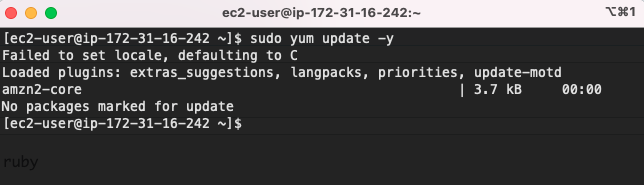
4-a. Connect to your EC2 instance via SSH, then update the OS by running:
sudo yum update -y
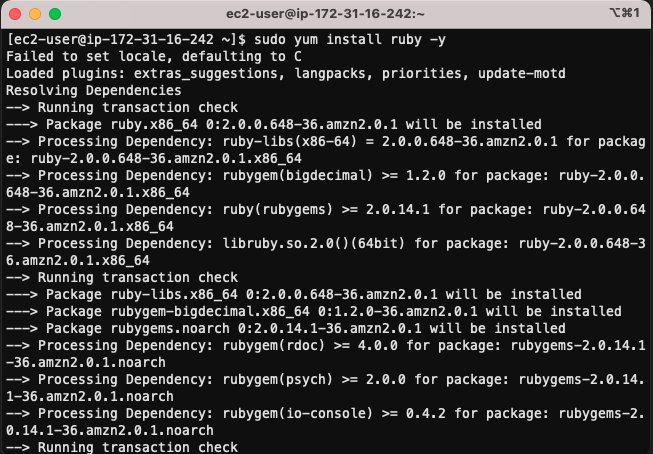
4-b. Install ruby by running:
sudo yum install ruby -y
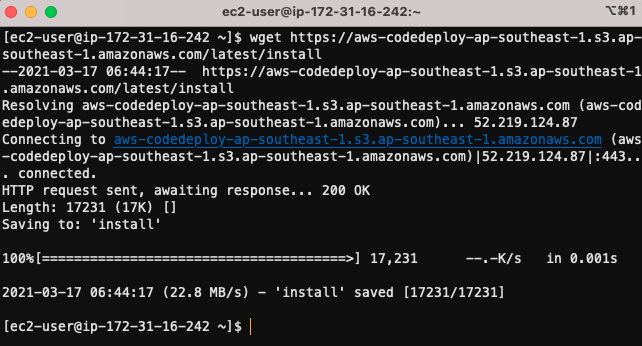
4-b. Download the CodeDeploy agent by running:
wget https://aws-codedeploy-ap-southeast-1.s3.ap-southeast-1.amazonaws.com/latest/install
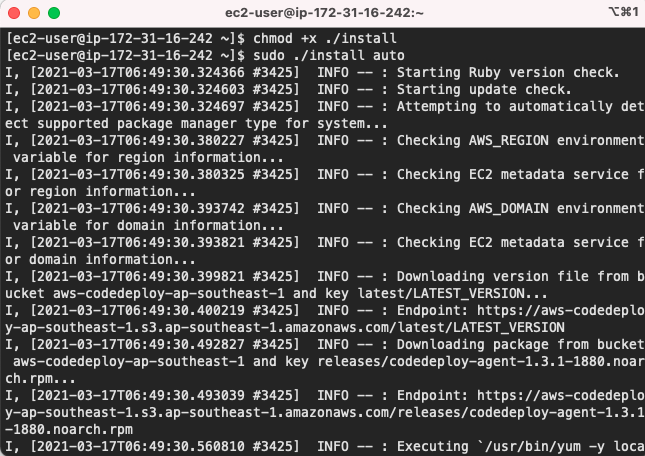
4-c. To run the executable installer we need to change the permission of the file first, run the command:
chmod +x ./install
Then to run the installer run:
sudo ./install auto
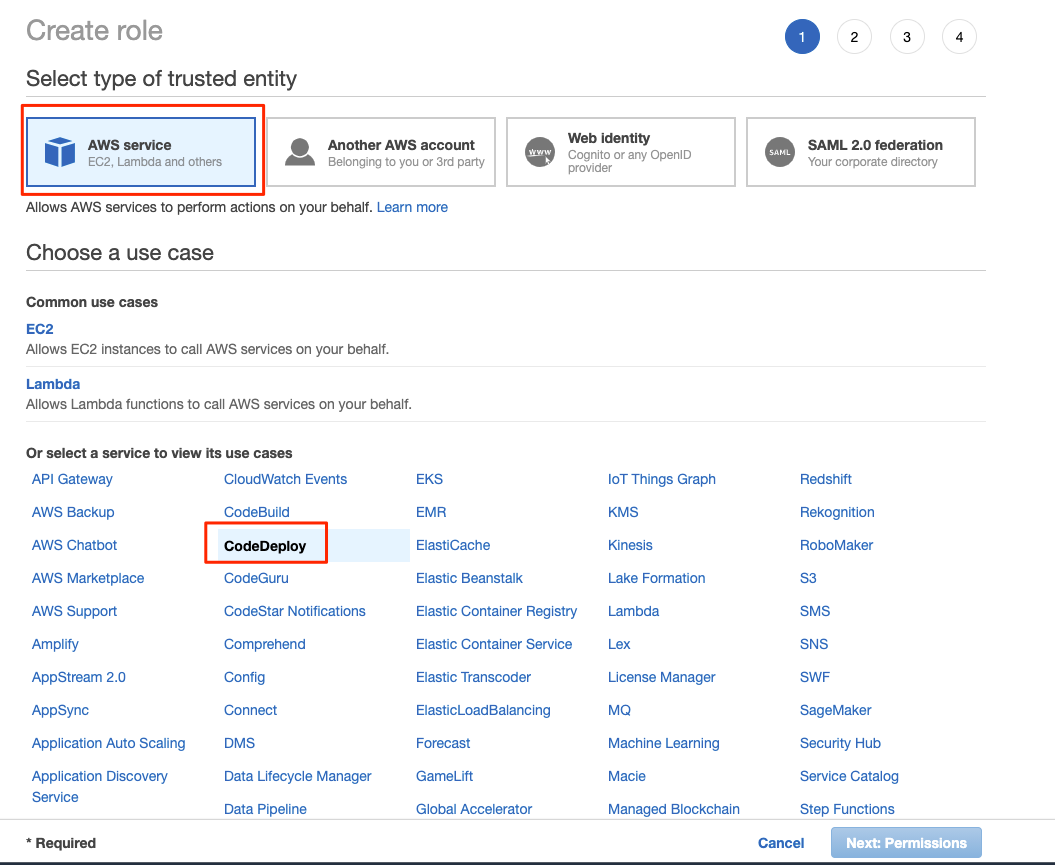
5-a. Navigate back to the IAM console and create a role.

5-b. Select AWS Service and CodeDeploy.
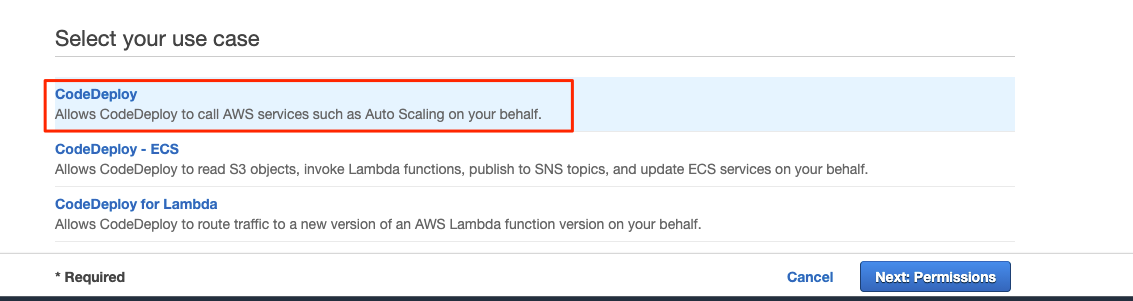
Scroll down and select Codedeploy and click next.
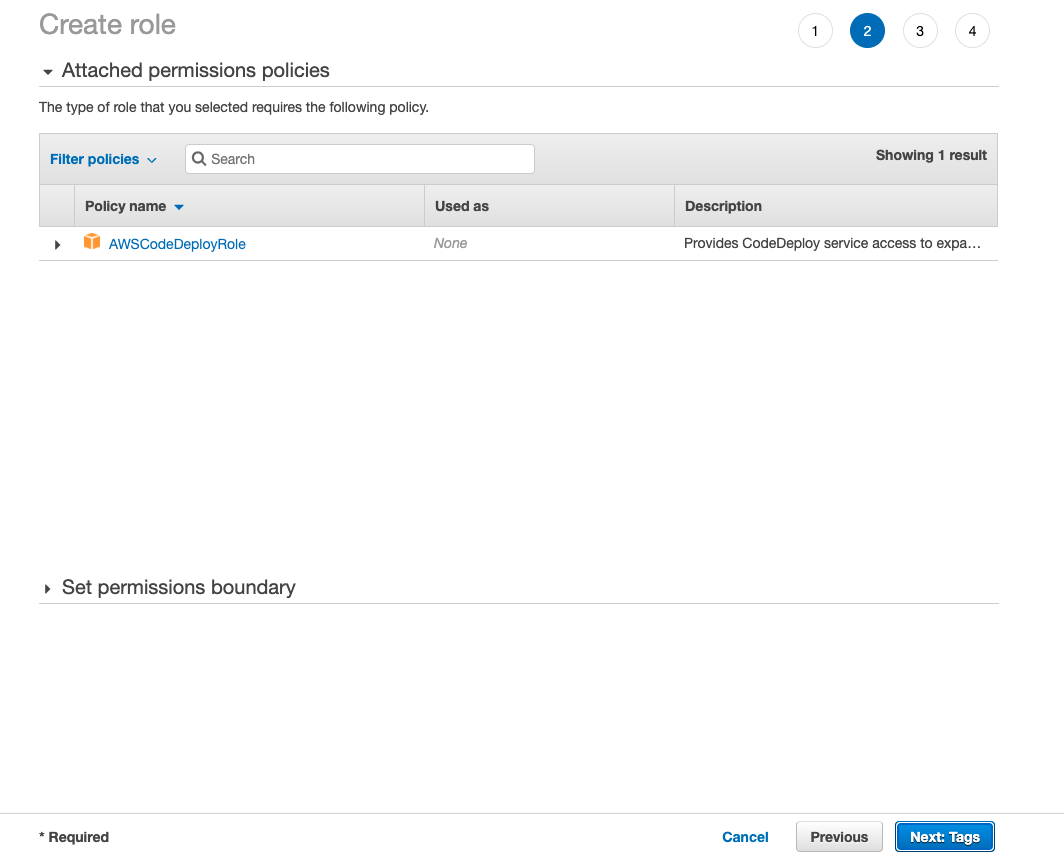
5-c. AWSCodeDeployRole is automatically attached to the role, just click next and add tags if you want.
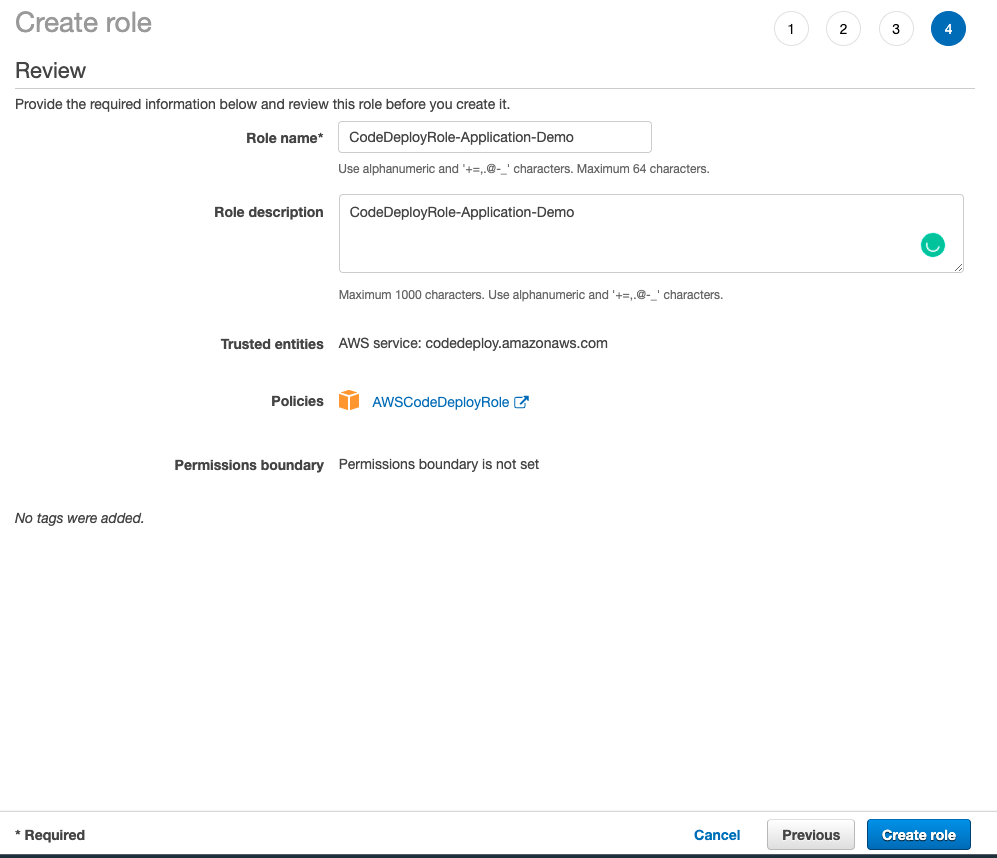
5-d. Name your role and create
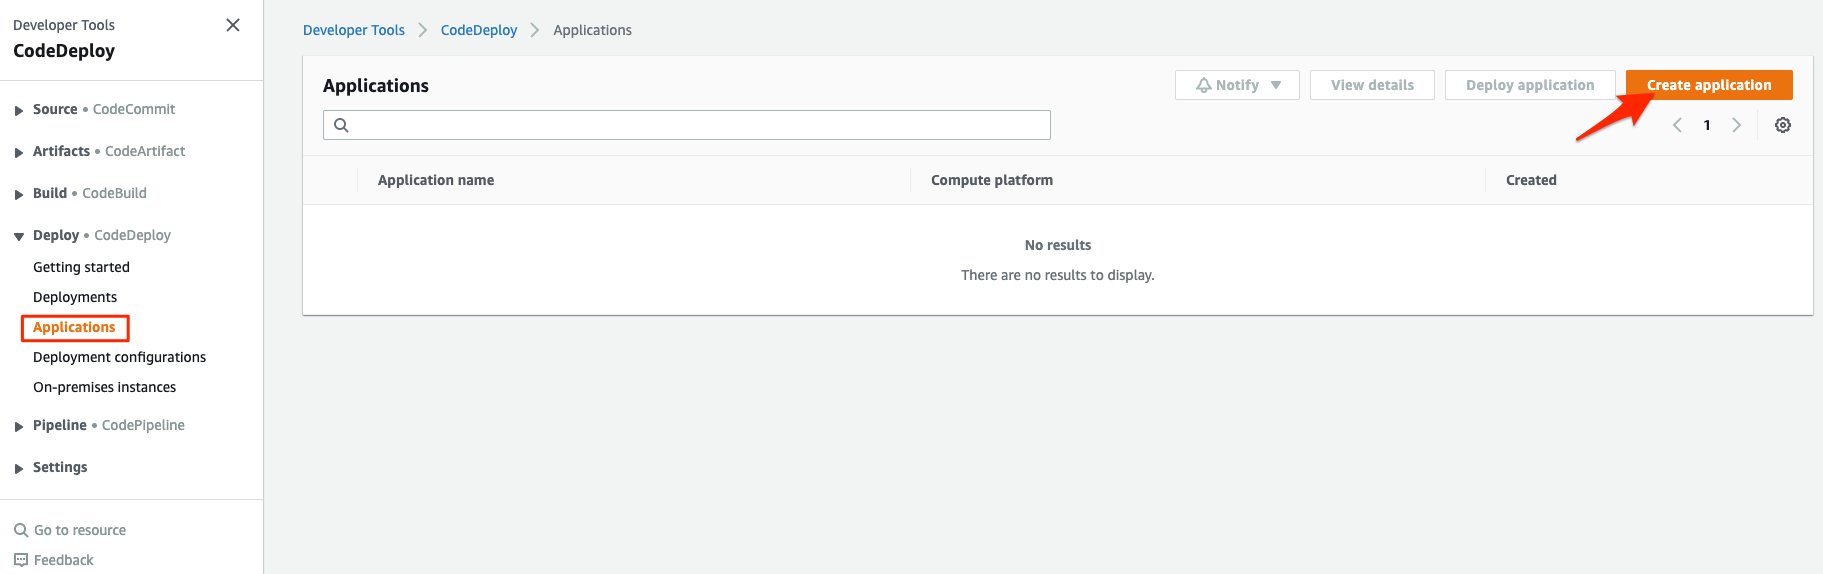
6-a. Navigate to the CodeDeploy console and click create application.
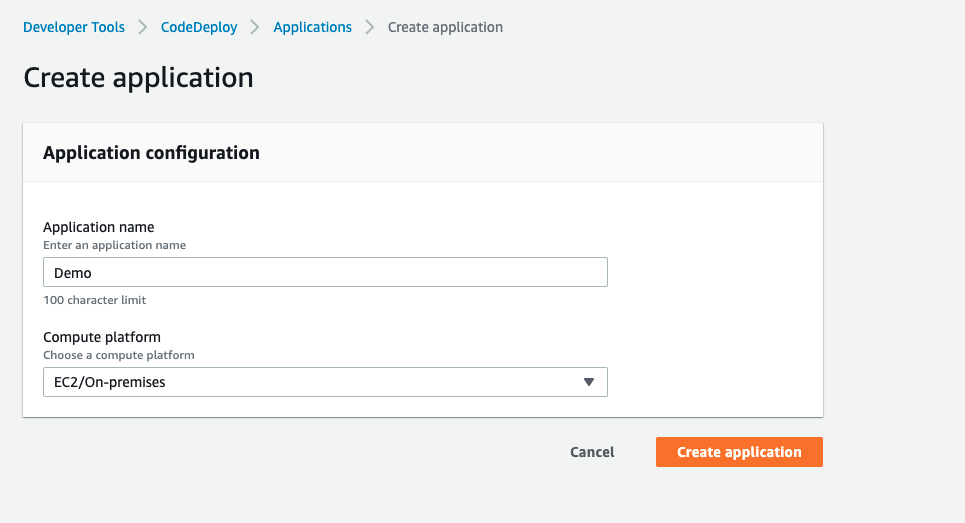
6-b. Set the name of your application and select EC2/On-premises for the compute platform.
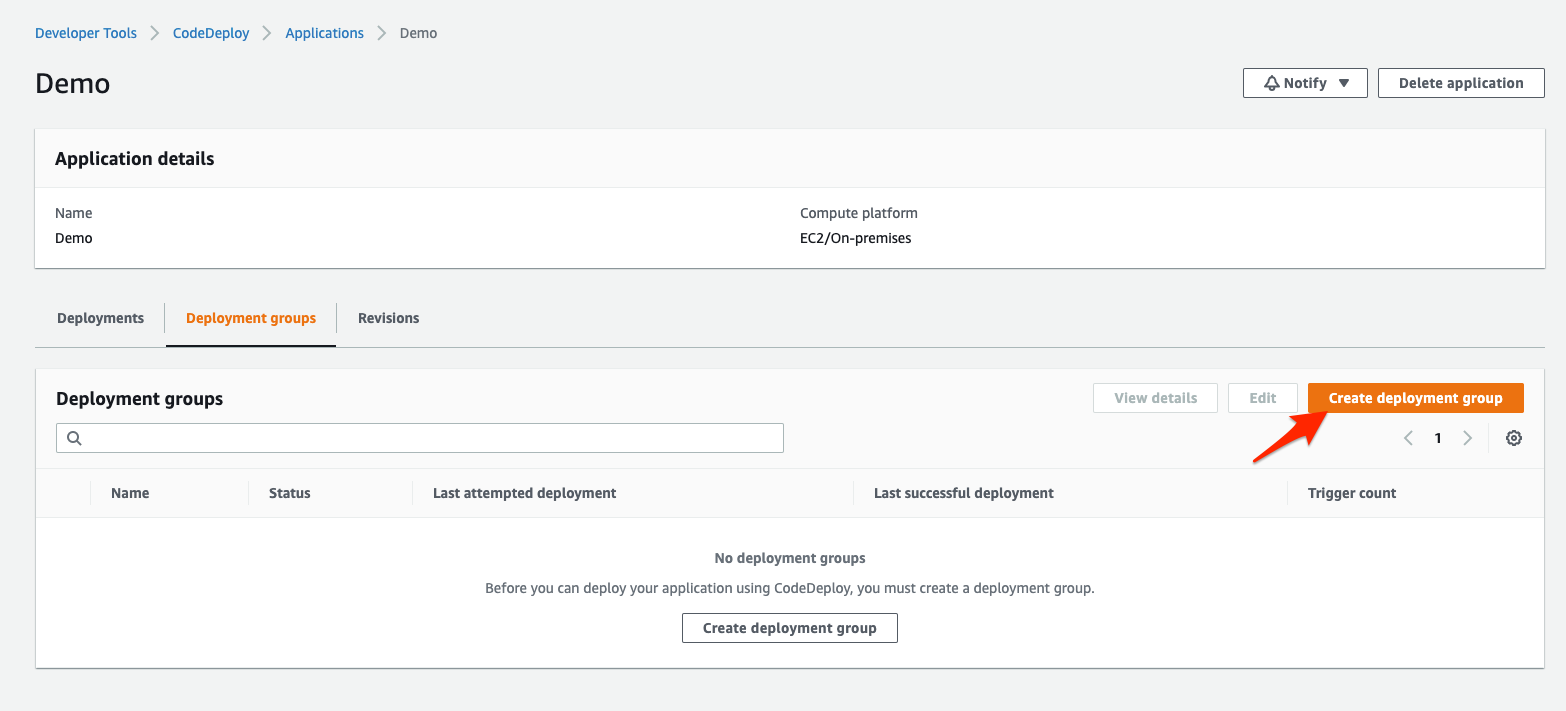
6-c. Click on create deployment group.
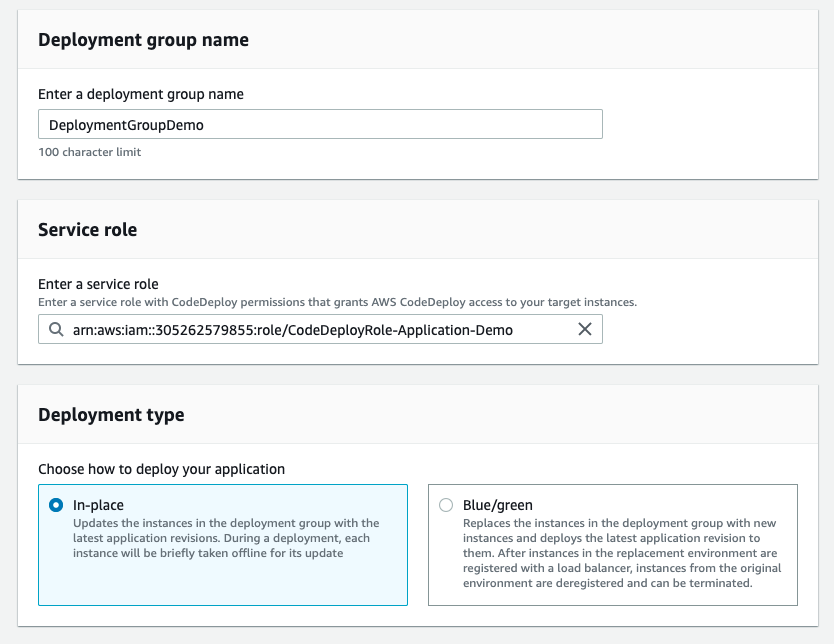
6-d. Set the name of your deployment group, select the role we have created earlier, and for the deployment type just select in-place
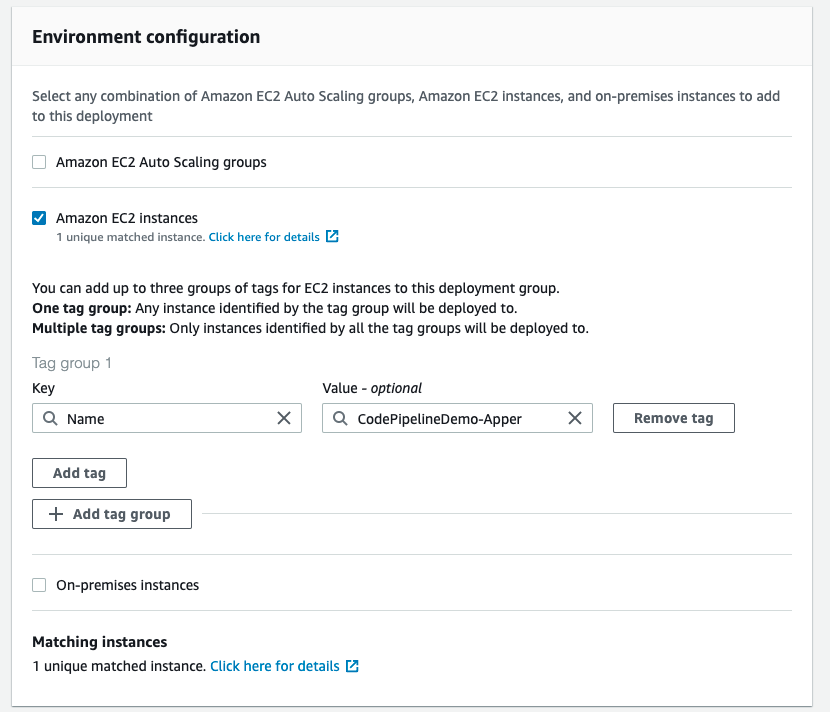
6-e. For the environment configuration select Amazon EC2 Instances and for the tag, select the name of your EC2 instance.
If your EC2 instance doesn’t have the tag Name, please add it.
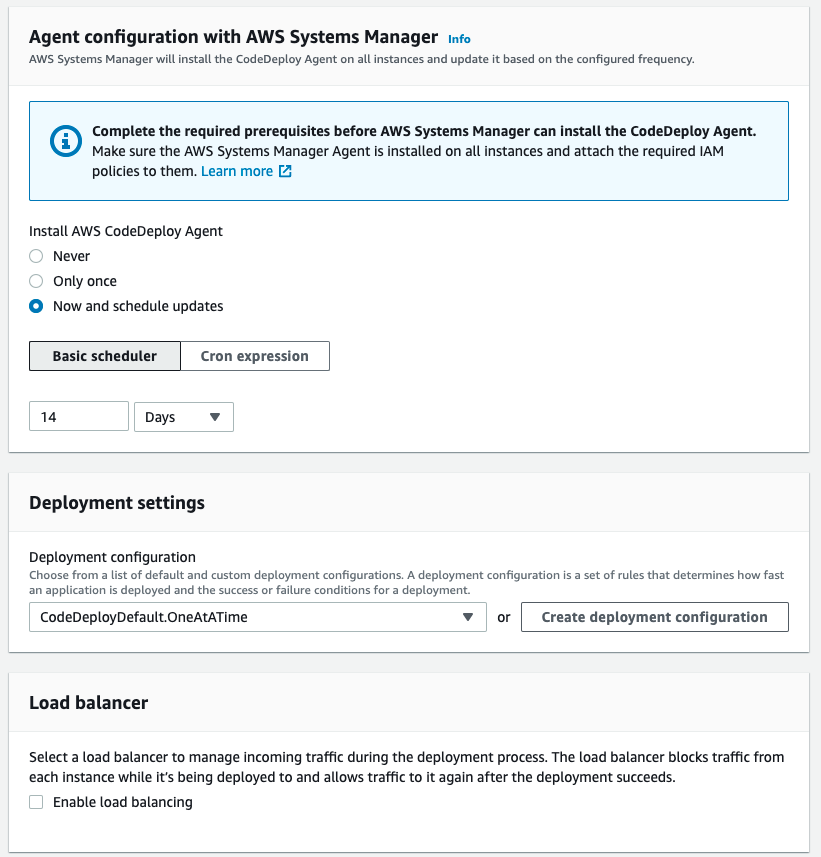
6-e. Leave the Agent configuration as default, for the deployment settings, select CodeDeployDefault.OnceAtATime. Then for the load balancer, remove the check that enables load balancing
Click create deployment group.
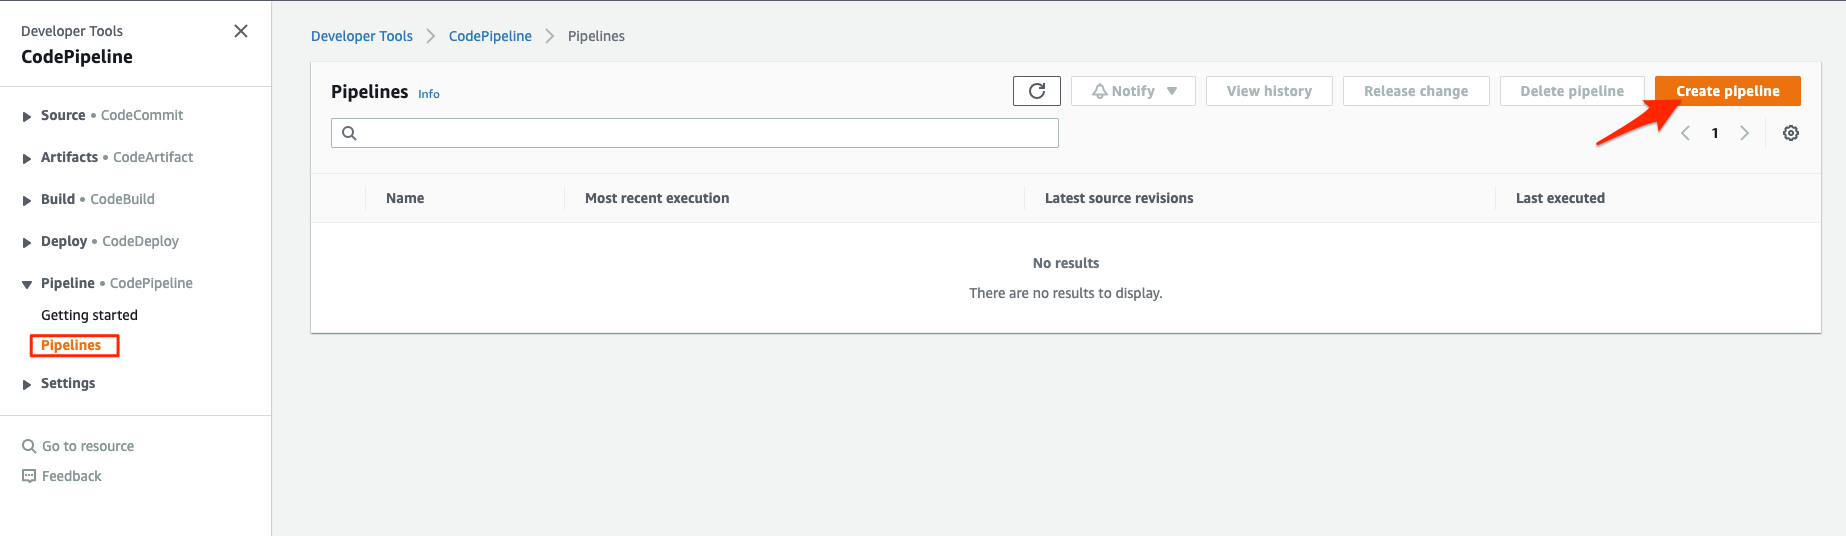
7-a. Navigate to CodePipeline and click on create pipeline.
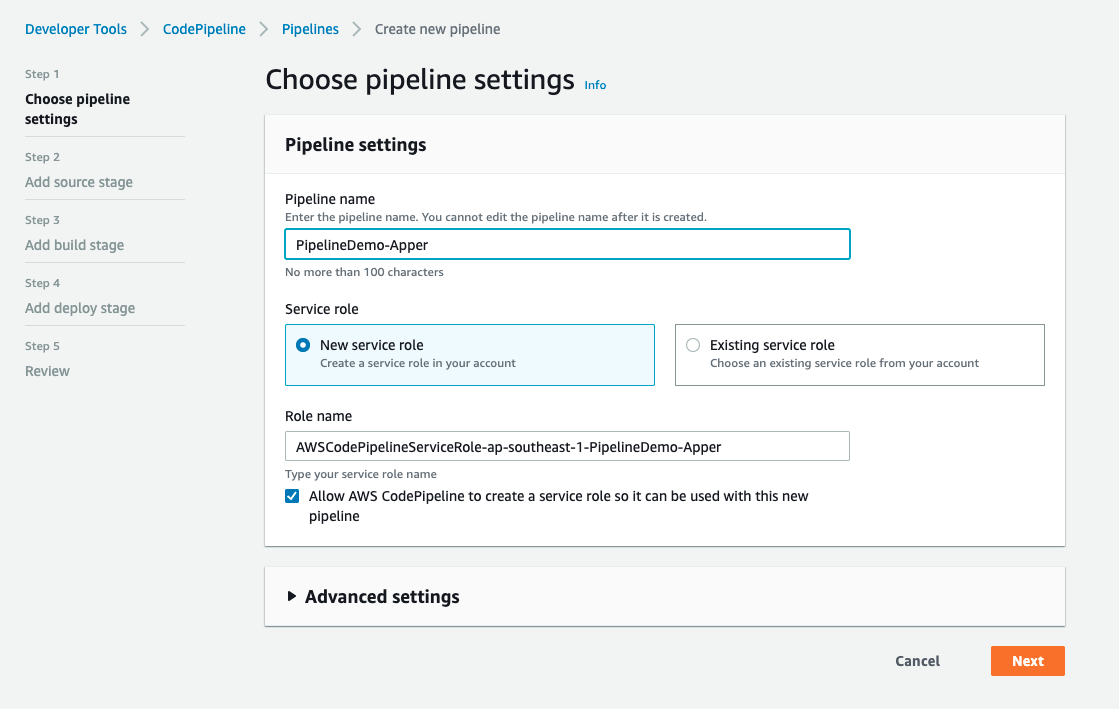
7-b. Set the name of your pipeline and leave other settings as default.
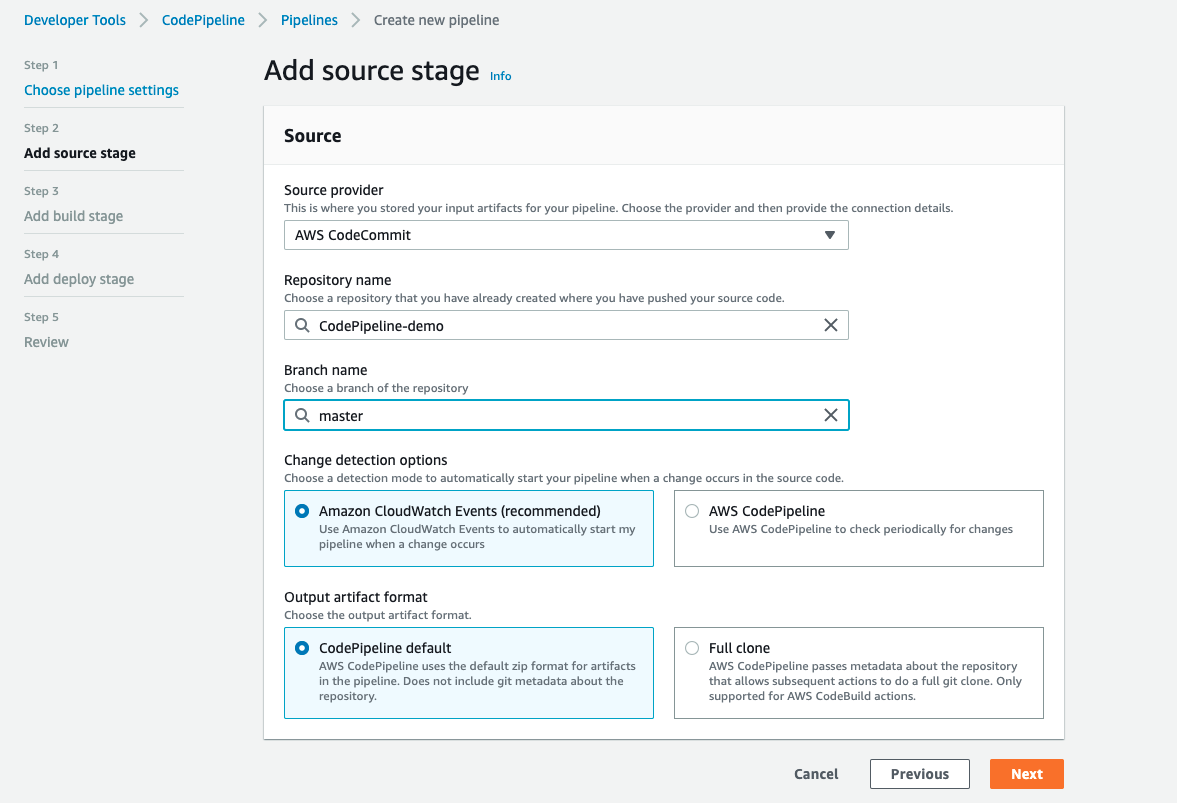
7-c. Select your CodeCommit Repository and branch name, leave other settings as default.
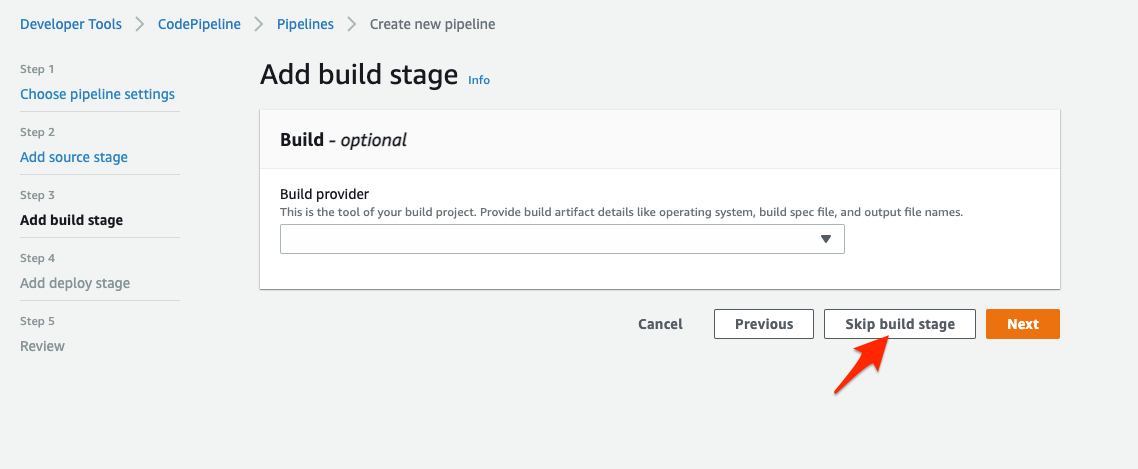
7-d. Skip the build stage, in this demo, we will deploy an app that does not require a build service.
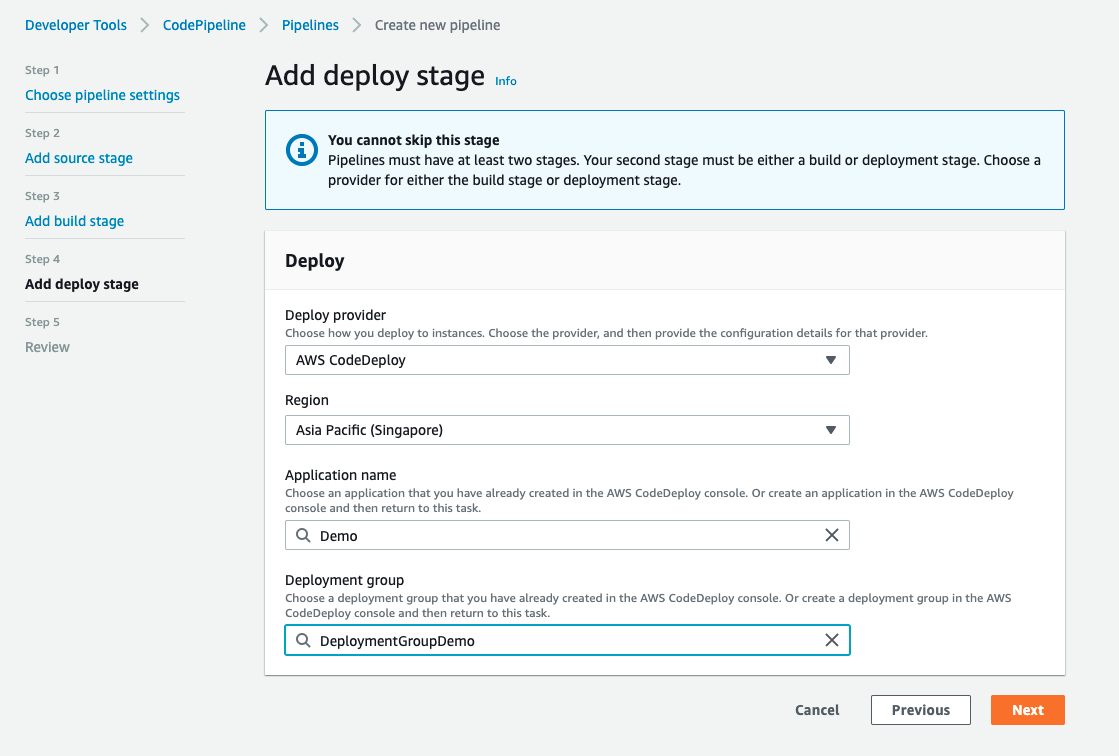
7-e. For the deploy stage, select your CodeDeploy and deployment group.
Click next.
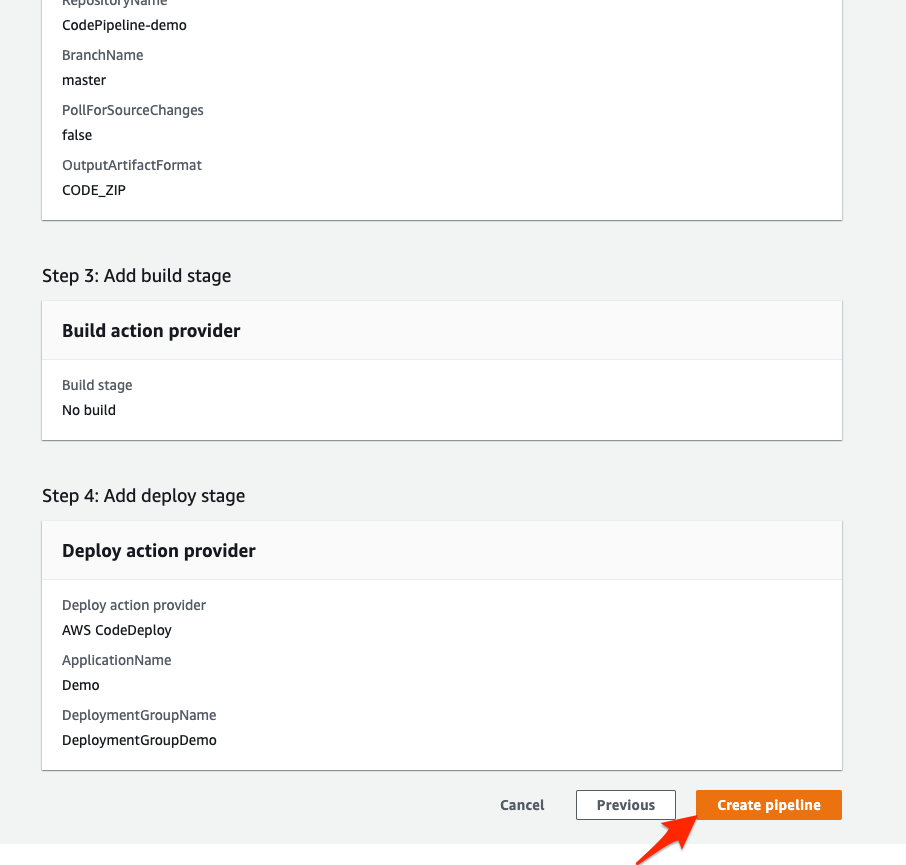
7-f. Briefly review your configuration and click create pipeline.
7-g. Once the pipeline is created, it will start deploying our application from the CodeCommit repository.
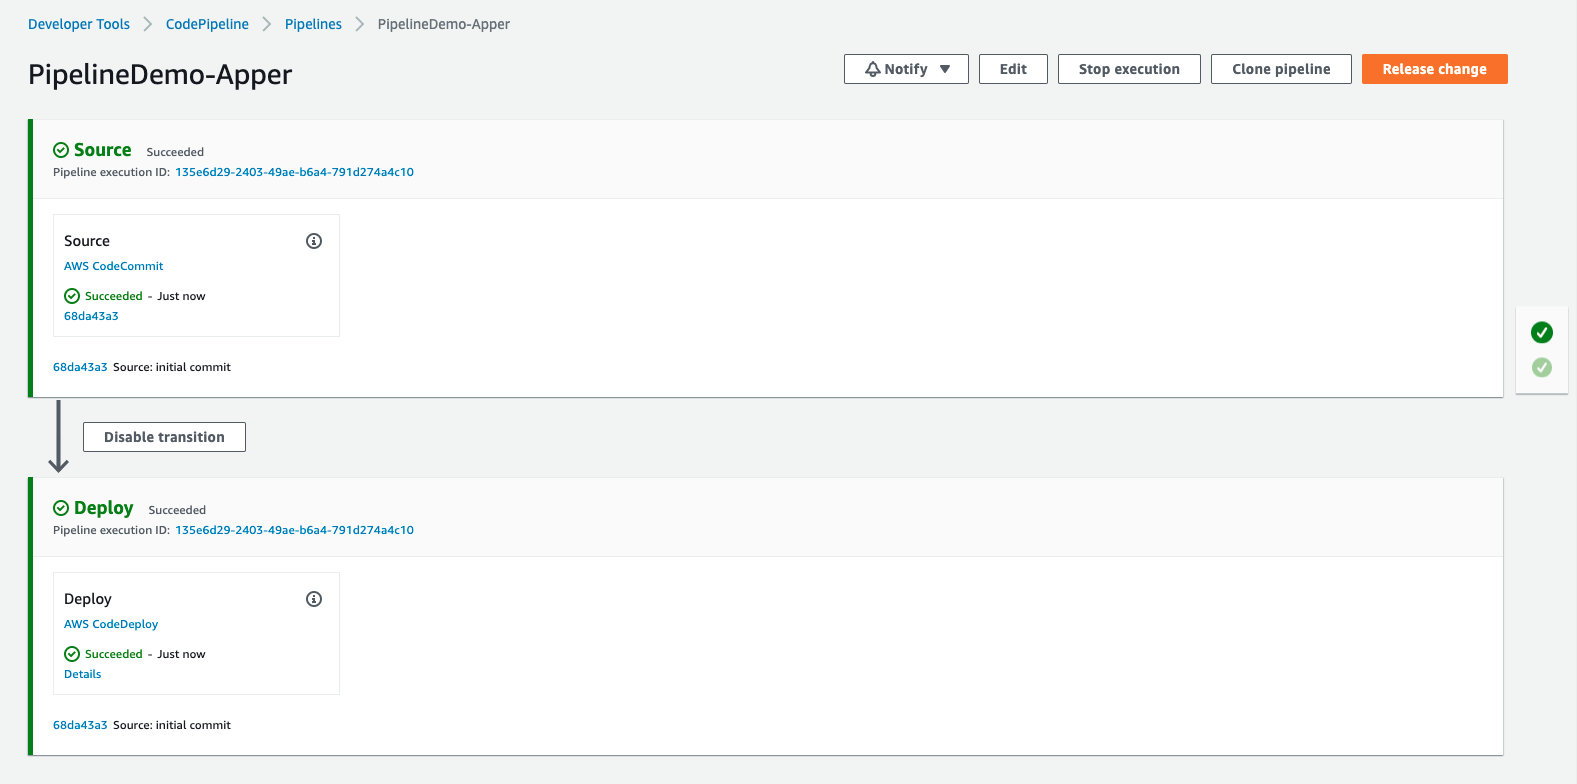
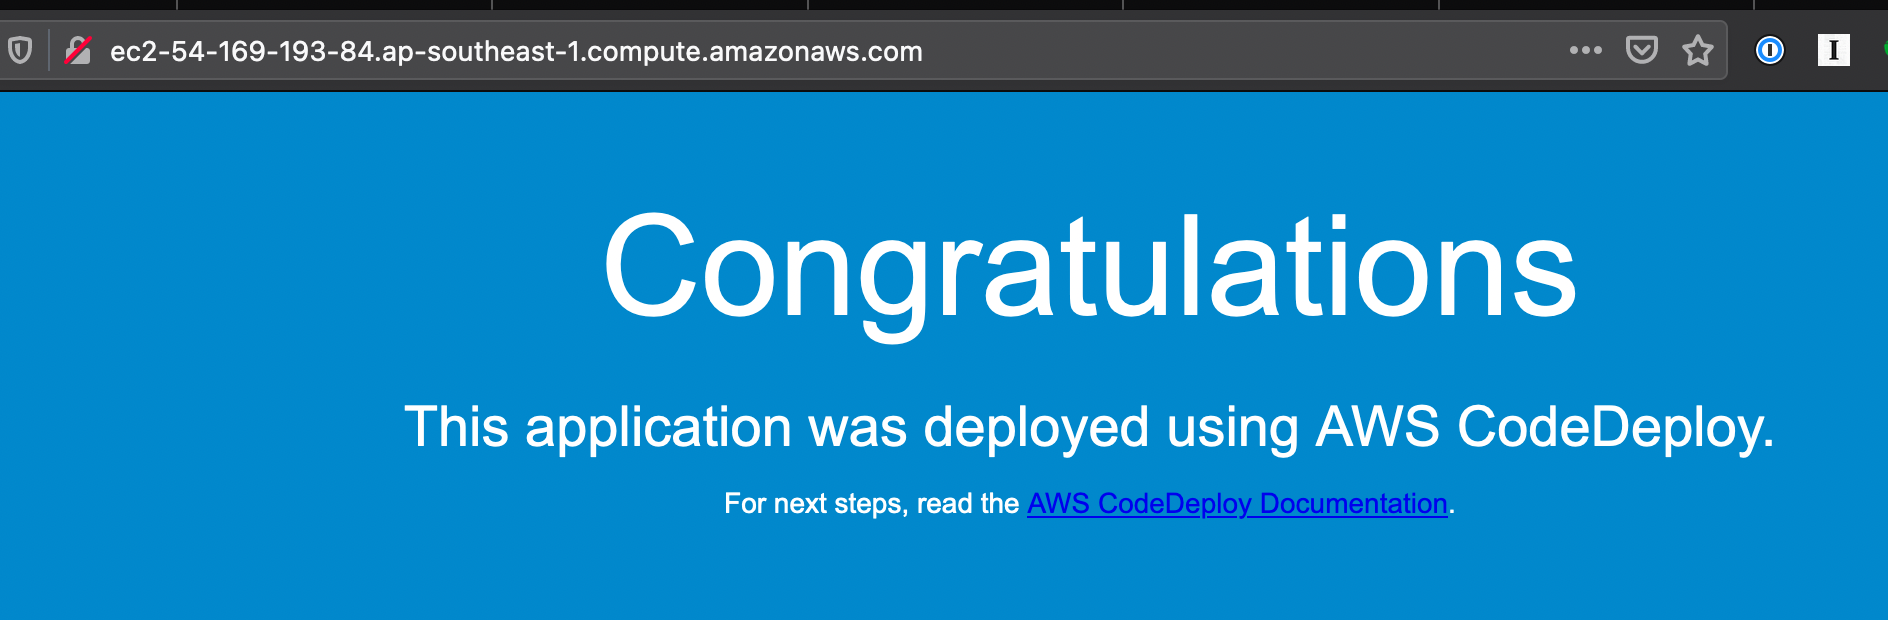
7-h. Once it’s all green grab the EC2 Public DNS and resolve it in a web browser.
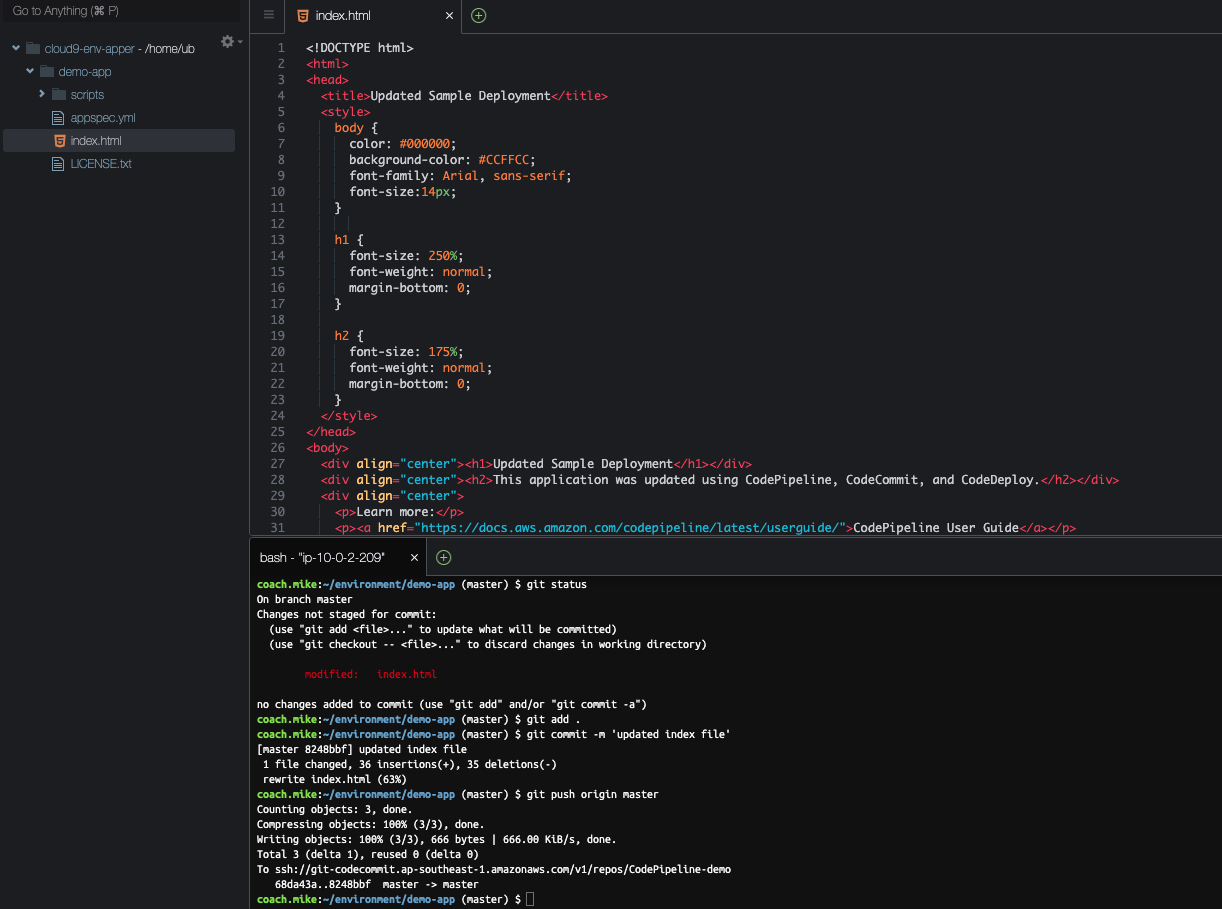
8-a. Go back to your Cloud9 environment and modify index.html You can put anything there as long as it is HTML, if you don’t have anything in mind to put there you can instead copy and paste the code from the gist file:
https://gist.github.com/mikerayco/0011f8e686709de389ce1554b1a73a20
Once you have made the changes, commit and push it to your CodeCommit Repository.
8-b. Once you have pushed your changes, CodePipeline will automatically deploy your changes to the Server.
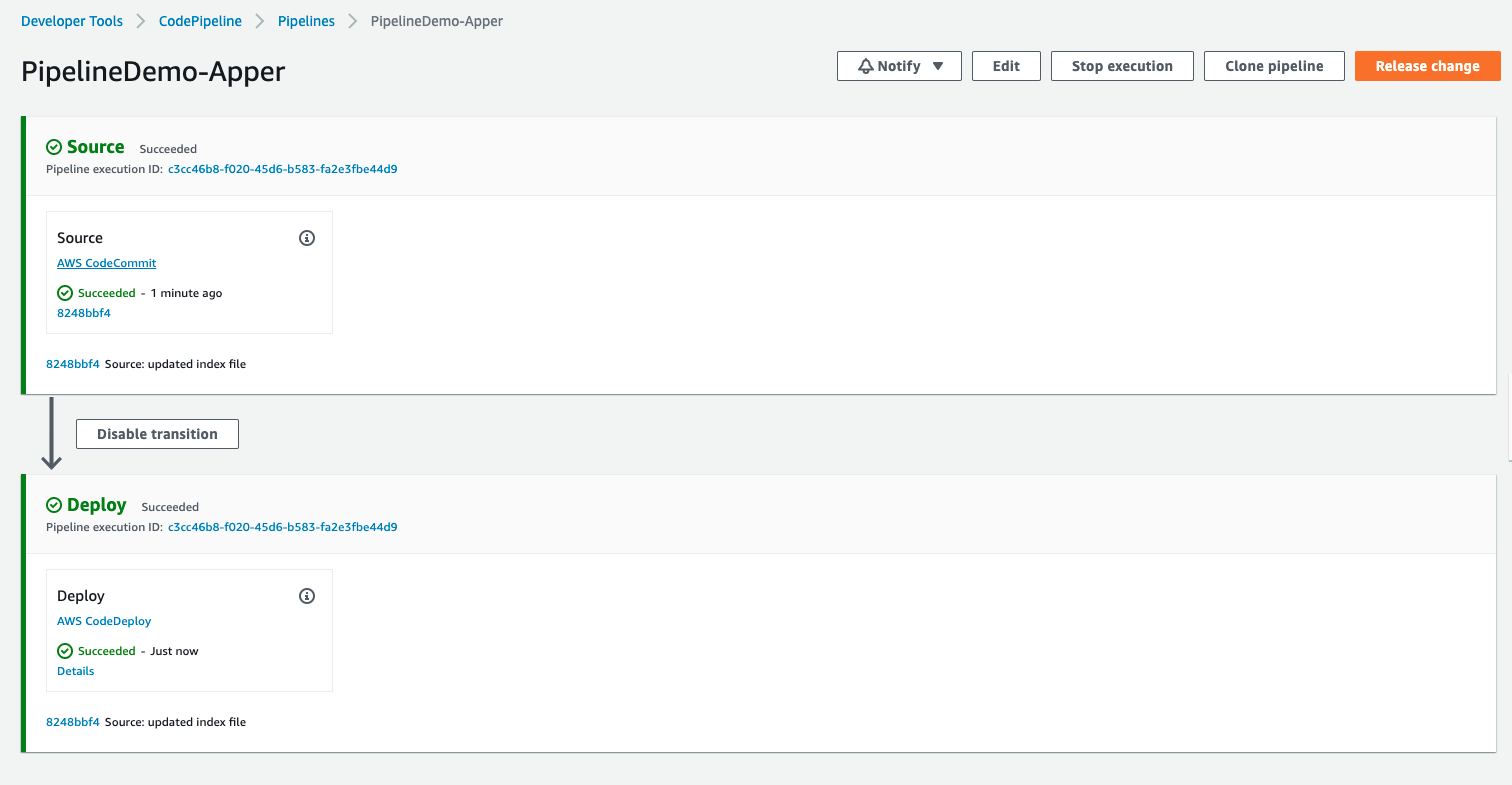
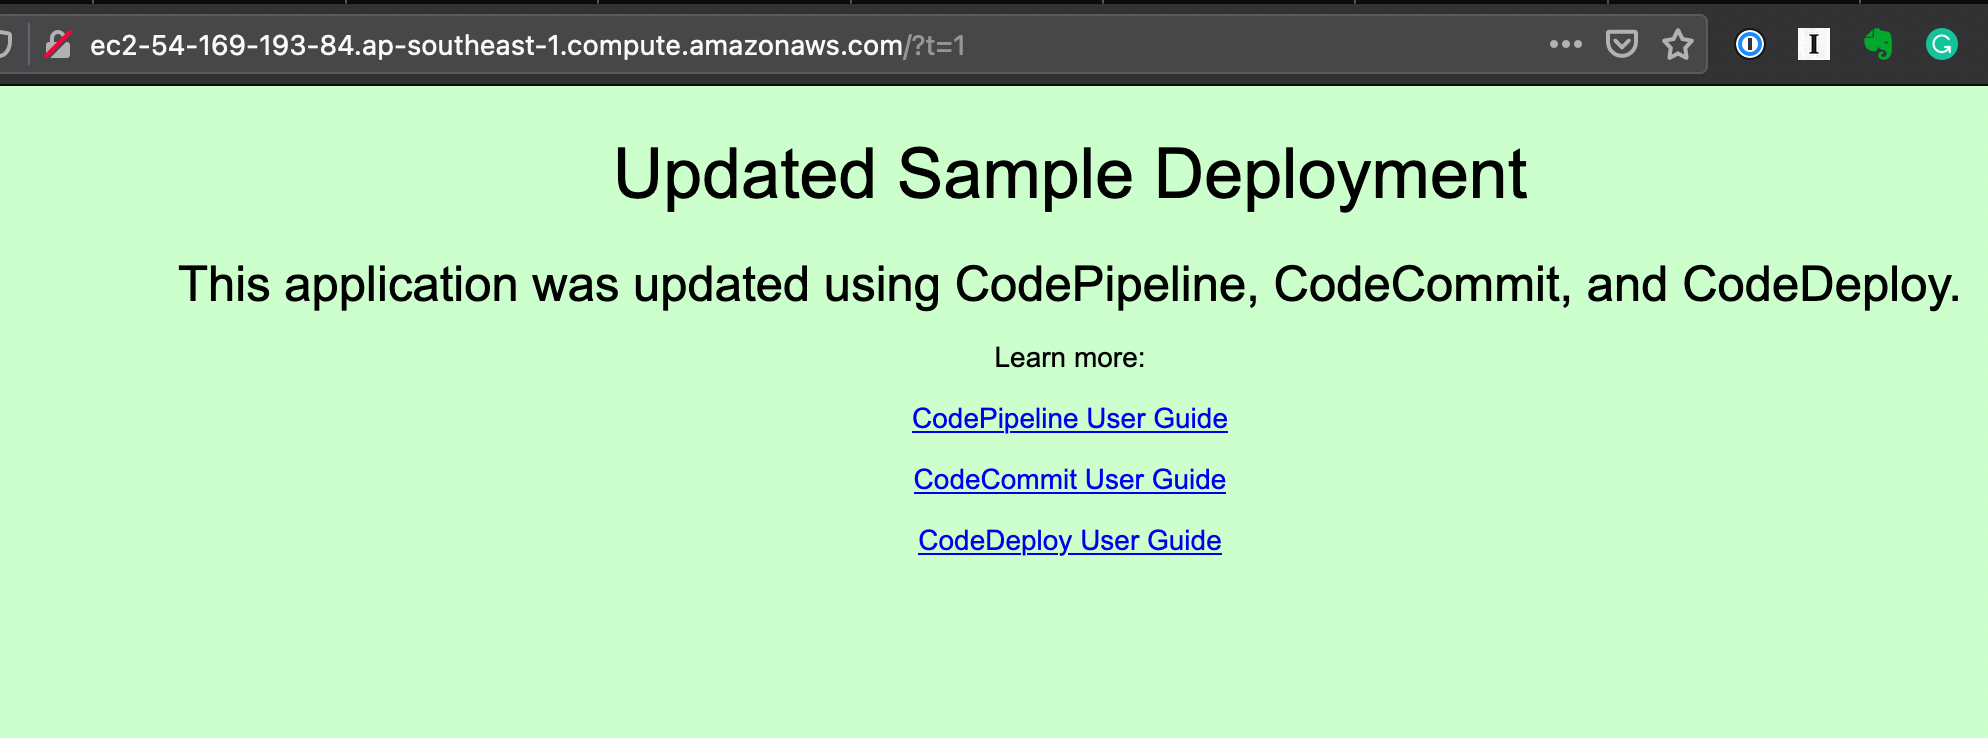
8-c. Once CodePipeline is all green, open the website again in a web browser.
There’s a chance that the website was cached on the web browser, if that happens just add ?t=1 at the end of the URL.
And there! You have successfully created a working CodePipeline!
Well done!
Please copy and paste the JSON in the textbox below and supply the necessary information.
{
 "codecommit-repository-name":"",
 "codepipeline-name":""
}
Reminder: Please don’t forget to delete your EC2 instance, CodeDeploy, and CodePipeline. Thanks!