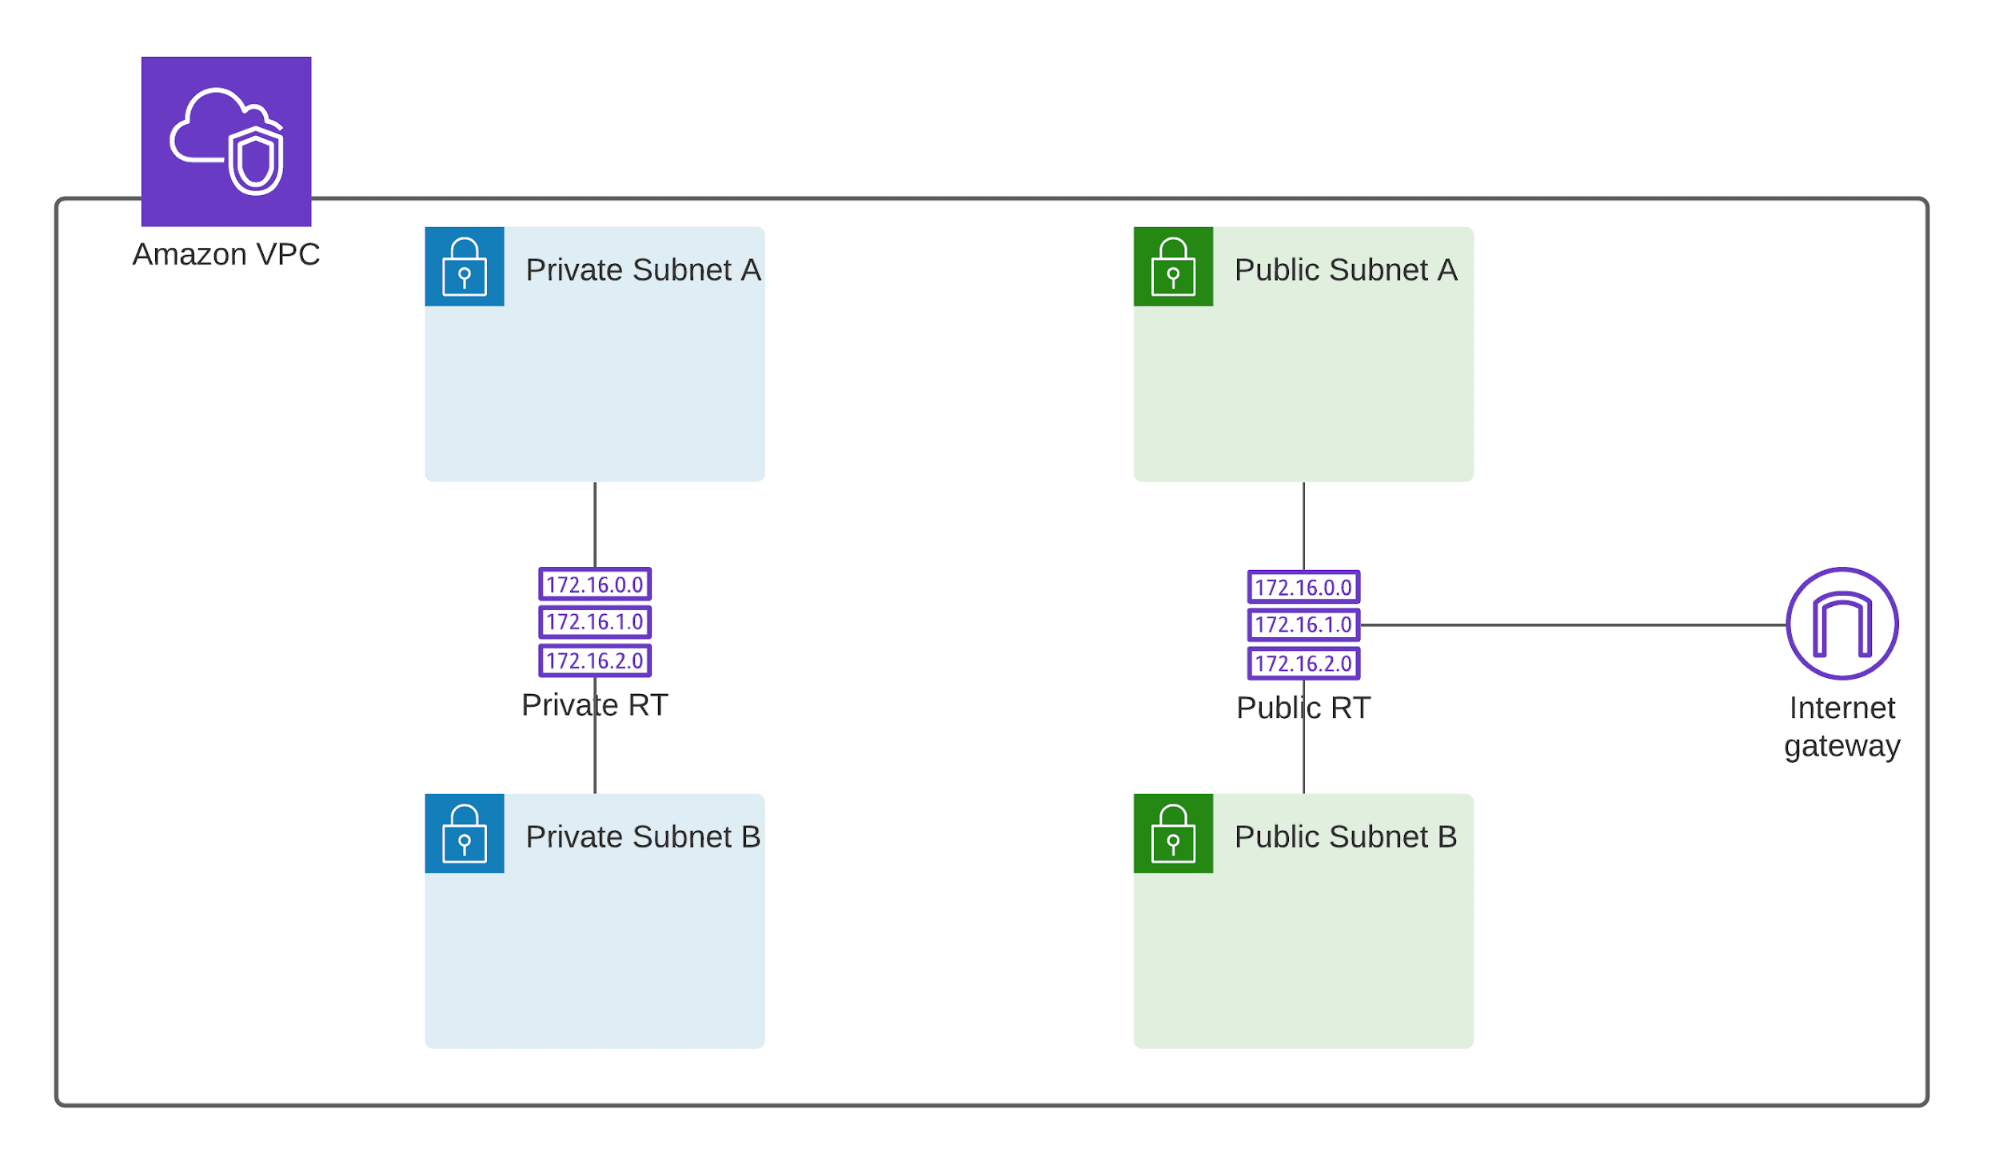
This lab will guide you through creating a VPC and implementing network segmentation. By the end of the exercise, your VPC will include 2 public subnets and 2 private subnets.
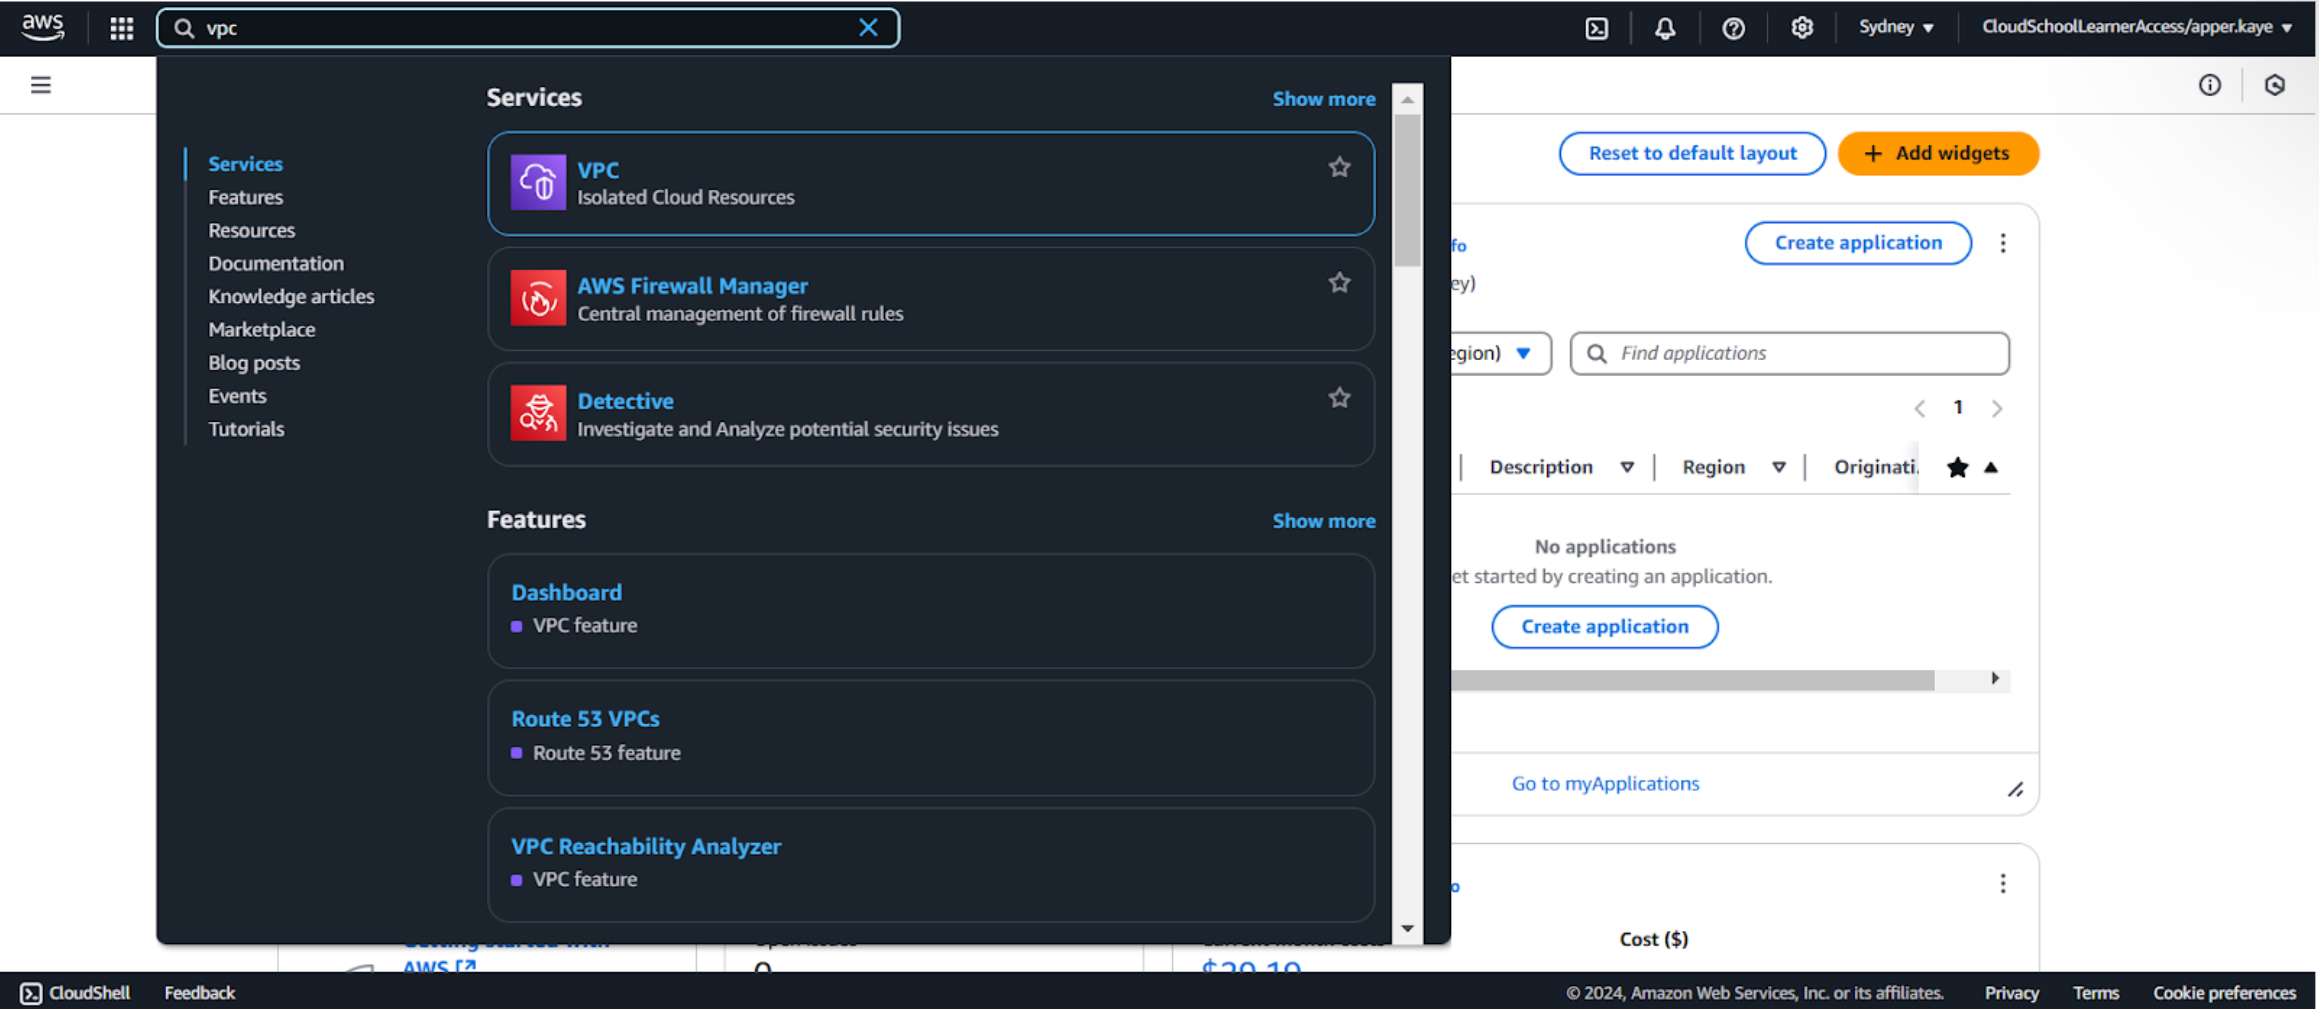
1-a. Open the AWS Management Console and go to the VPC section.
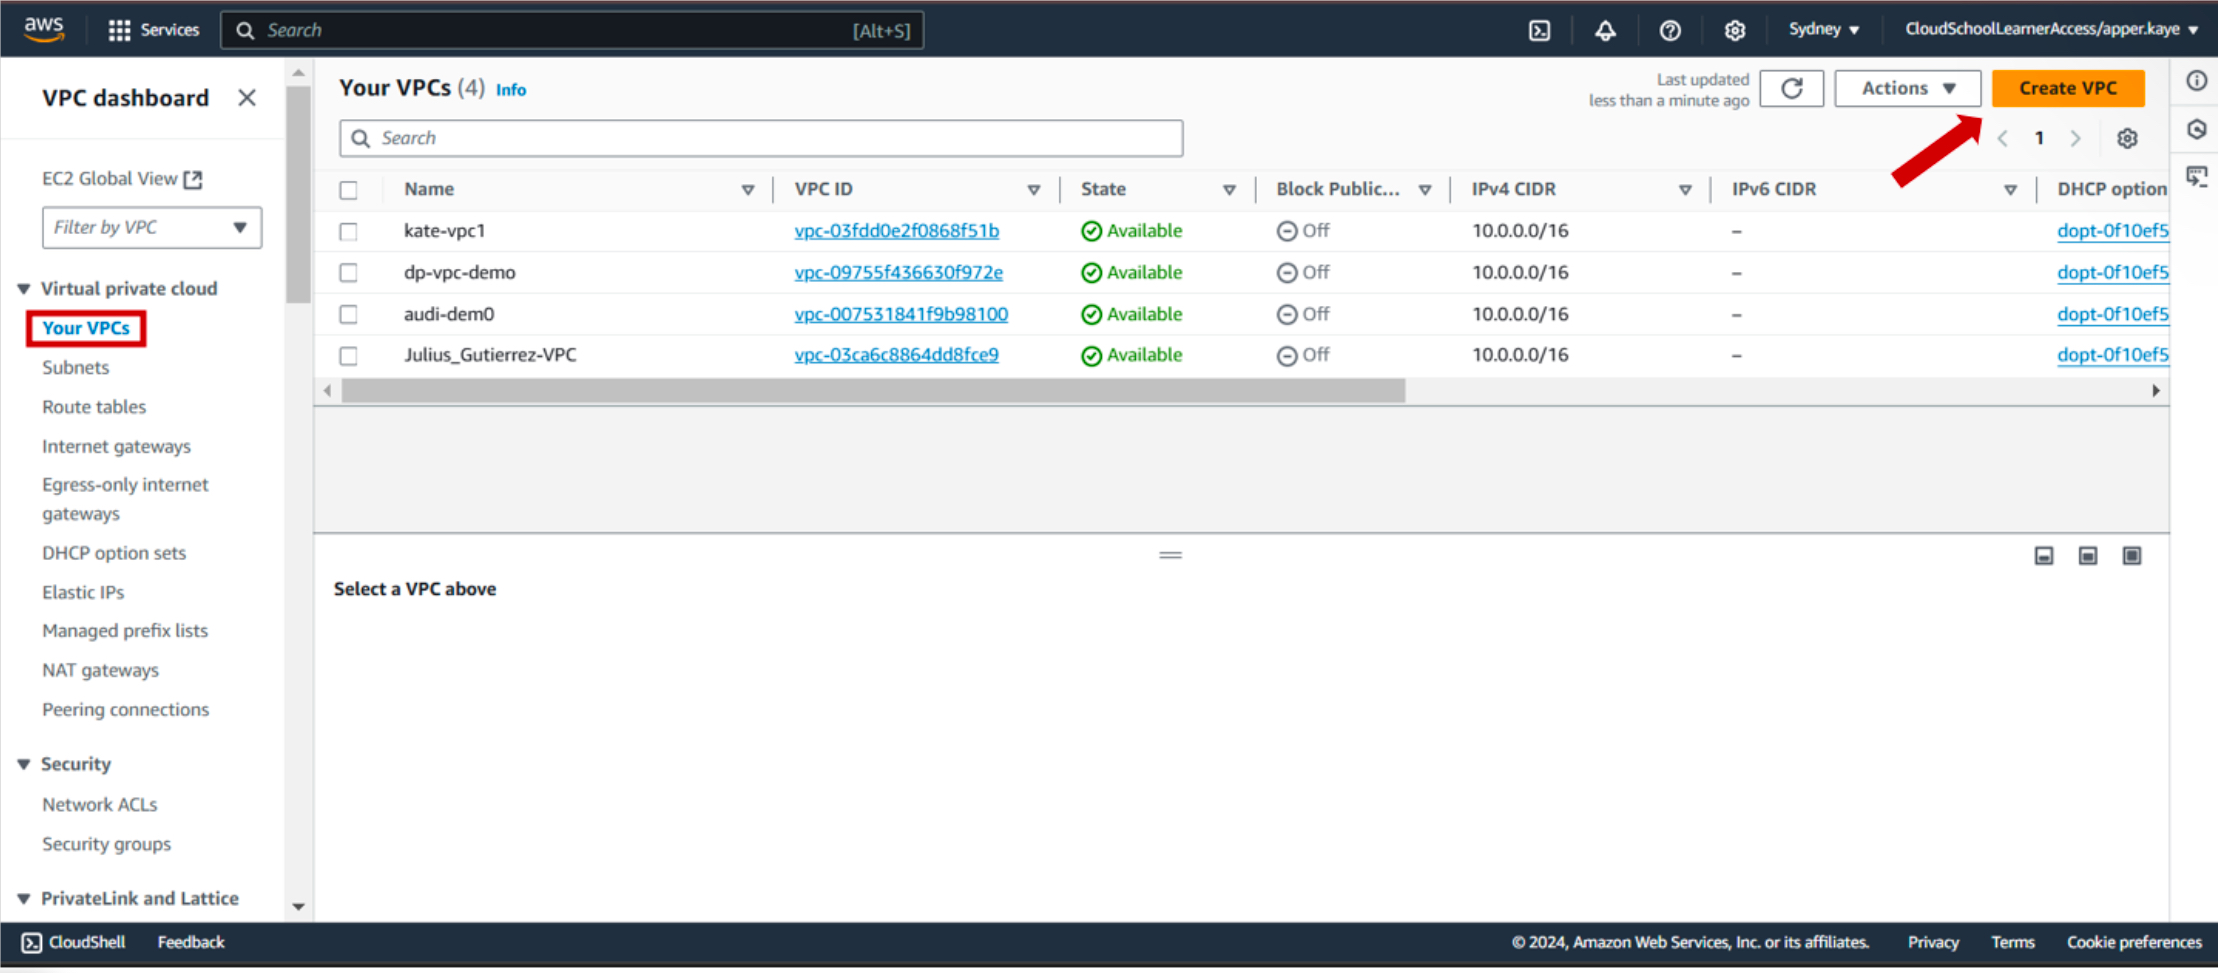
1-b. Under Your VPCs, click Create VPC.
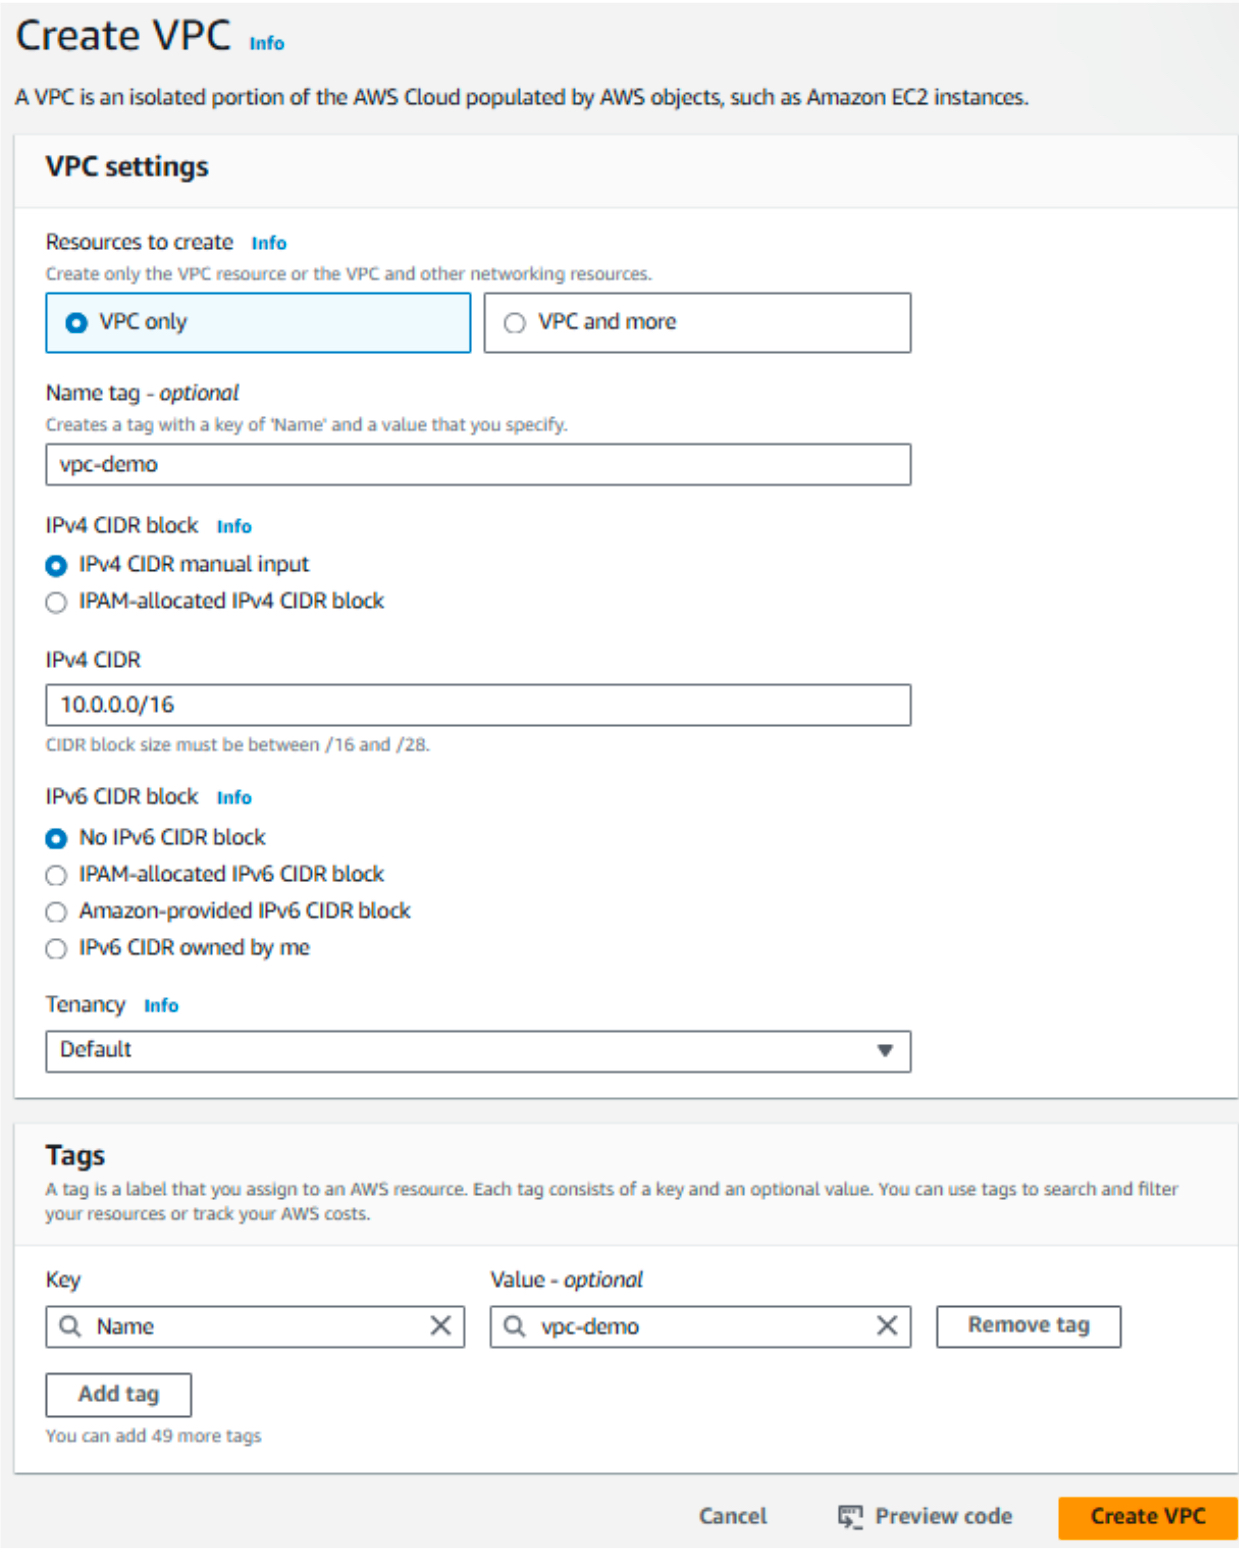
1-c. Specify a /16 CIDR block for the VPC. Ensure it doesn’t overlap with any existing VPCs. Optionally, include your name in the VPC name for easy identification.
1-d. Your VPC has been successfully created.

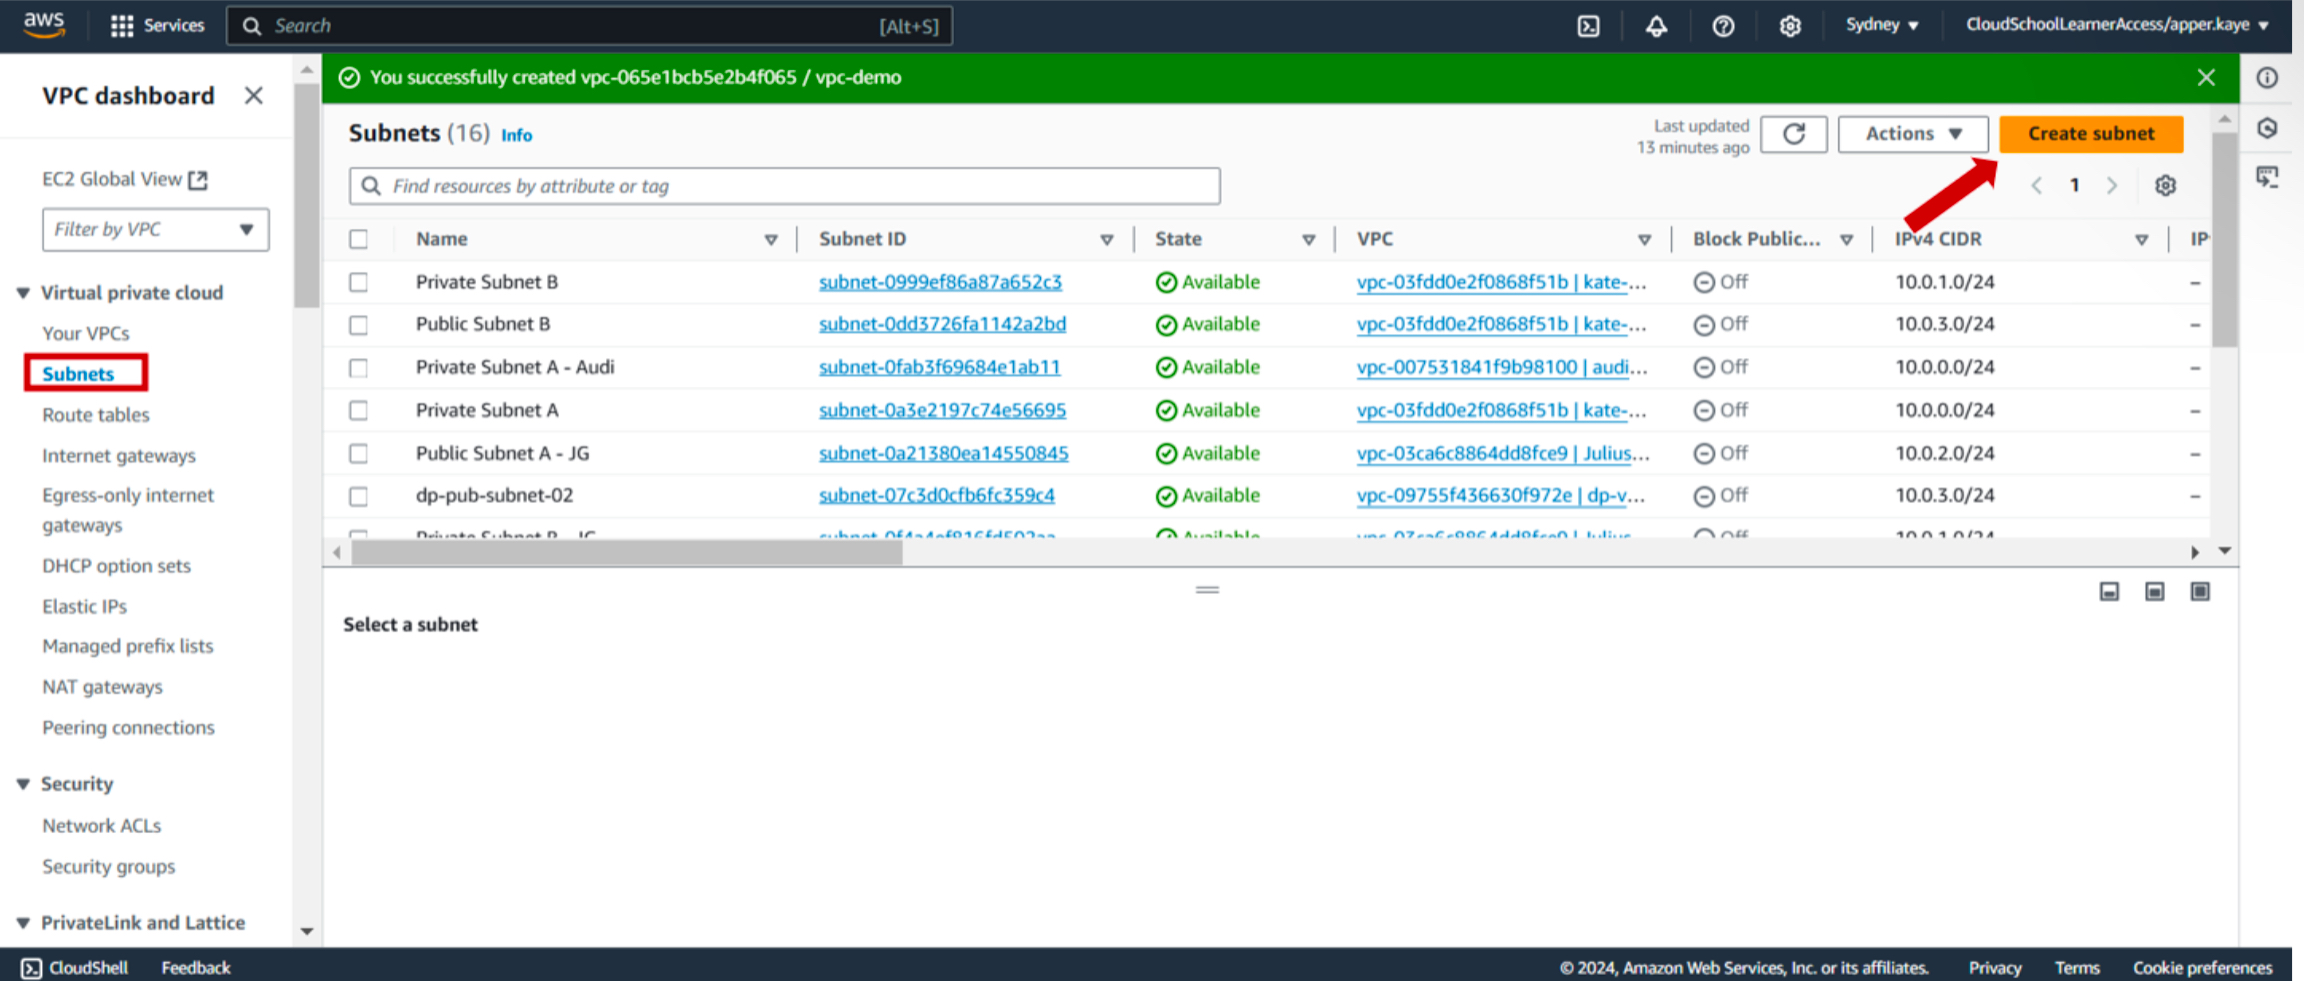
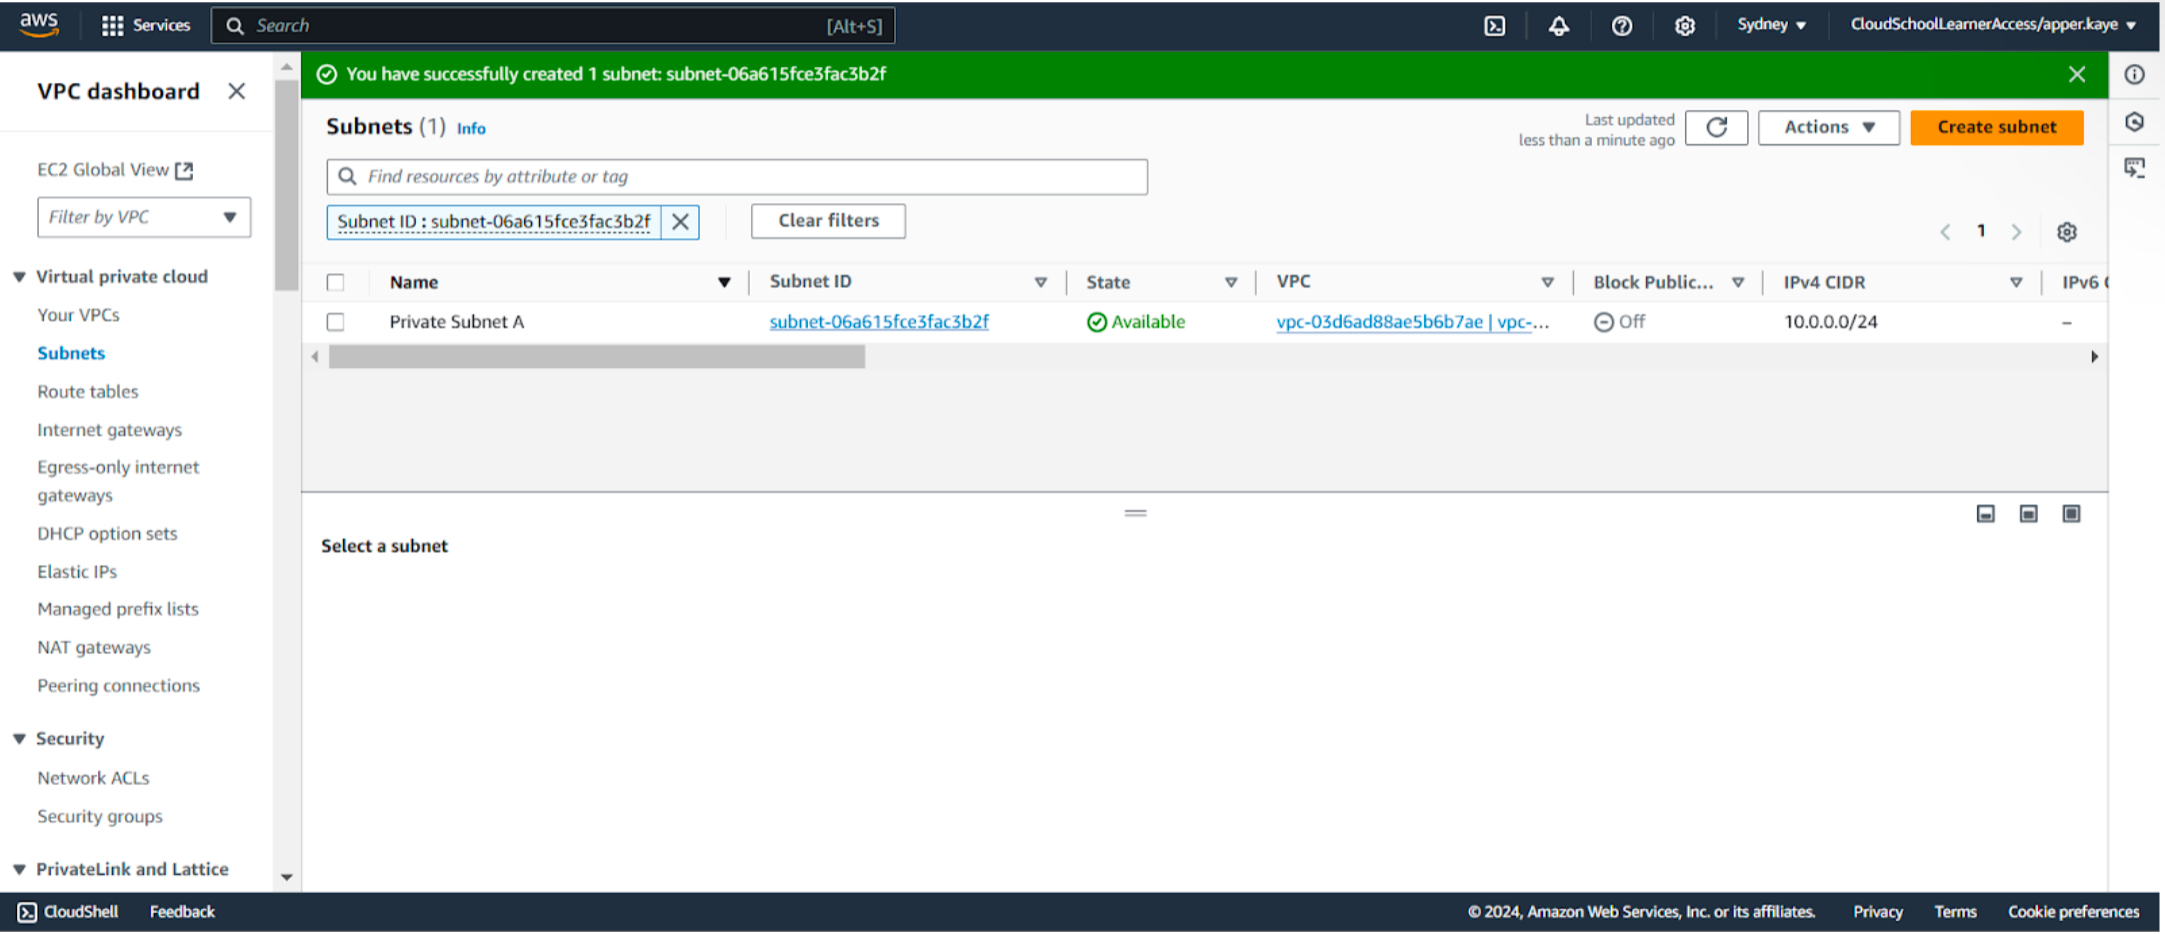
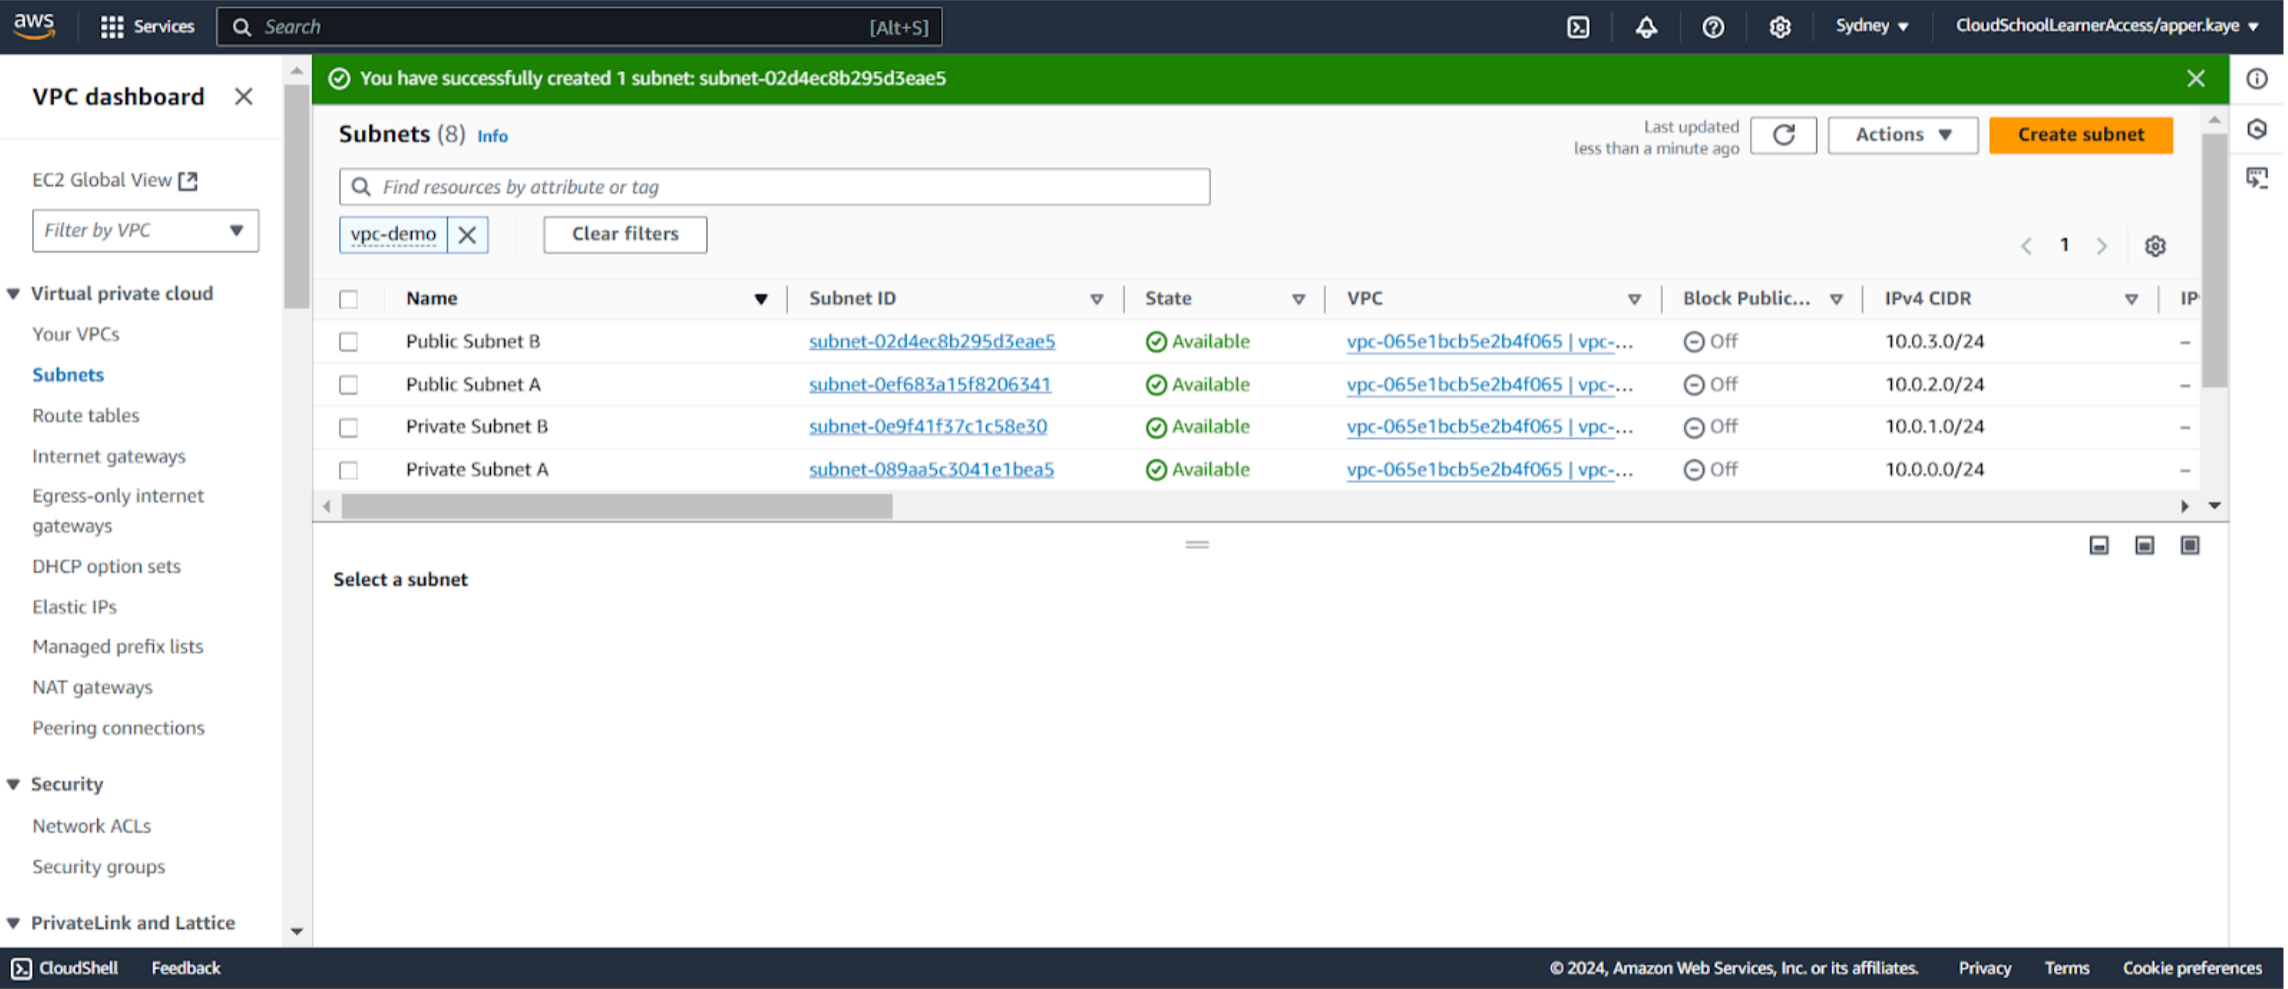
2-a. Go to Subnets and click Create Subnet.
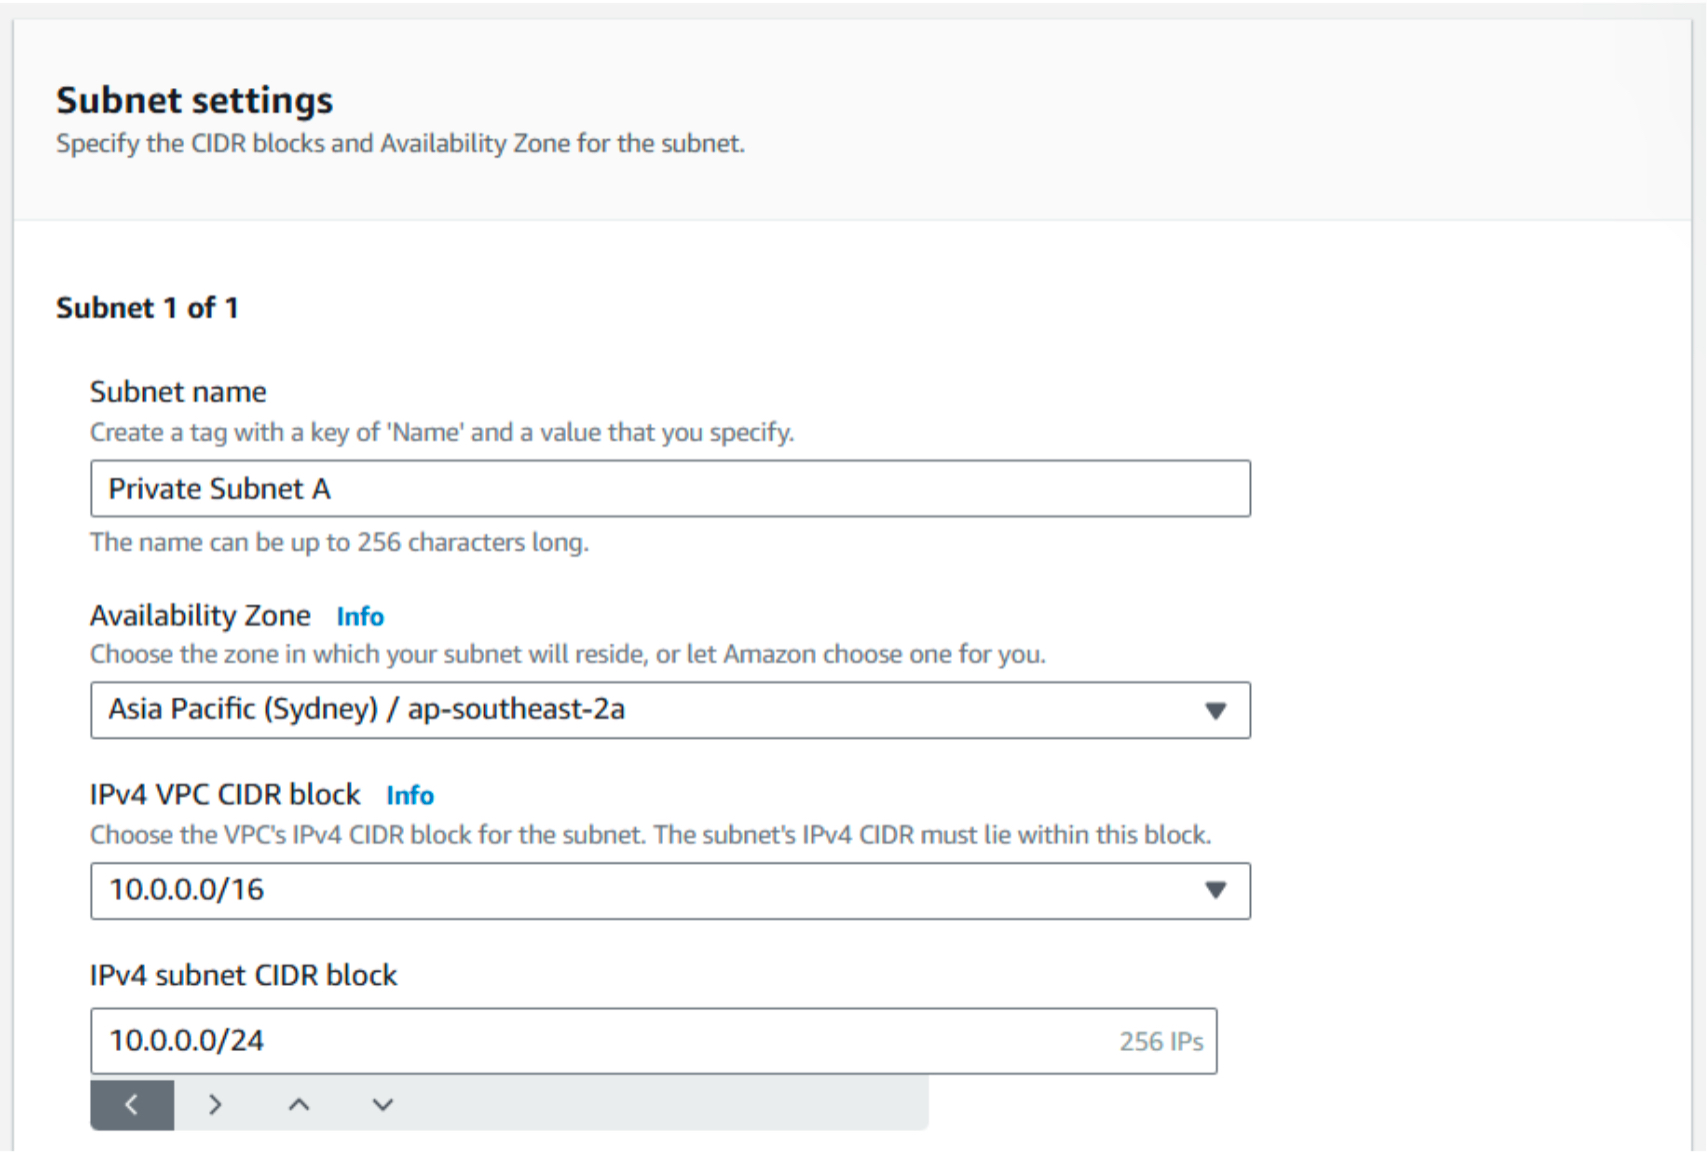
2-b. Create a private subnet:
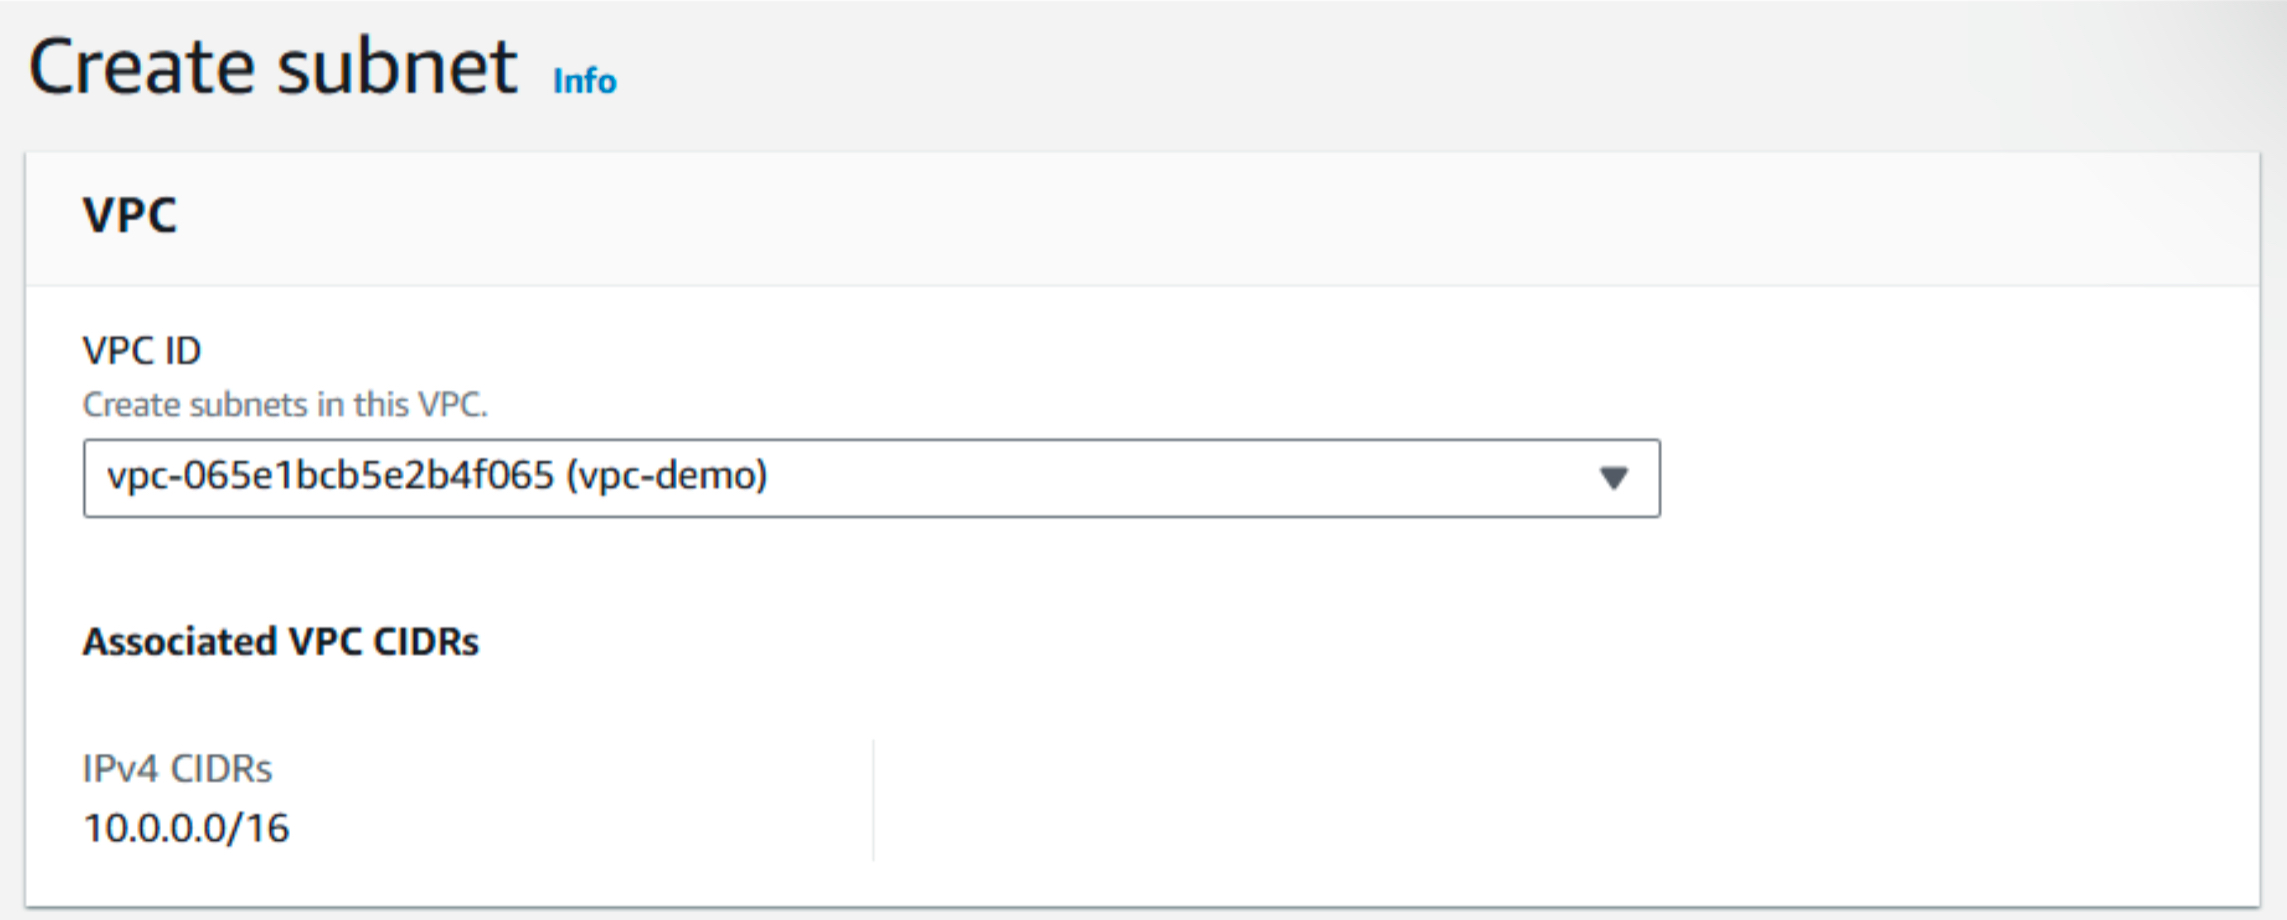
- Choose your VPC.
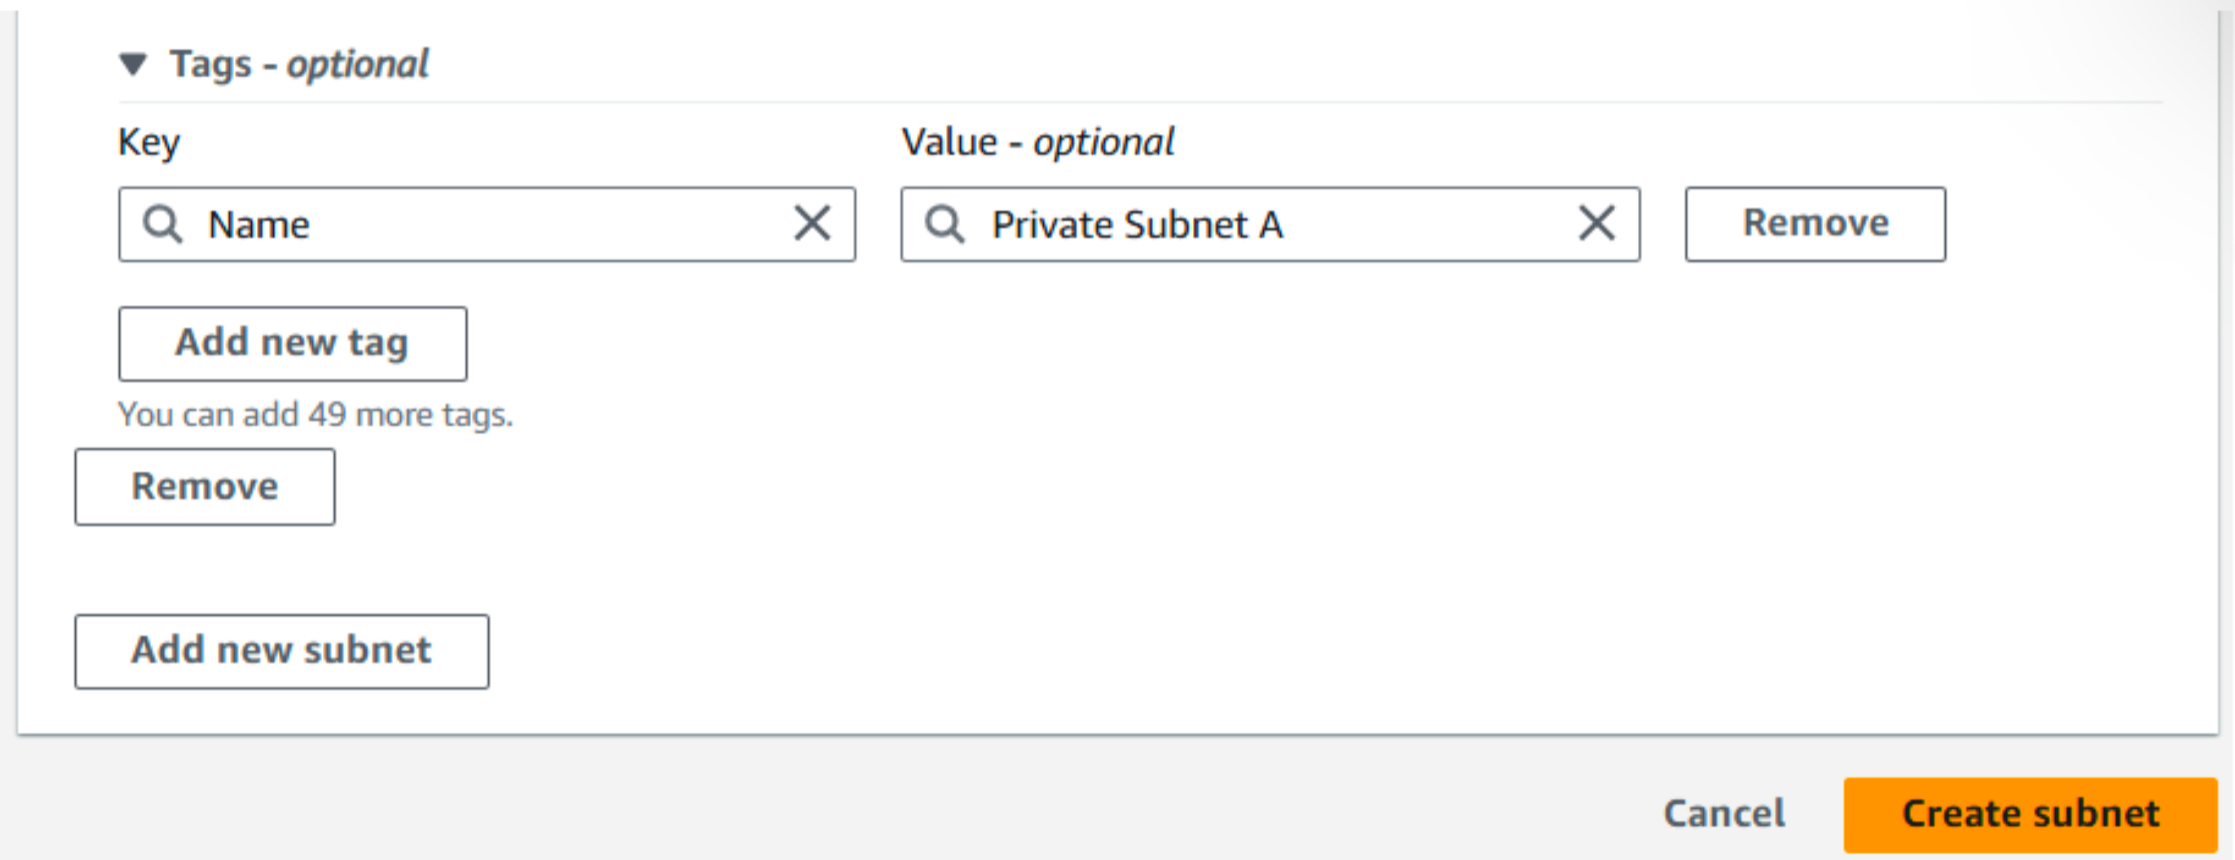
- Name the subnet "Private Subnet A."
- Assign it a /24 CIDR block.
- Pick an Availability Zone (AZ).
2-c. Your private subnet has been created.
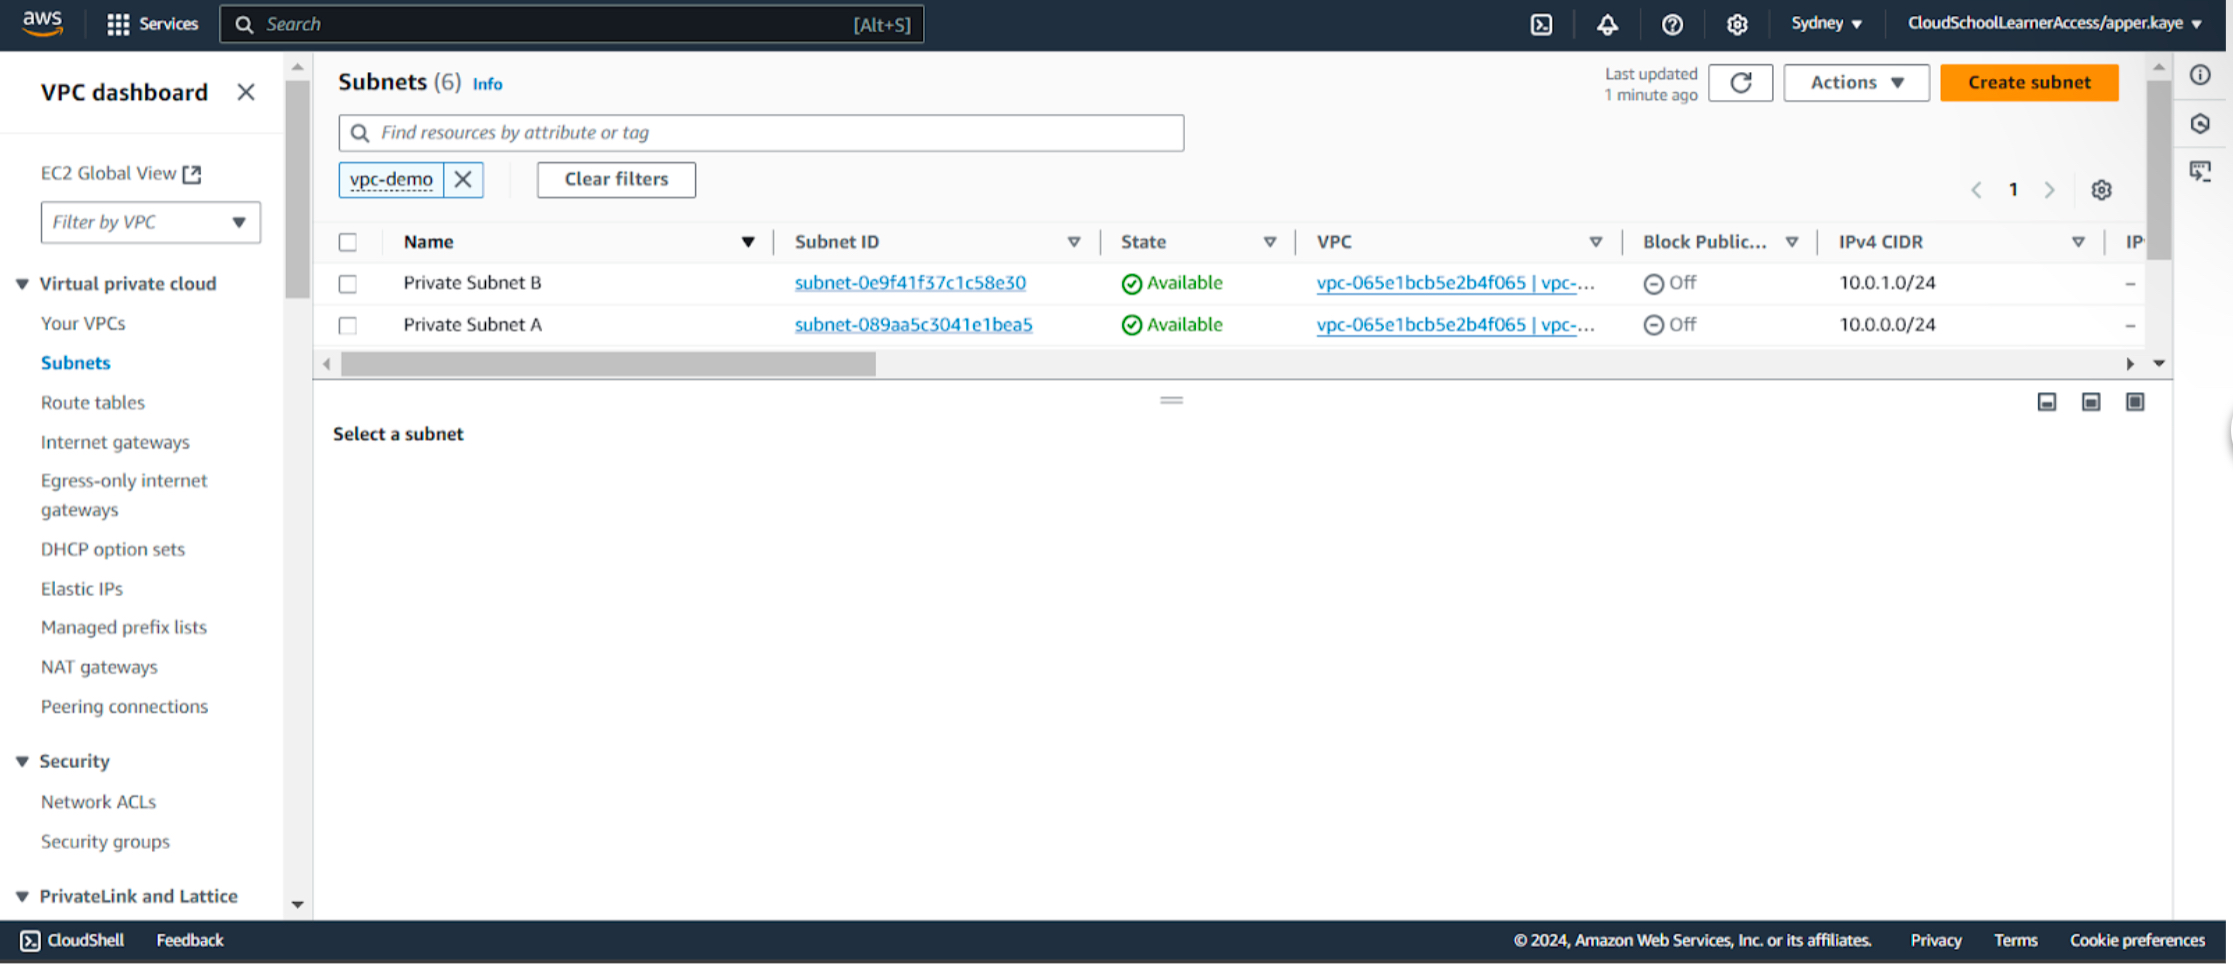
2-d. Create another private subnet:
- Name it Private Subnet B.
- Assign it a different /24 CIDR block.
- Select an AZ different from Private Subnet A.
- You now have two private subnets.
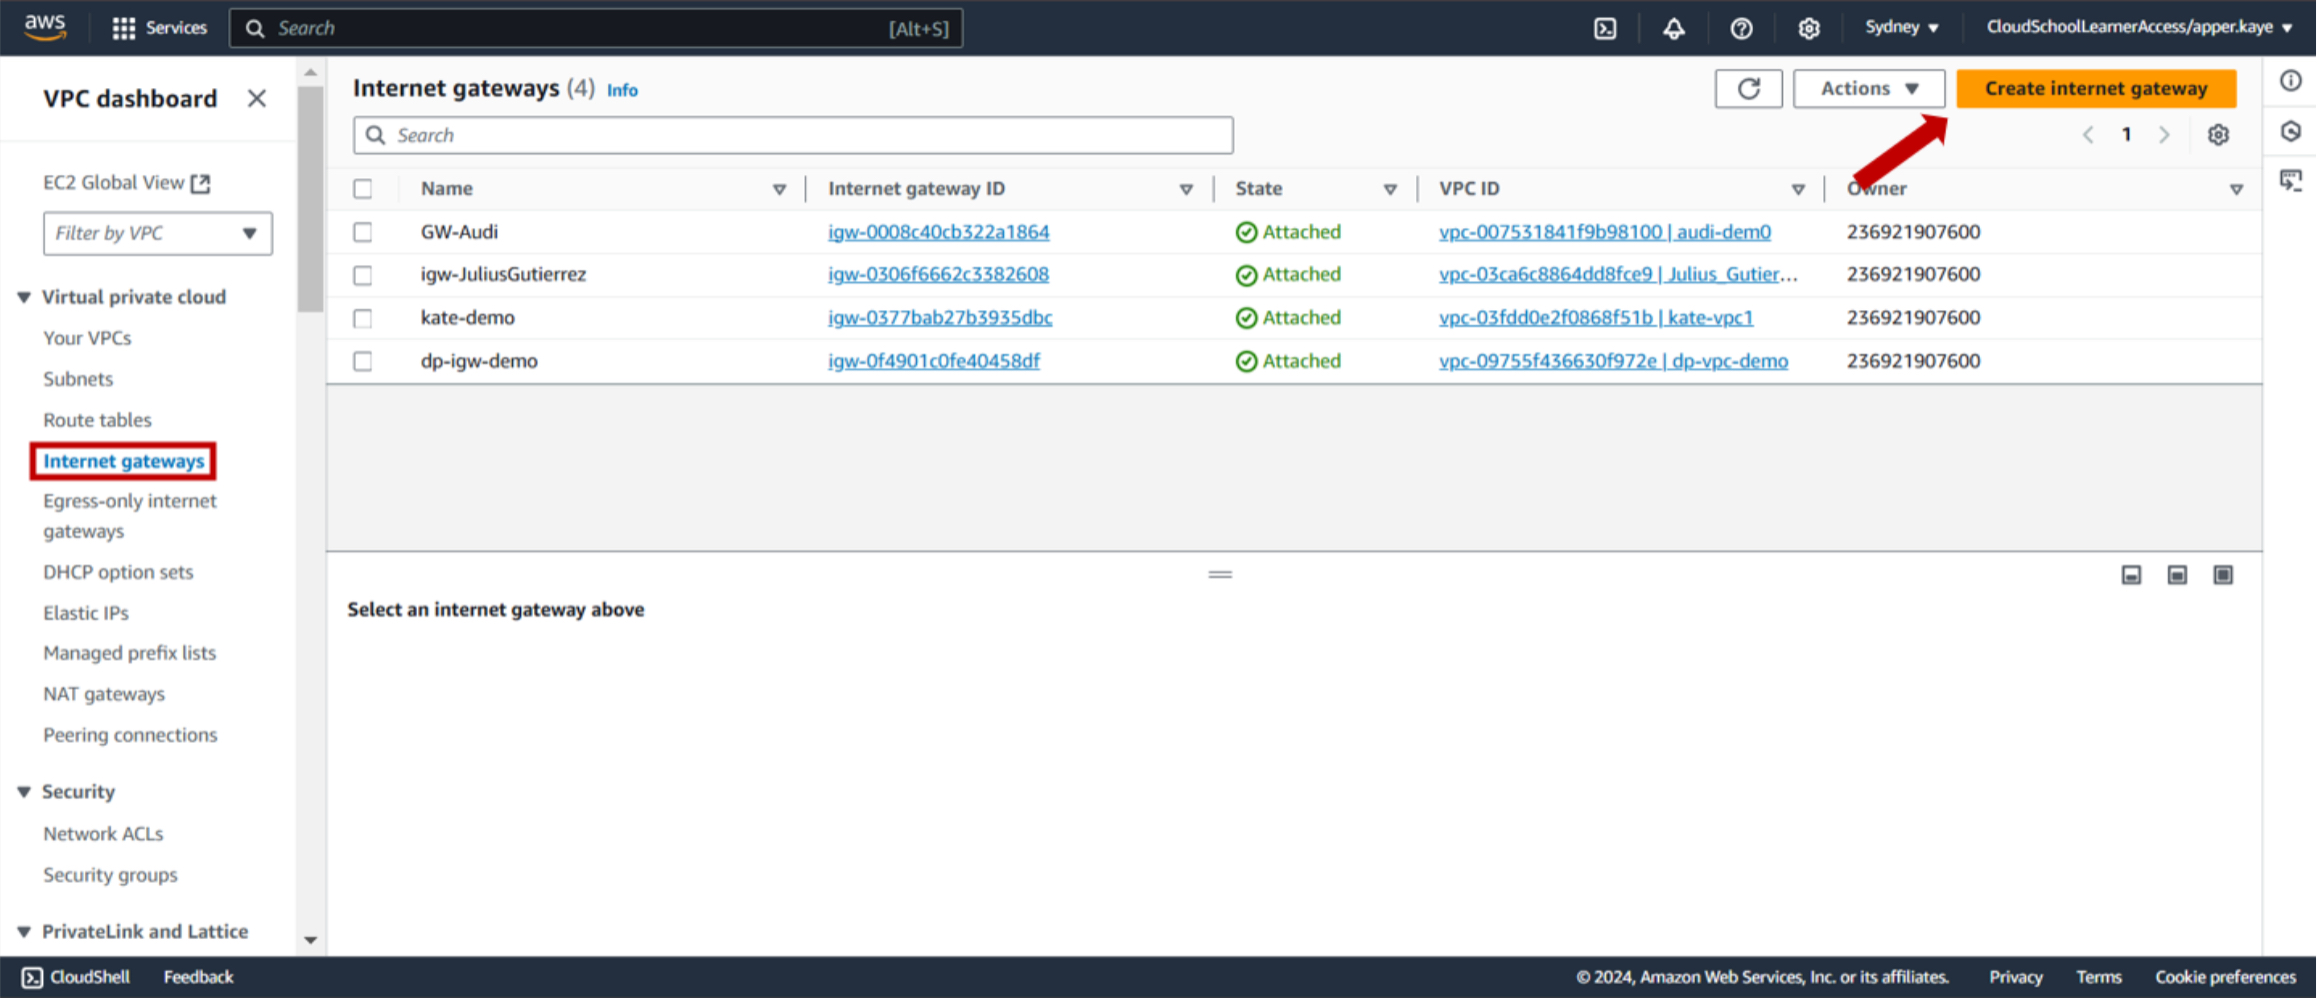
3-a. To enable internet connectivity for public subnets, first create an Internet Gateway (IGW). Go to Internet Gateway and click Create Internet Gateway.
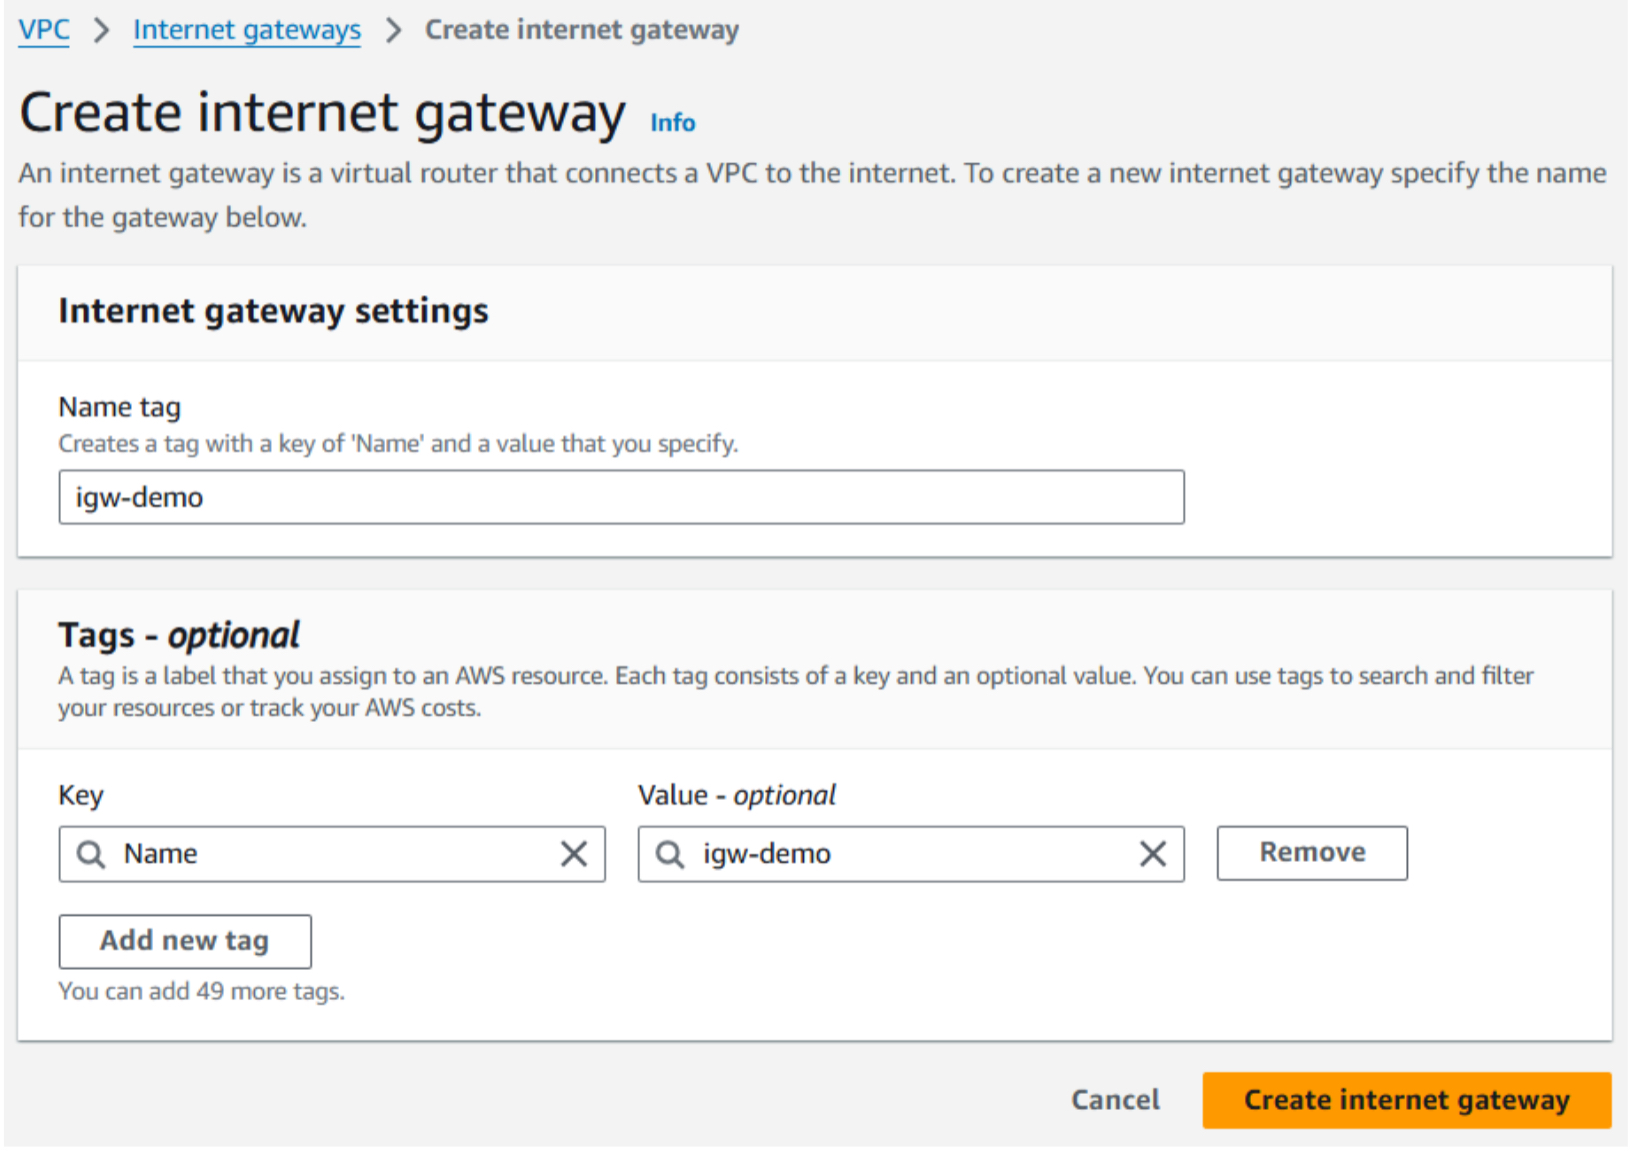
3-b. Name your Internet Gateway and click Create.
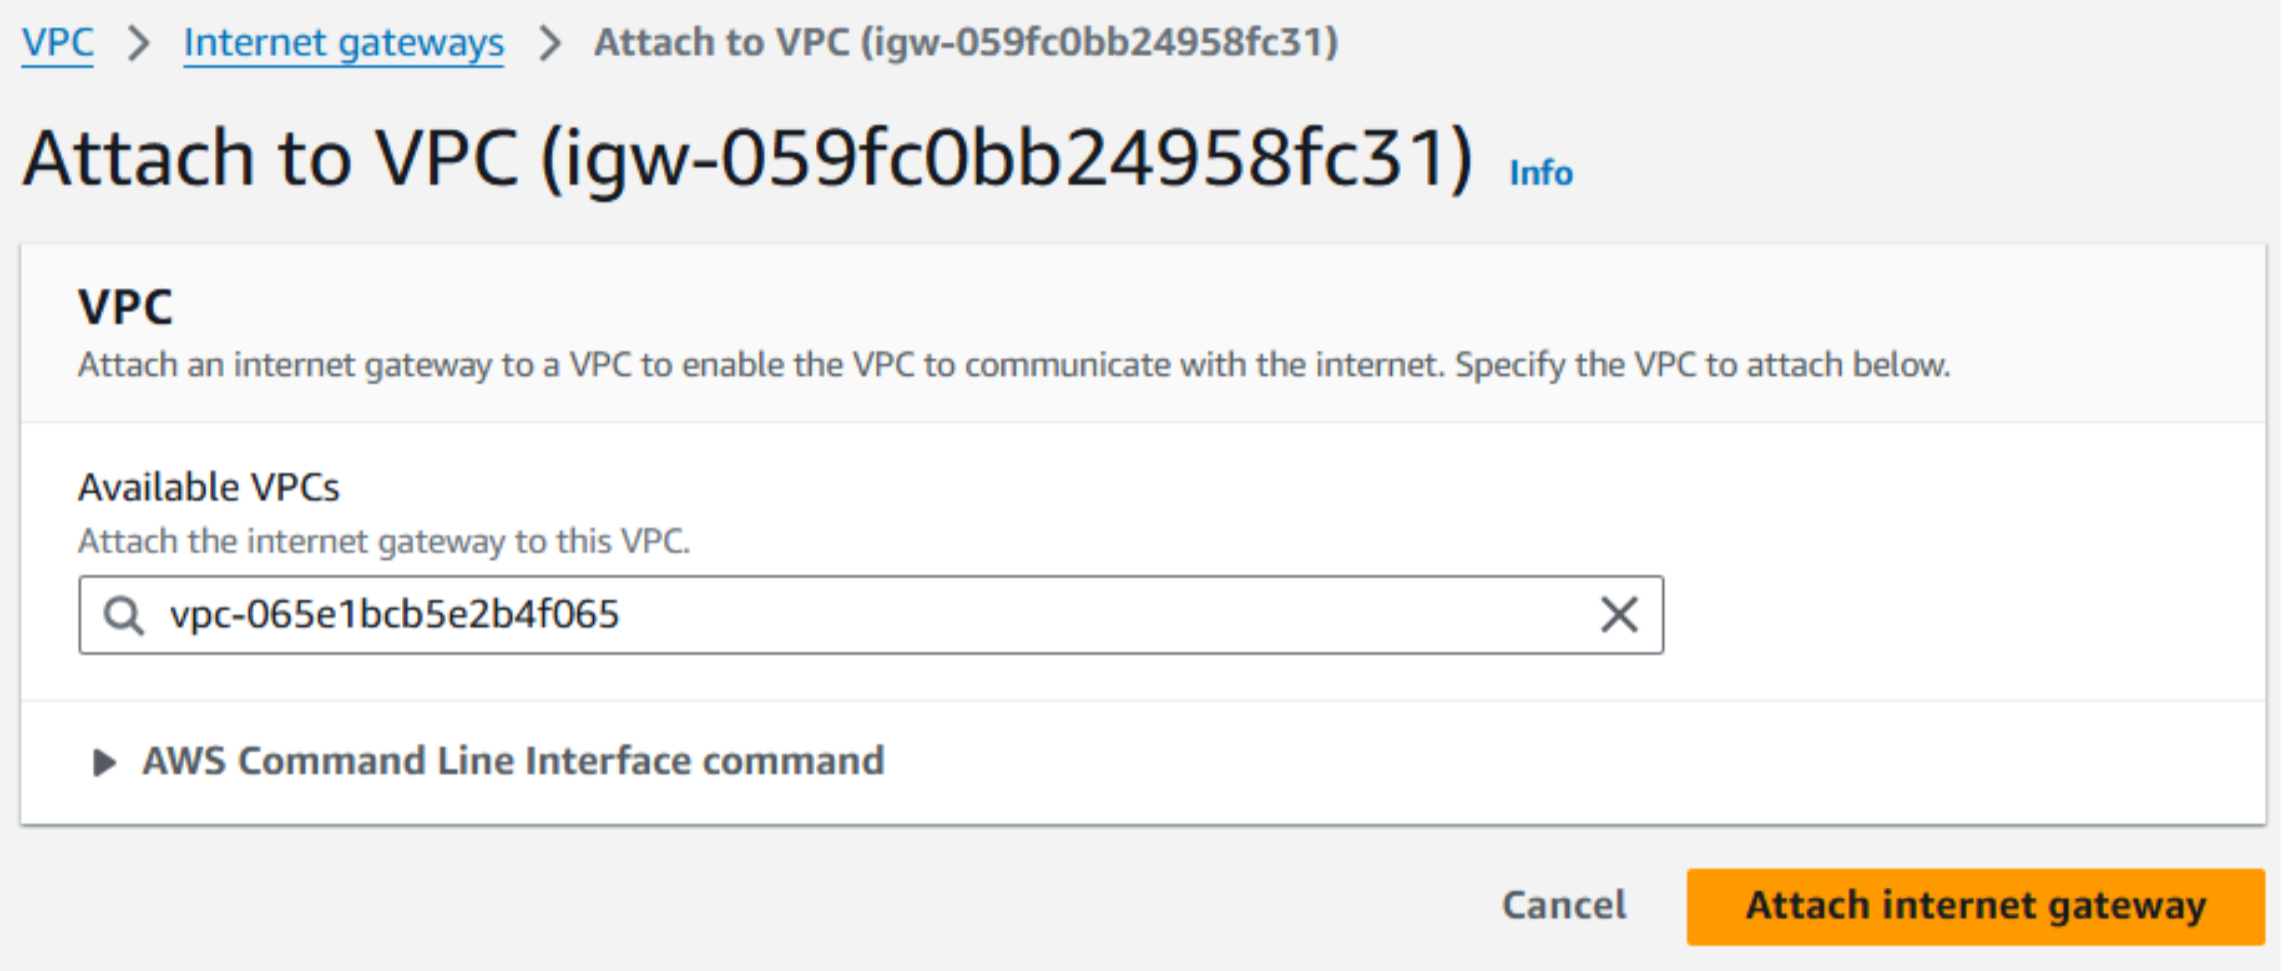
3-c. Attach the IGW to your VPC:
- Select the IGW.
- Click Actions, then Attach to VPC.
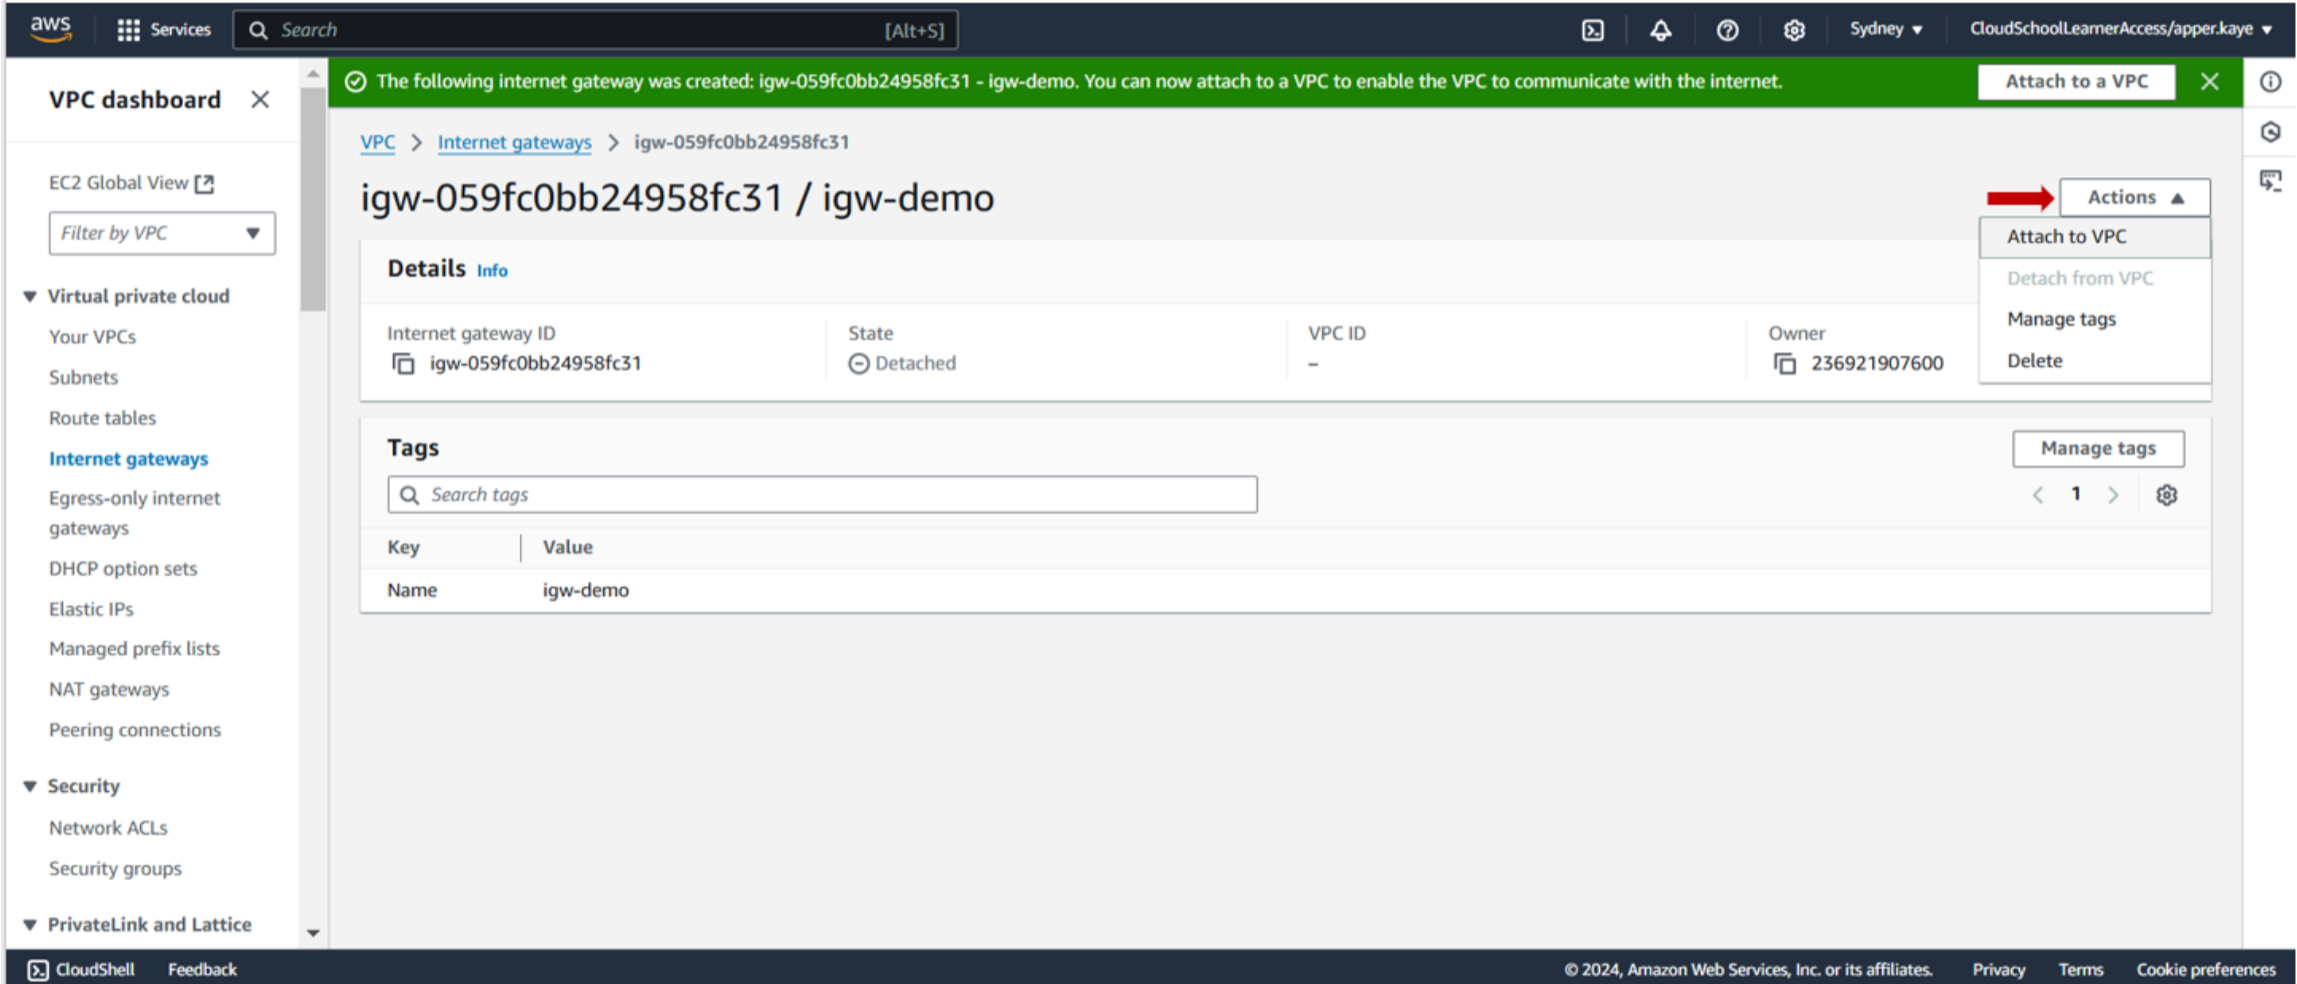
- Choose your VPC and confirm the attachment.
4-a. Create two public subnets:
- Name them Public Subnet A and Public Subnet B.
- Assign both a /24 CIDR block.
- Ensure each is in a separate AZ.
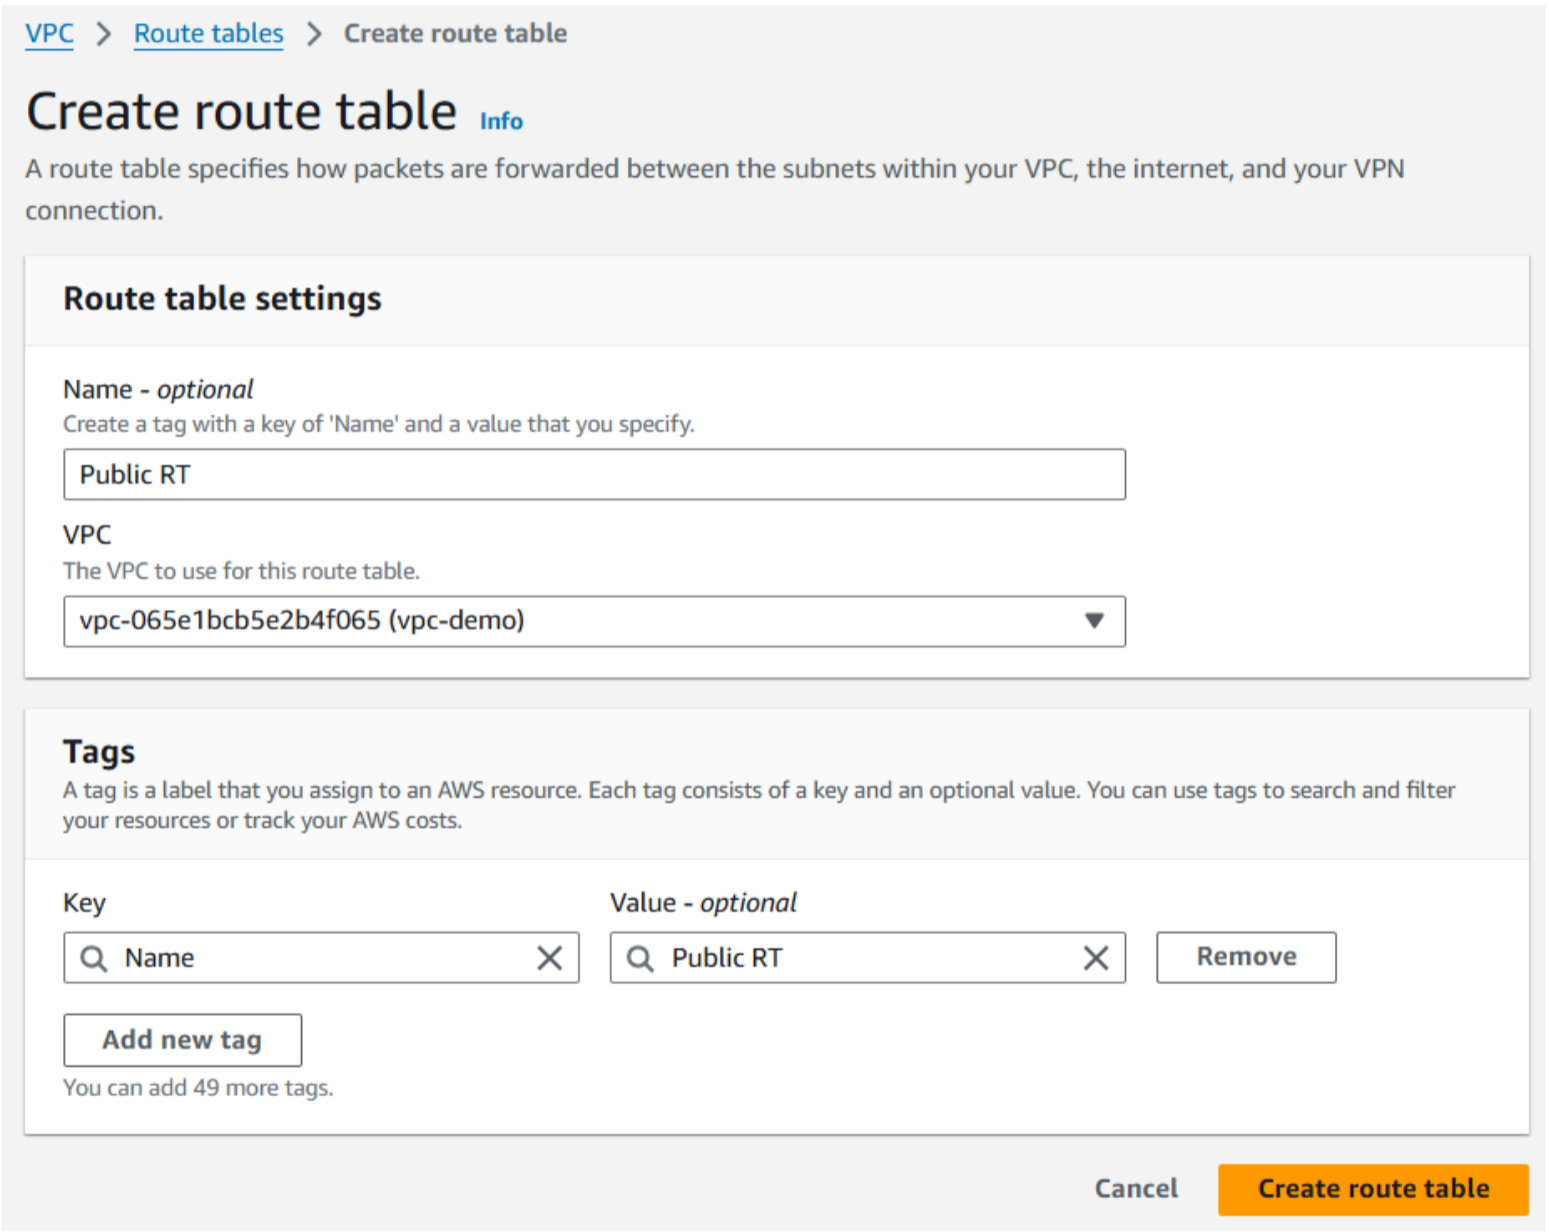
4-b. Create a Route Table for the public subnets:
- Go to Route Tables and click Create Route Table.
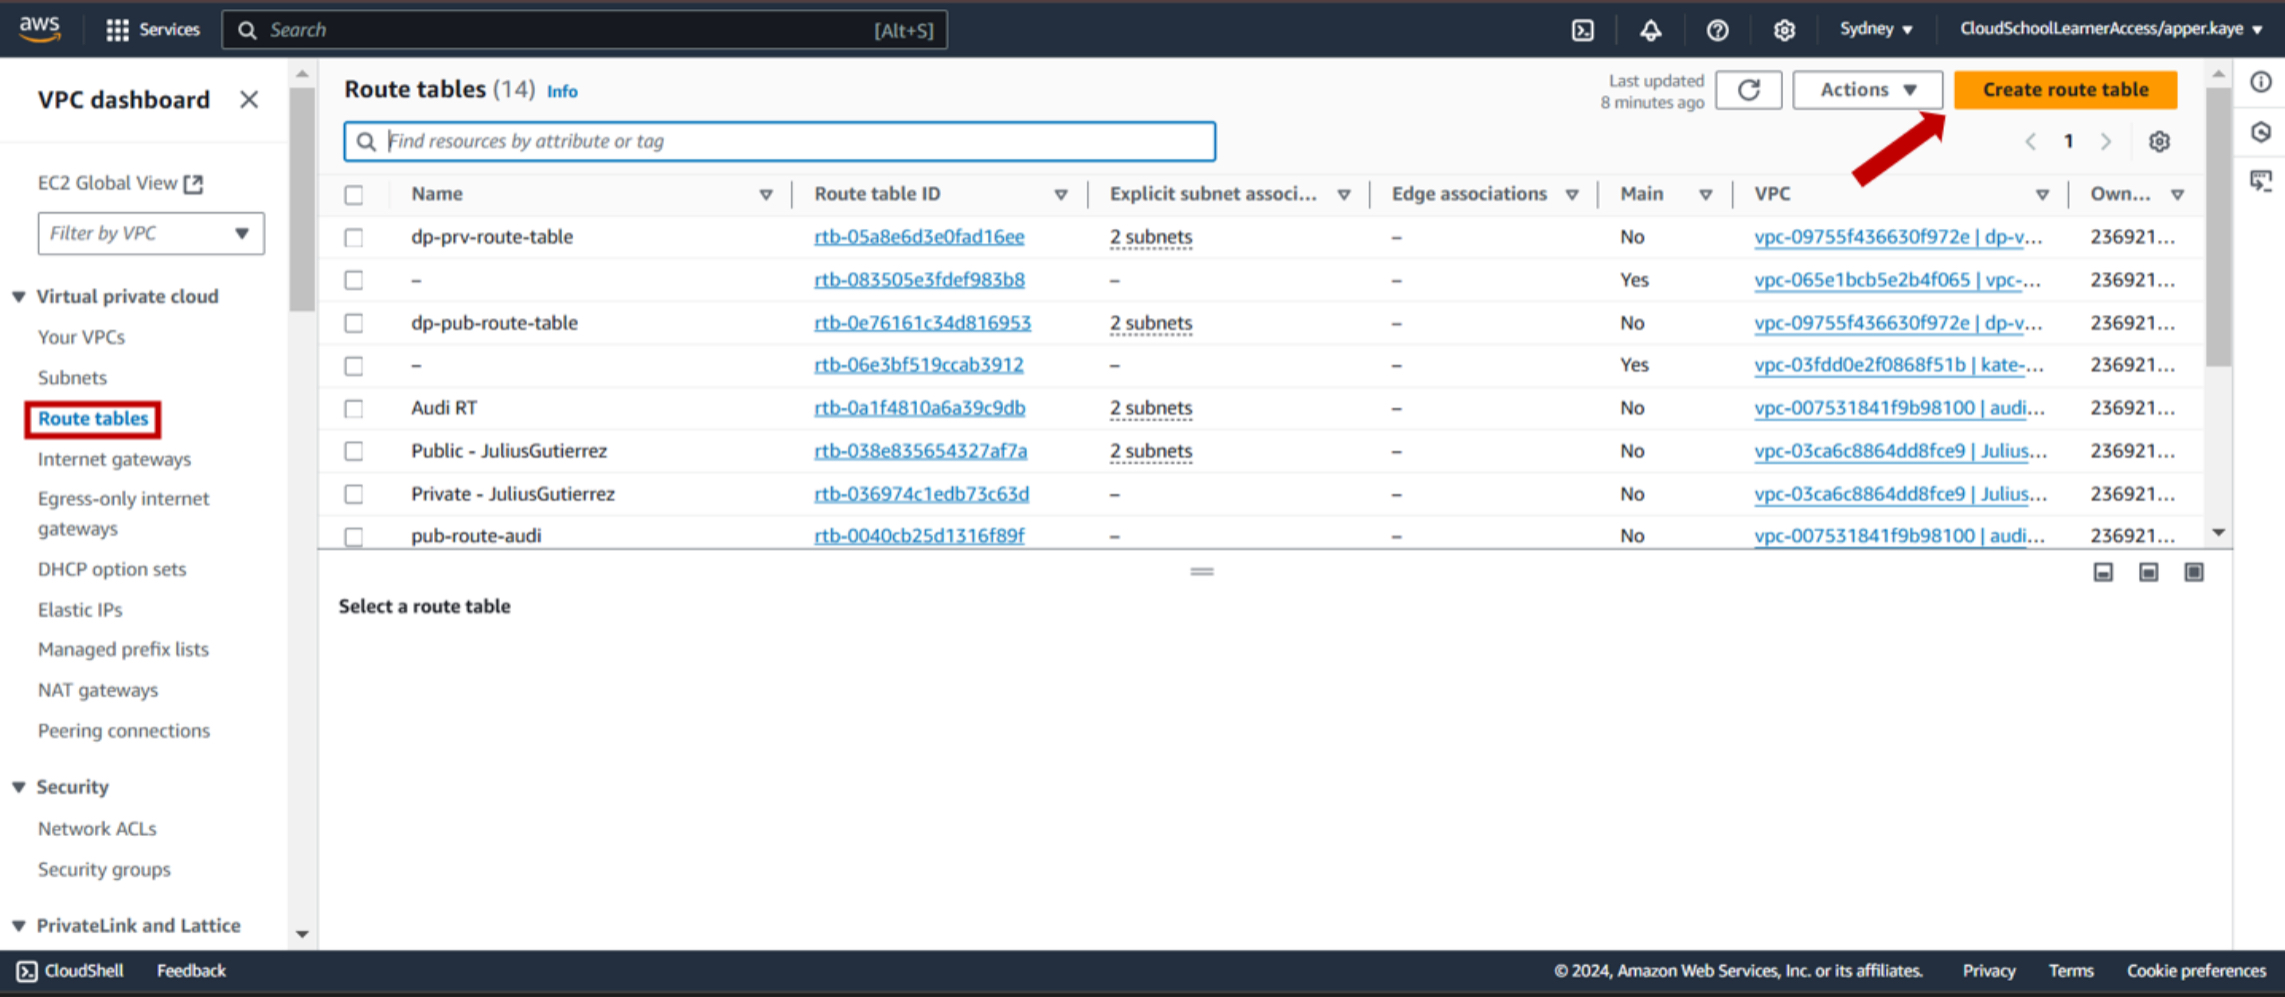
- Name it and associate it with your VPC.
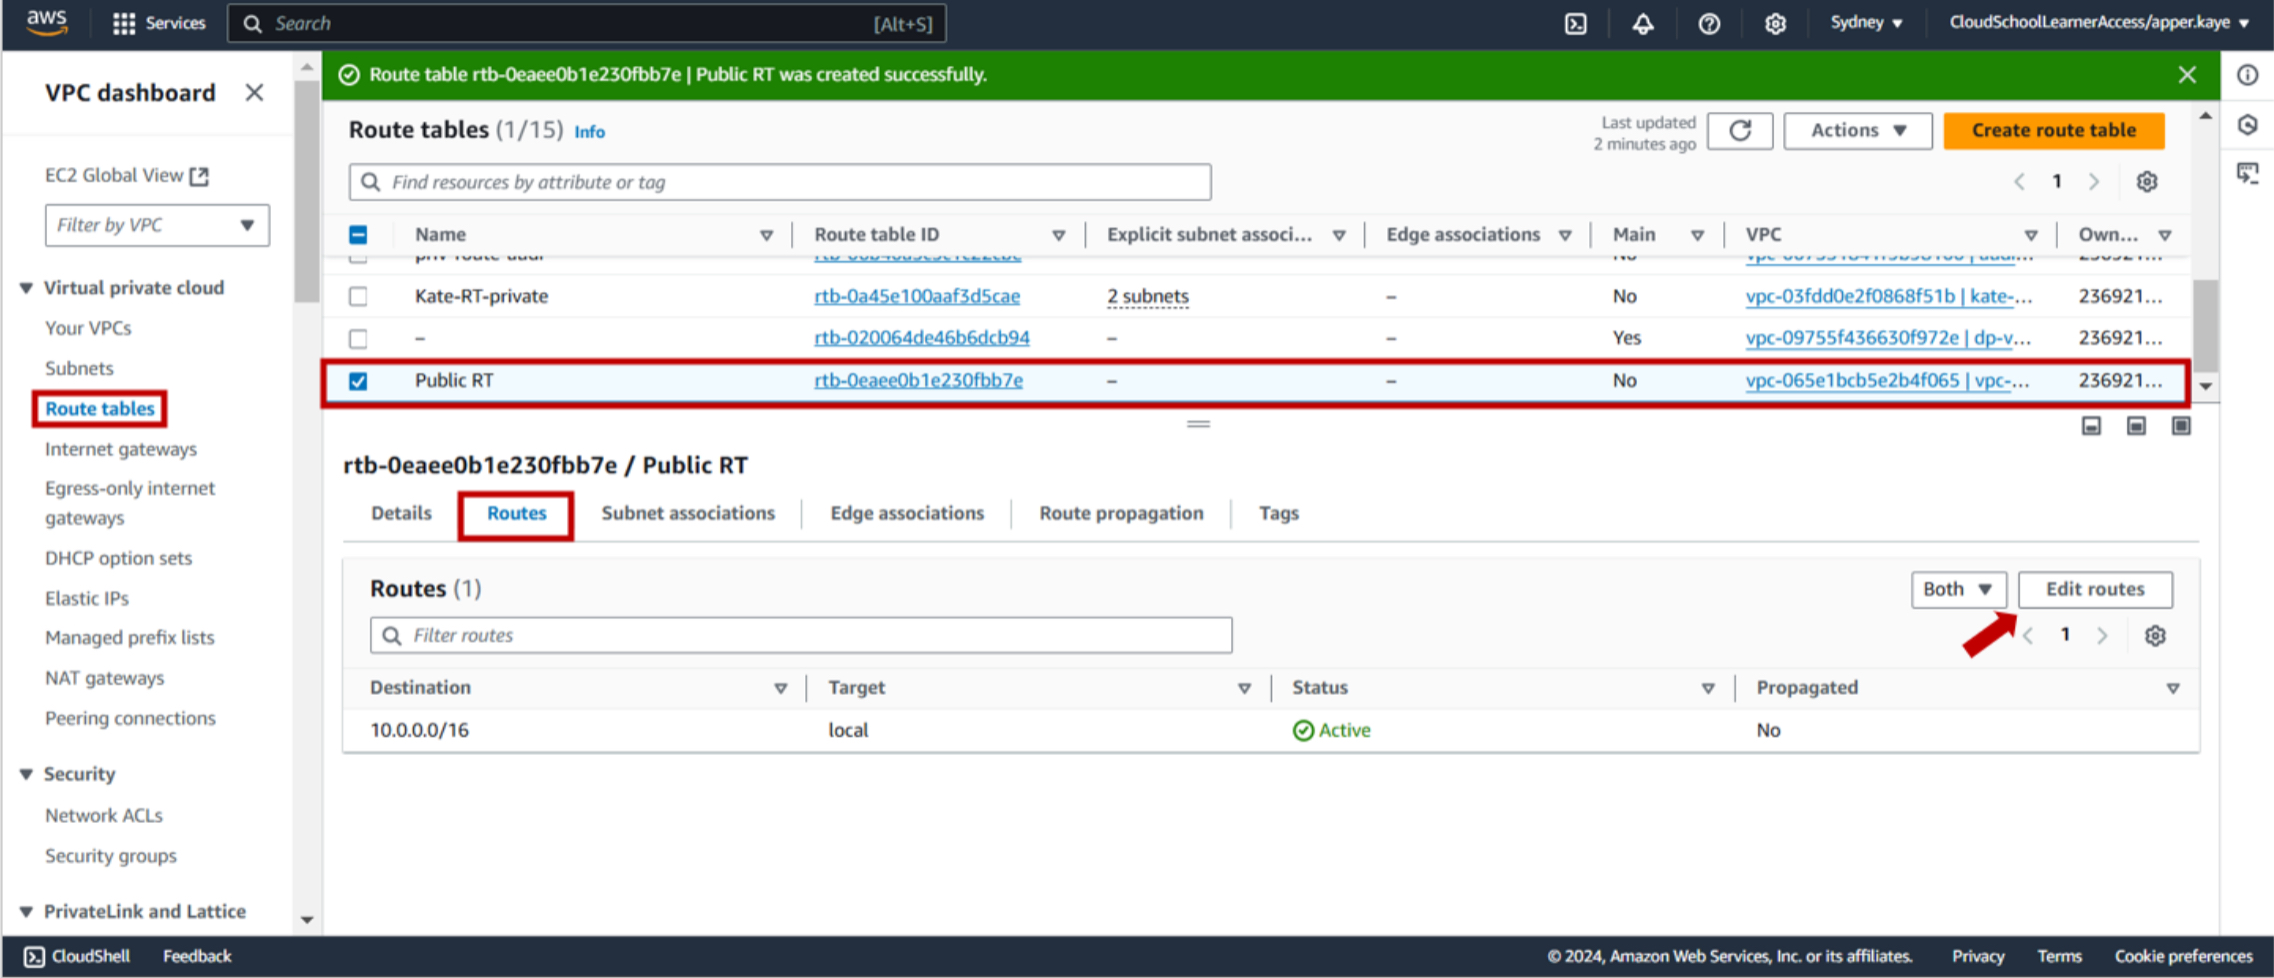
4-c. Update the routes for the public route table:
- Select the route table and go to the Routes tab.
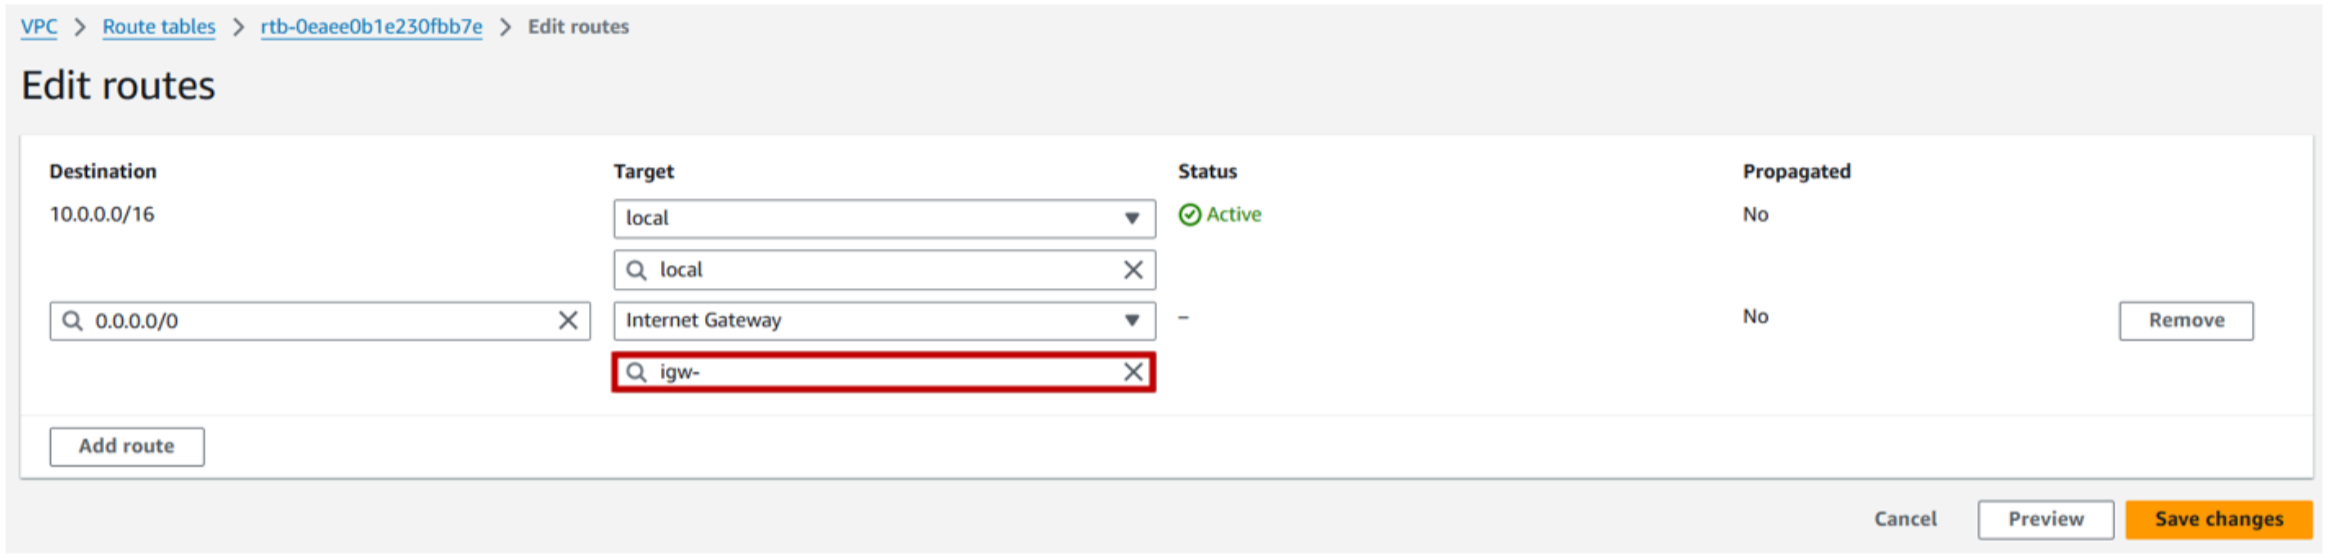
- Click the Edit Routes button.
- Add a route with:
- Destination: 0.0.0.0/0
- Target: Your Internet Gateway.
- Save the changes.


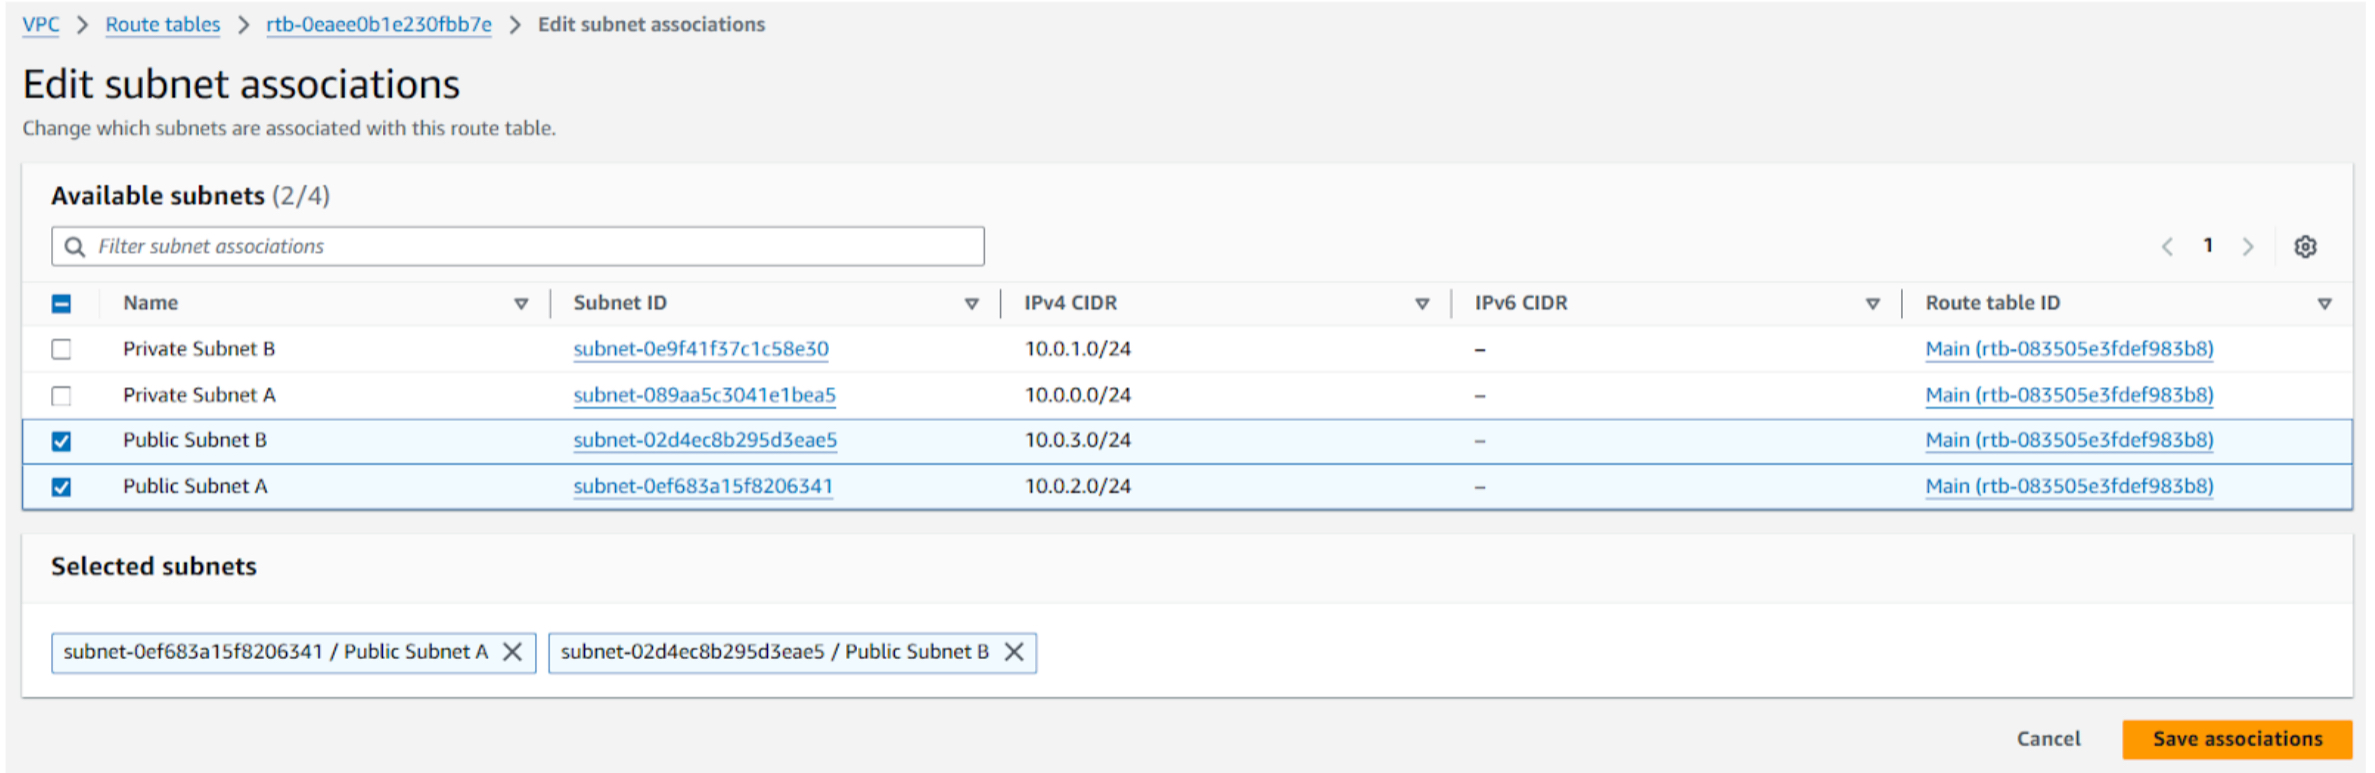
4-d. Associate the public subnets with the route table:
- Go to the Subnet Associations tab in the route table.
- Click Edit Subnet Associations and select your public subnets.
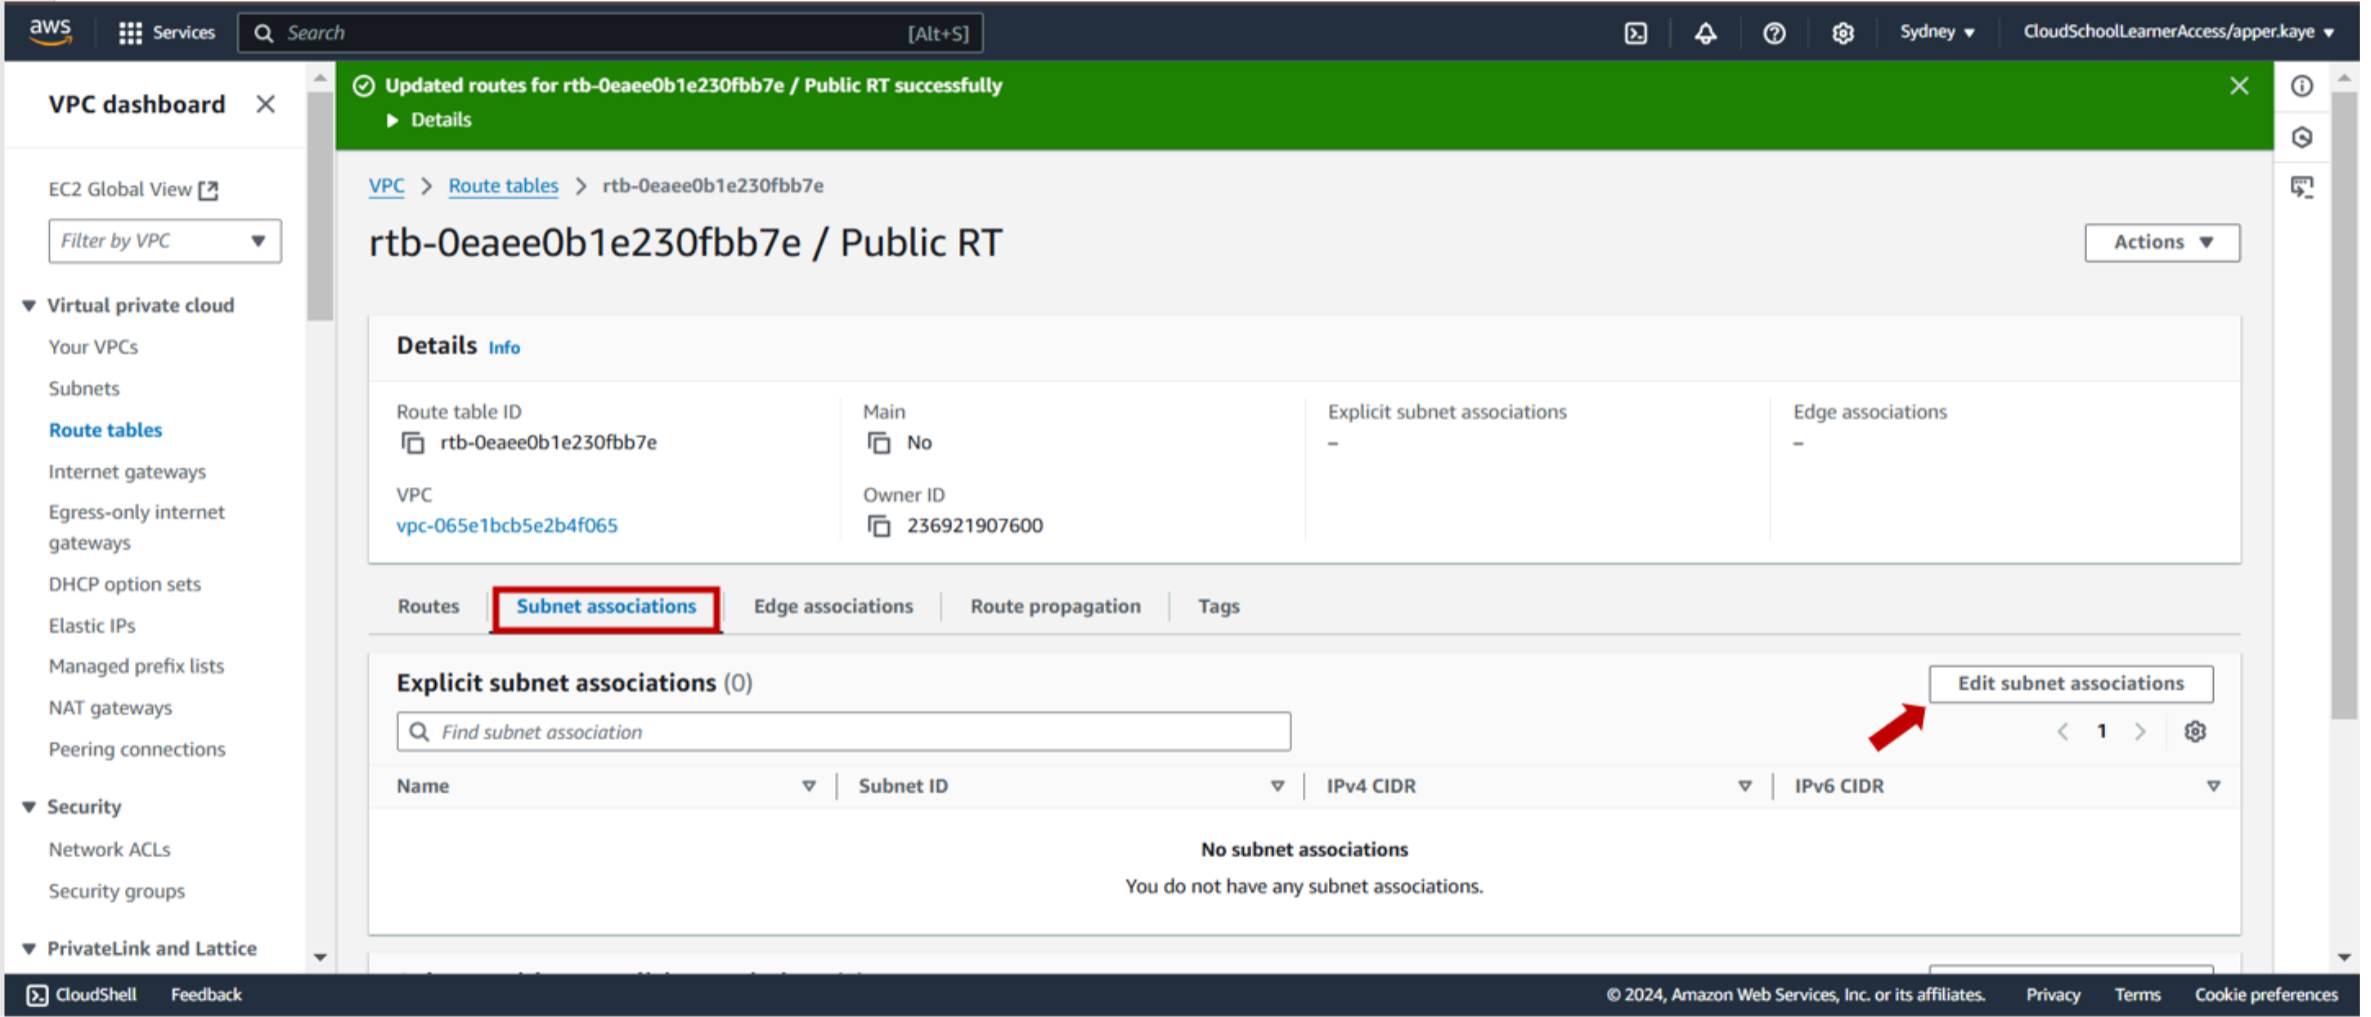
- Save the associations.
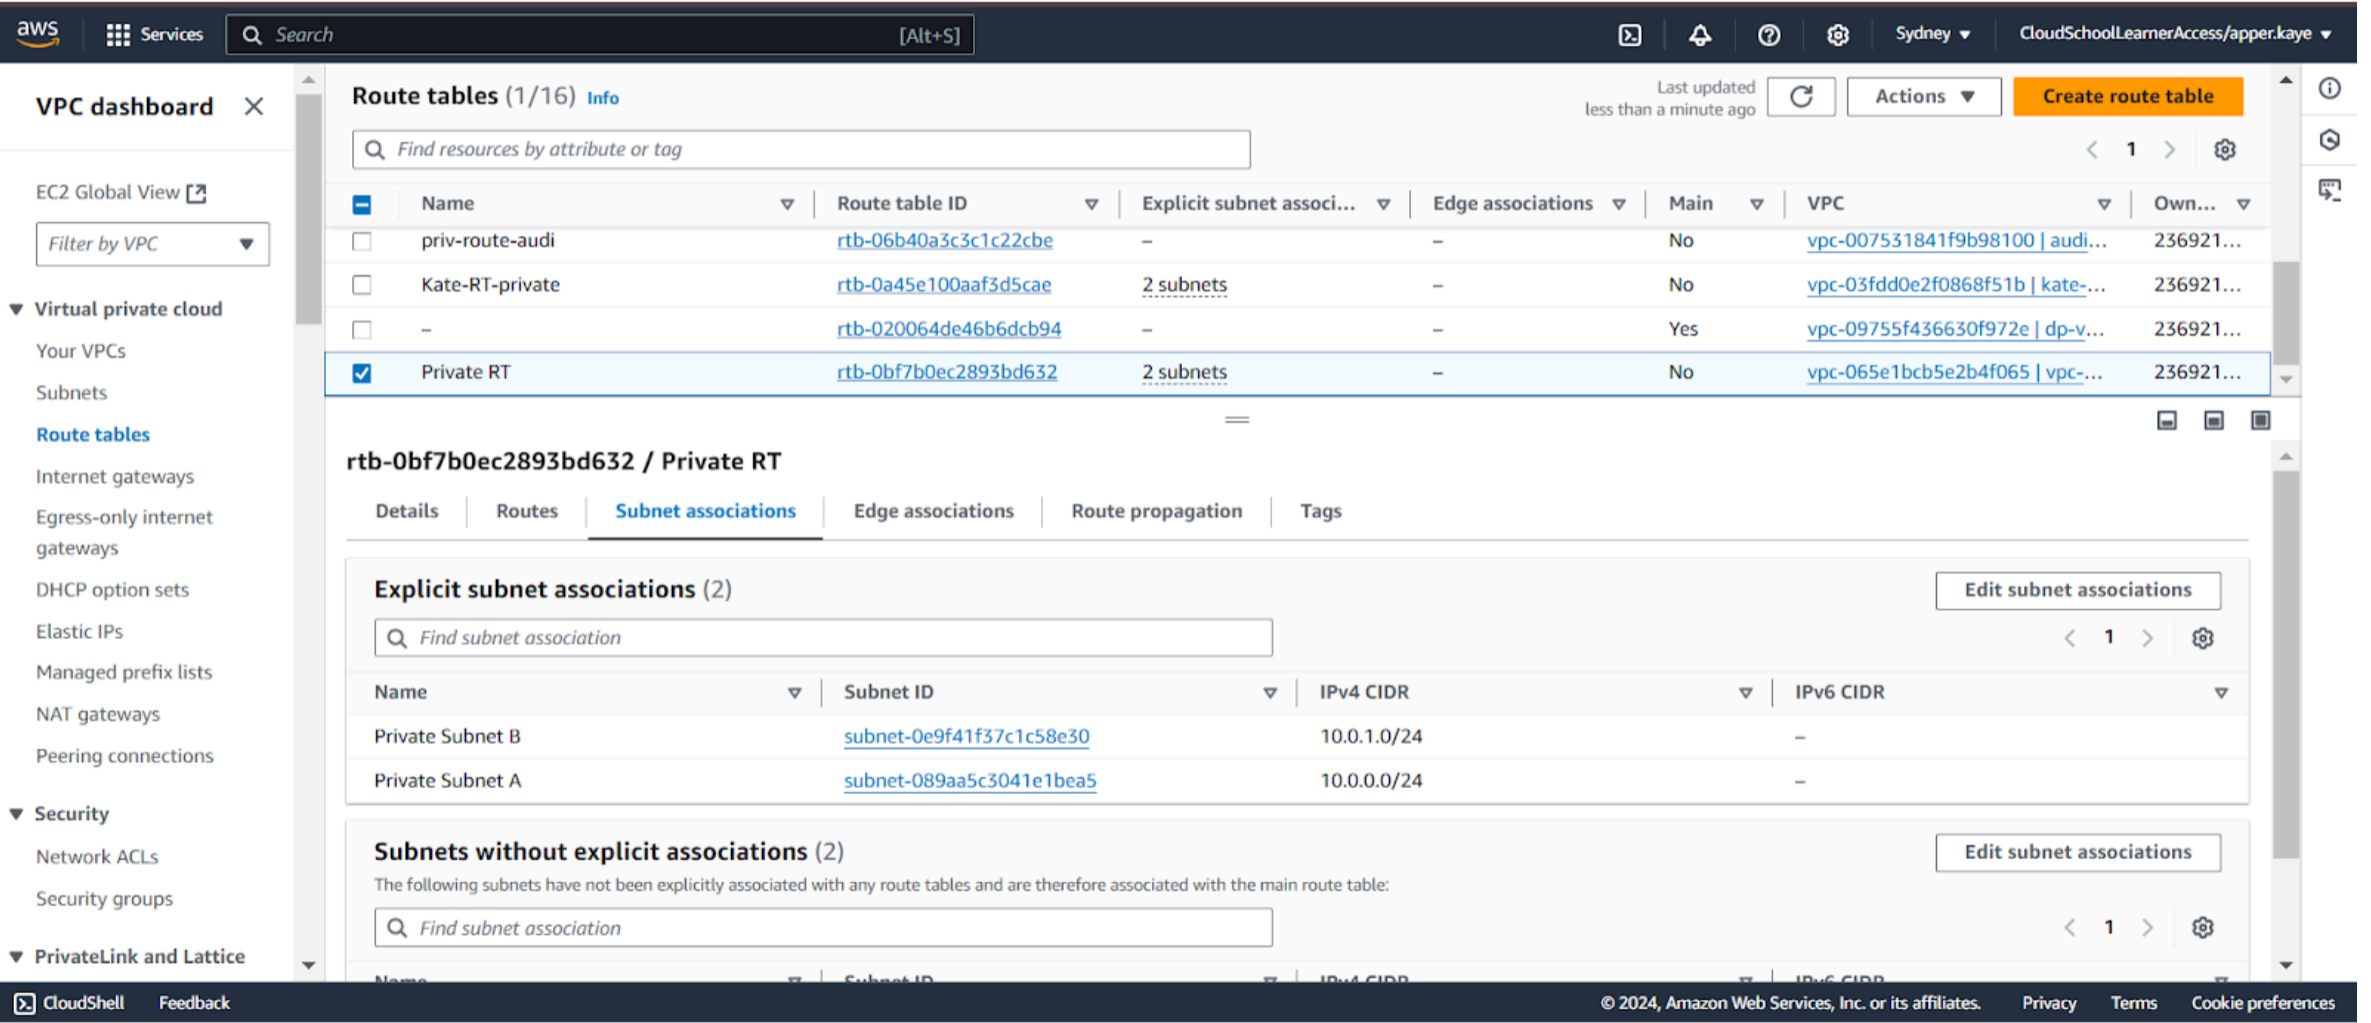
5-a. Create a route table for the private subnets:
- Name it and associate it with your VPC.
- You don’t need to edit routes for the private route table.
5-b. Associate the private subnets with this route table by editing the Subnet Associations.
Lab Completion
- Congratulations! You’ve completed the lab.
JSON Output
Copy and fill in the JSON template below with the resource IDs from your setup, then paste it in the provided text box:
{
   "vpc_id": "",
   "private_subnet_a_id": "",
   "private_subnet_b_id": "",
   "public_subnet_a_id": "",
   "public_subnet_b_id": "",
   "internet_gateway_id": "",
   "public_route_table_id": "",
   "private_route_table_id": ""
}
Resource Cleanup
When the lab is complete, ensure you delete all the resources you’ve created.