This tutorial shows how to use Membrane API Gateway to validate Json Web Tokens (JWTs) issued by Microsoft's Azure AD.
Membrane API Gateway protects the Backend API.

- The client retrieves the token from Azure AD.
- The JWT is issued by Azure AD and returned to the client
- The client then accesses the Backend through Membrane API Gateway.
Membrane API Gateway exposes the Backend e.g. to the hostile internet. Only requests with a valid JWT are allowed to pass.
Both the Client and the Backend are registered in Azure AD with an "App registration". Don't get confused. ;)
-
Open https://aad.portal.azure.com/#view/Microsoft_AAD_IAM/ActiveDirectoryMenuBlade/~/Overview
-
Sign in, if necessary.
-
Take note of your Tenant ID. (Format should be
44xxxxx6-xxxx-xxxx-xxxx-bxxxxxxxxx51) -
Open https://aad.portal.azure.com/#view/Microsoft_AAD_IAM/ActiveDirectoryMenuBlade/~/RegisteredApps .
-
Choose
New registration. -
Enter a name (e.g.
Demo Backend) and clickRegister.
-
Next to Application ID URI, click on
Add an Application ID URI. -
Next to Application ID URI, click on
Set. -
Click on
Save. -
Take note of your Application ID URI. (Format should be
api://2axxxx16-xxxx-xxxx-xxxx-faxxxxxxxxf0.) -
Go to App roles.
-
Click on Create app role.
-
Enter
ReadWriteas Display name, Value as well as Description. -
Choose
Both (Users/Groups + Applications)as Allowed member type*. -
Click on
Apply.

There are several possibilities of getting a valid token. For this demo, we use the OAuth 2.0 client credentials flow. (This is an example of the Access without a user scenario described on https://learn.microsoft.com/en-us/azure/active-directory/develop/permissions-consent-overview .)
-
Open https://aad.portal.azure.com/#view/Microsoft_AAD_IAM/ActiveDirectoryMenuBlade/~/RegisteredApps .
-
Choose
New registration. -
Enter a name (e.g.
Demo Client) and clickRegister.
-
Take note of your
Application (client) ID. -
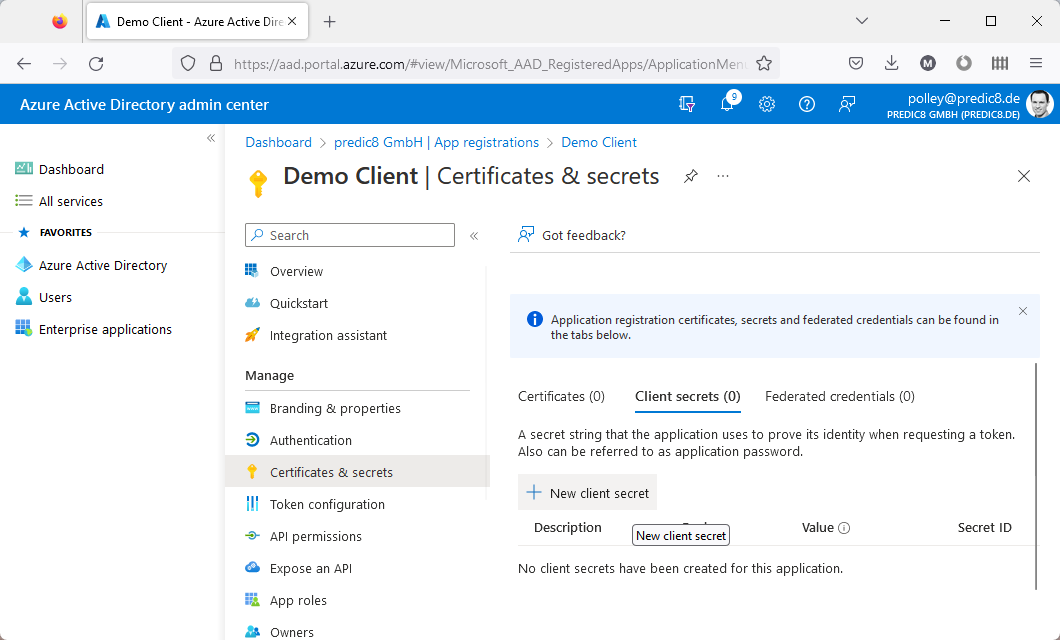
Next to Client credentials, click on
Add a certificate or secret. -
Click on
New client secret. -
Enter
Demo Secretas Description. -
Click on
Add. -
Take note of the
Value, also known as theclient secret. -
Click on
API permissions. -
Click on
Add a permission.
-
Below
My APIs, chooseDemo Backend.
-
Select the
ReadWritepermission.
-
Click on
Add permission.


In the following command,
| replace | by |
|---|---|
7fxxxxx1-xxxx-xxxx-xxxx-6xxxxxxxxx1b |
the Application (client) ID (see section 2.a.) |
Dlxxx~xxxxxxxxxxxxxxxxxxxxxxxxxxxxxxxc1f |
the client secret (see section 2.a.) |
2axxxx16-xxxx-xxxx-xxxx-faxxxxxxxxf0 |
your backend's Application ID URI (see section 1.) |
44xxxxx6-xxxx-xxxx-xxxx-bxxxxxxxxx51 |
the tenant ID (see section 1.) |
curl -o token.json -d "grant_type=client_credentials&client_id=7fxxxxx1-xxxx-xxxx-xxxx-6xxxxxxxxx1b&client_secret=Dlxxx~xxxxxxxxxxxxxxxxxxxxxxxxxxxxxxxc1f&scope=api://2axxxx16-xxxx-xxxx-xxxx-faxxxxxxxxf0/.default" "https://login.microsoftonline.com/44xxxxx6-xxxx-xxxx-xxxx-bxxxxxxxxx51/oauth2/v2.0/token" -v
and execute it.
Look at the file token.json and extract the token (Format should be similar to ey...J9.ey...fQ.DL...hQ.)
-
Open the
proxies.xmlfile in this directory. -
Take a look at the following section:
<jwtAuth expectedAud="api://2axxxx16-xxxx-xxxx-xxxx-faxxxxxxxxf0">
    <jwks jwksUris="https://login.microsoftonline.com/common/discovery/keys" />
</jwtAuth>
This allows only HTTP requests which include valid JWT tokens to pass.
-
Replace
2axxxx16-xxxx-xxxx-xxxx-faxxxxxxxxf0by your backend's Application ID URI (see section 1.) -
Open a console in the same directory.
-
Execute
membrane.cmdin the console and keep it running.
In the following command,
| replace | by |
|---|---|
ey...J9.ey...fQ.DL...hQ |
the token |
curl -H "Authorization: Bearer ey...J9.ey...fQ.DL...hQ" http://localhost:8080/
and execute it.
You should be greeted by a message like
Hello there, d5xxxxx2-xxxx-xxxx-xxxx-fxxxxxxxxx7e.
This is the OID of the subject (=owner) of the token, which was assigned to the Demo Client. (See also https://learn.microsoft.com/de-de/azure/active-directory/develop/id-tokens .)
The greeting, including the OID, was issued as specified in proxies.xml.
See: