| title | Accessibility Testing for Android & iOS Applications | |||||||||||||||||||||||||||||||||
|---|---|---|---|---|---|---|---|---|---|---|---|---|---|---|---|---|---|---|---|---|---|---|---|---|---|---|---|---|---|---|---|---|---|---|
| page_title | Accessibility Testing | |||||||||||||||||||||||||||||||||
| metadesc | Learn how to implement and manage mobile accessibility testing in Testsigma. Mobile accessibility testing ensures your websites & apps comply with accessibility guidelines | |||||||||||||||||||||||||||||||||
| noindex | false | |||||||||||||||||||||||||||||||||
| order | 27.2 | |||||||||||||||||||||||||||||||||
| page_id | Accessibility Testing for Android & iOS | |||||||||||||||||||||||||||||||||
| warning | false | |||||||||||||||||||||||||||||||||
| contextual_links |
|
With Testsigma, you can implement accessibility testing for Android and iOS applications to ensure compliance with accessibility guidelines. This allows you to test and monitor the accessibility of mobile applications, enhancing the user experience for individuals with disabilities. This article describes how to perform mobile accessibility testing in Testsigma.
Before you begin, ensure that you have referred to the documentation for creating a test plan, test suite, and test machine in Testsigma.
-
From the left navigation bar, go to Create Tests > Test Cases.
-
Open the test case in which you want to configure test steps for Accessibility Testing.
-
Hover over the test step, click Kebab Menu, and select Test Step Settings from the dropdown menu.
-
Select Enable Accessibility Testing for the Step, and click Update.


[[info | NOTE:]]
| 1. You can also select Enable Accessibility Testing for the Step from Bulk Select > Update Settings > Bulk Update Settings.
| 

-
Repeat steps 3–4 for all test steps you want to configure in the required test cases.
-
After configuring test steps in the test cases, add them to a test suite, and then add test suites to a test plan.
[[info | NOTE:]] | You can configure Step Groups for Accessibility Testing using the same steps. However, this feature is available only on the Test Authoring page and not in the Recorder.
-
While creating a test plan, turn on the Accessibility Testing toggle in Additional Settings.
-
To execute the test plan, click Run Now.
-
After the test plan execution completes, click View Reports for that test plan.
-
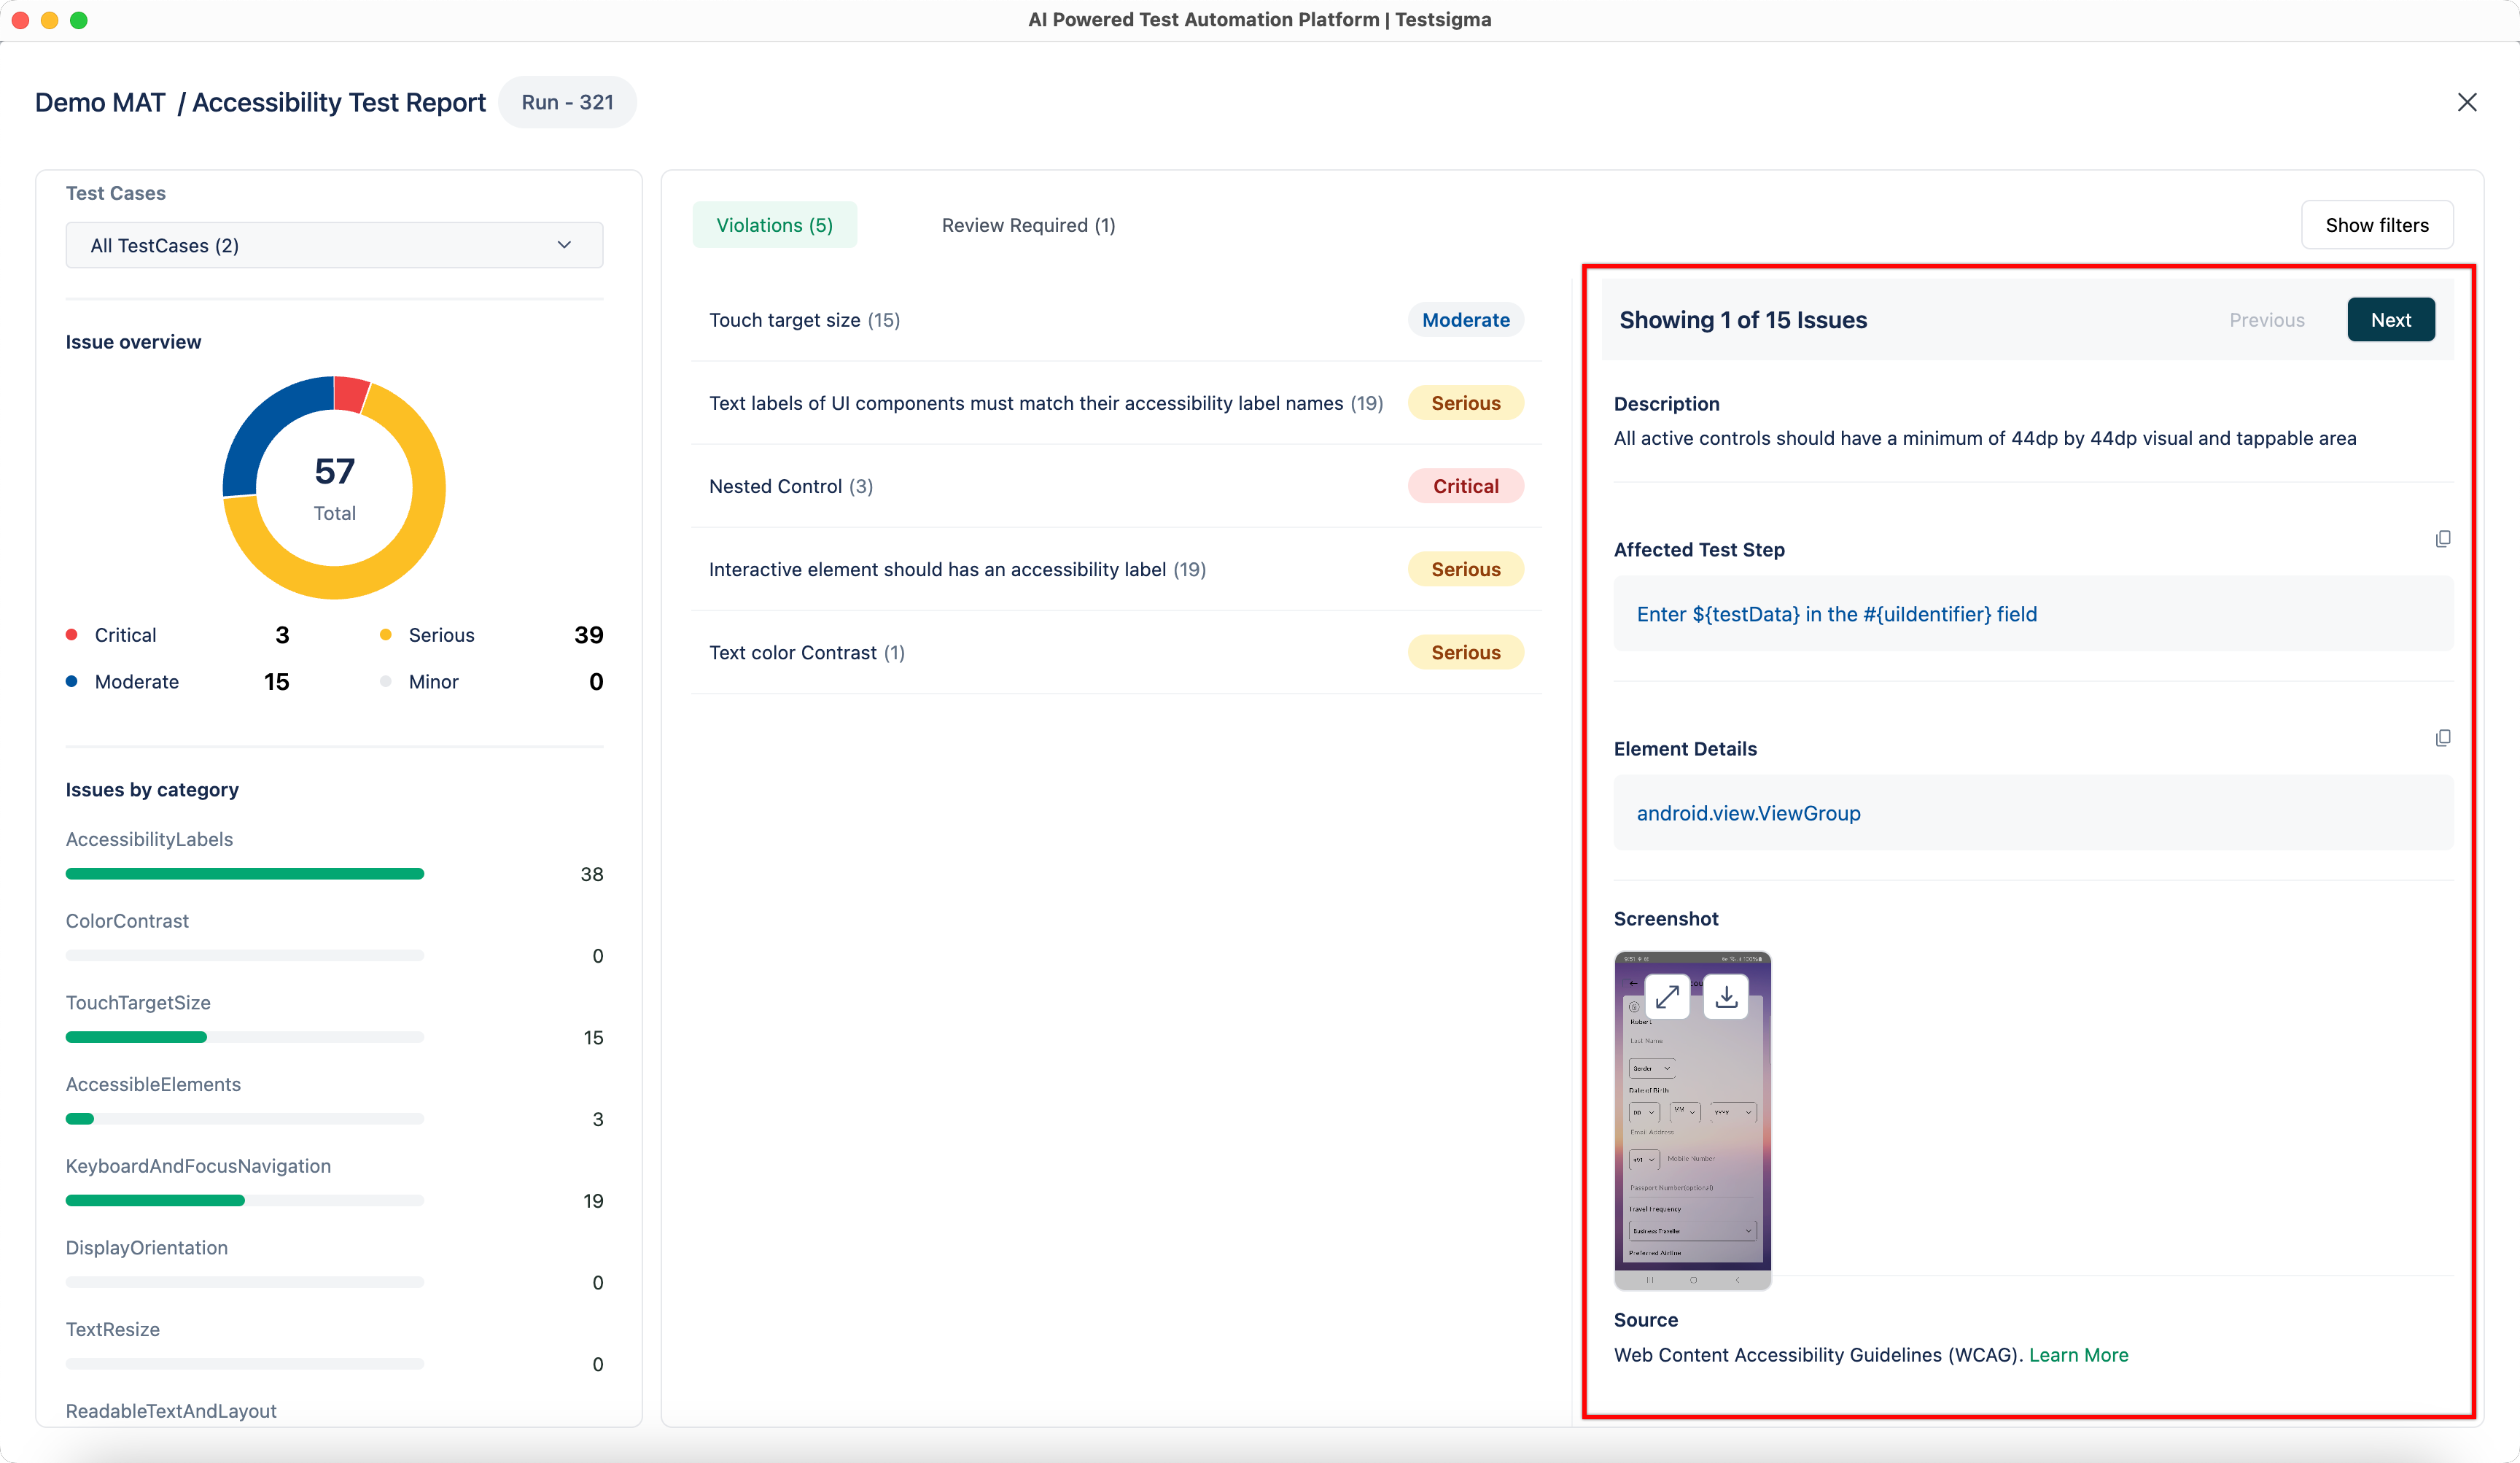
On the Report page, click View Report in the bottom right corner to open a detailed Accessibility Testing Report.


-
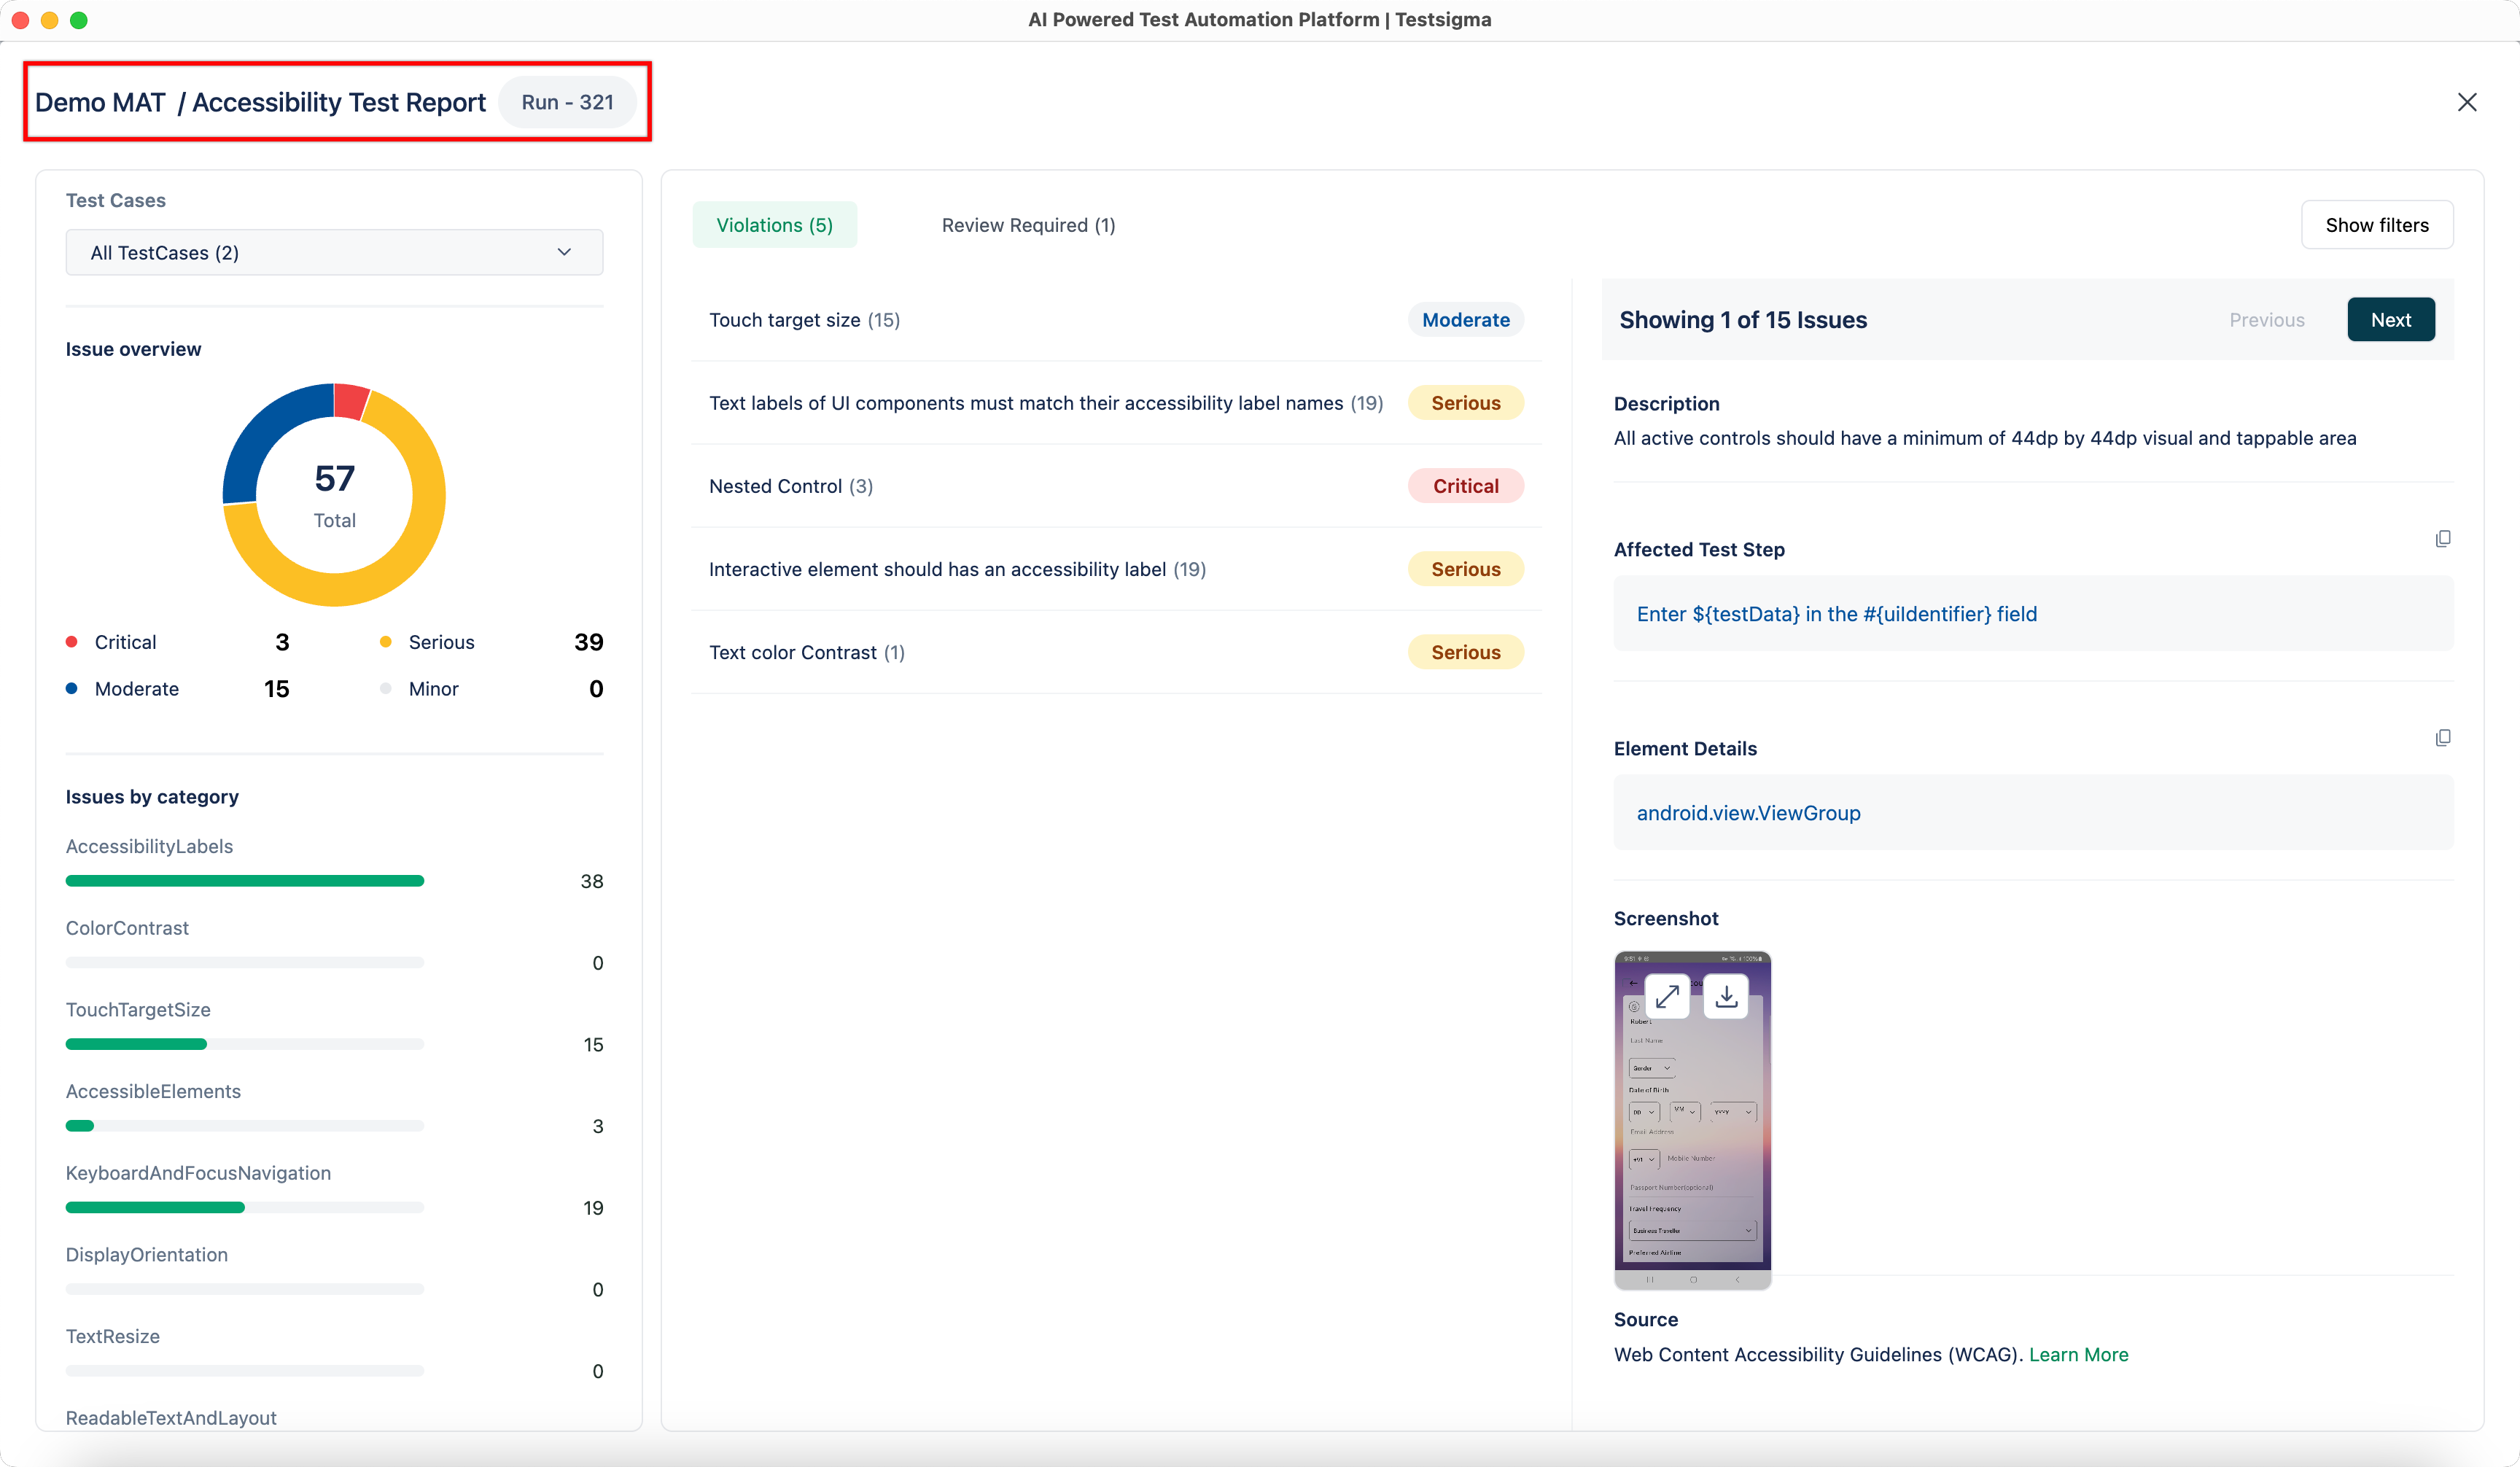
Title: Displays the title of the report (e.g., Demo MAT).
-
Run Information: Indicates the specific test run ID (e.g., Run - 45).
-
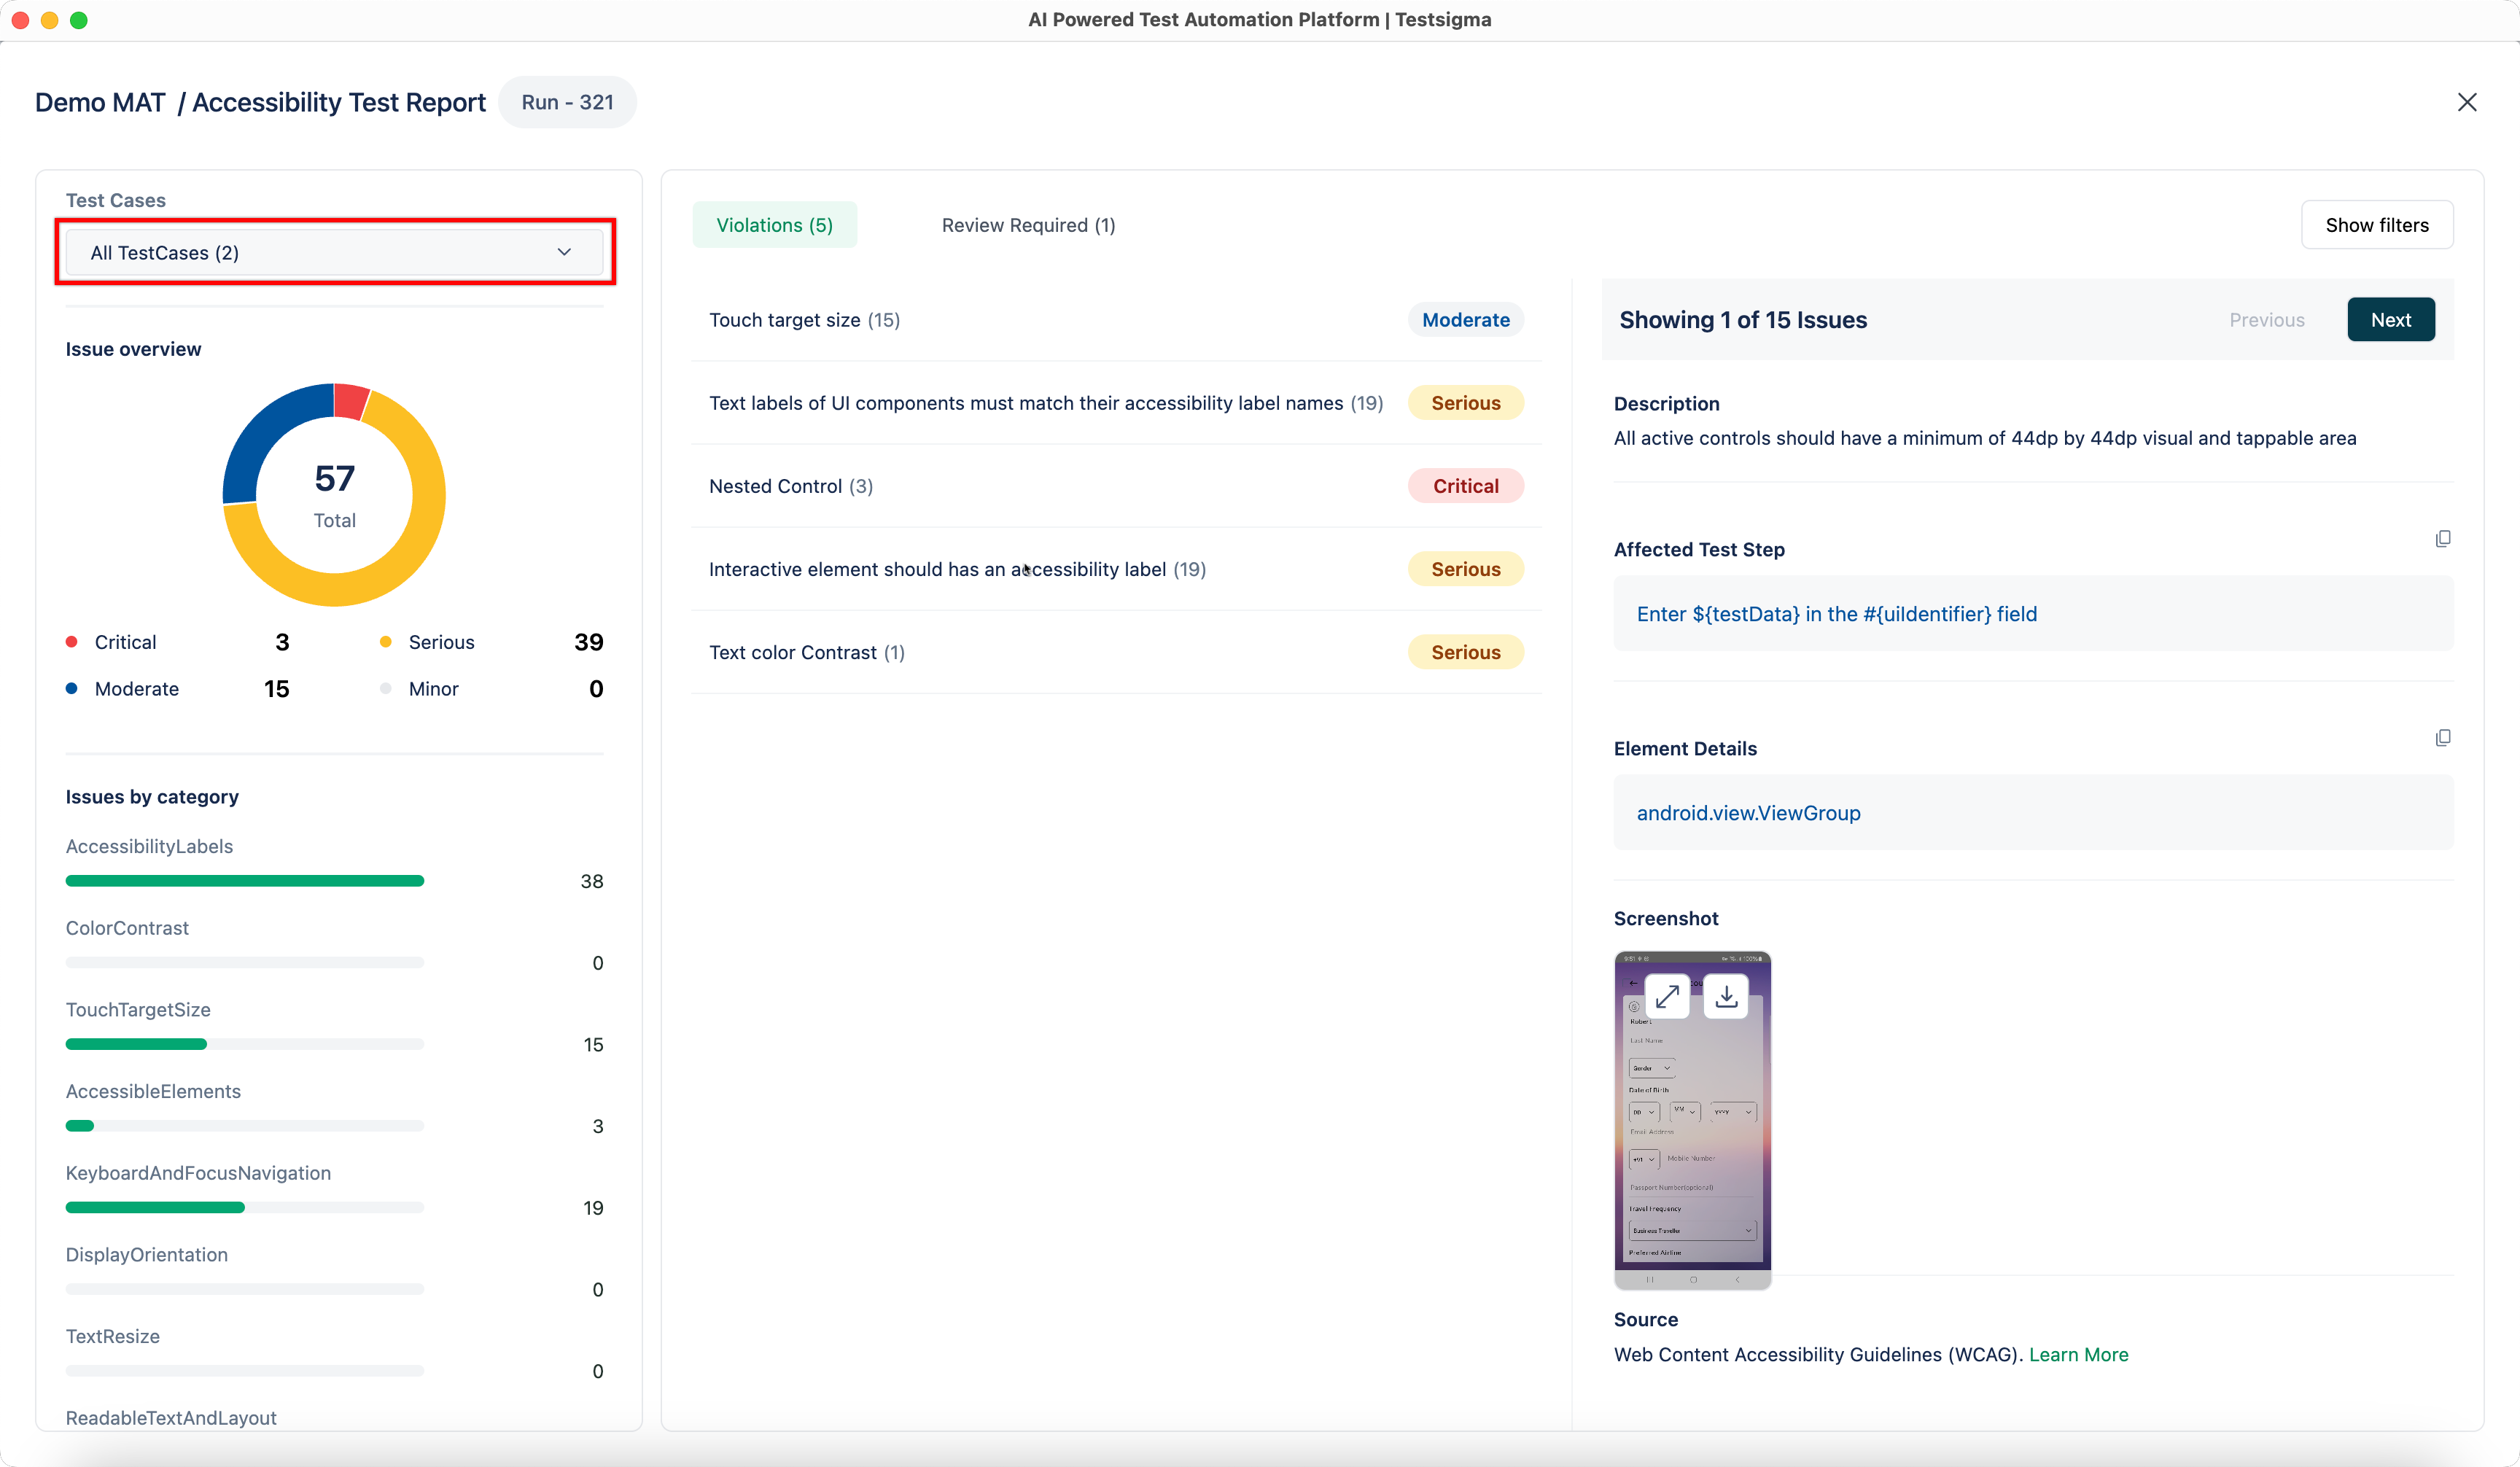
This dropdown helps you filter the report by specific test cases that are tested for accessibility compliance.
[[info | NOTE:]] | By default, all test cases are selected, but you can choose a specific test case from the dropdown to focus on issues with one URL at a time.
-
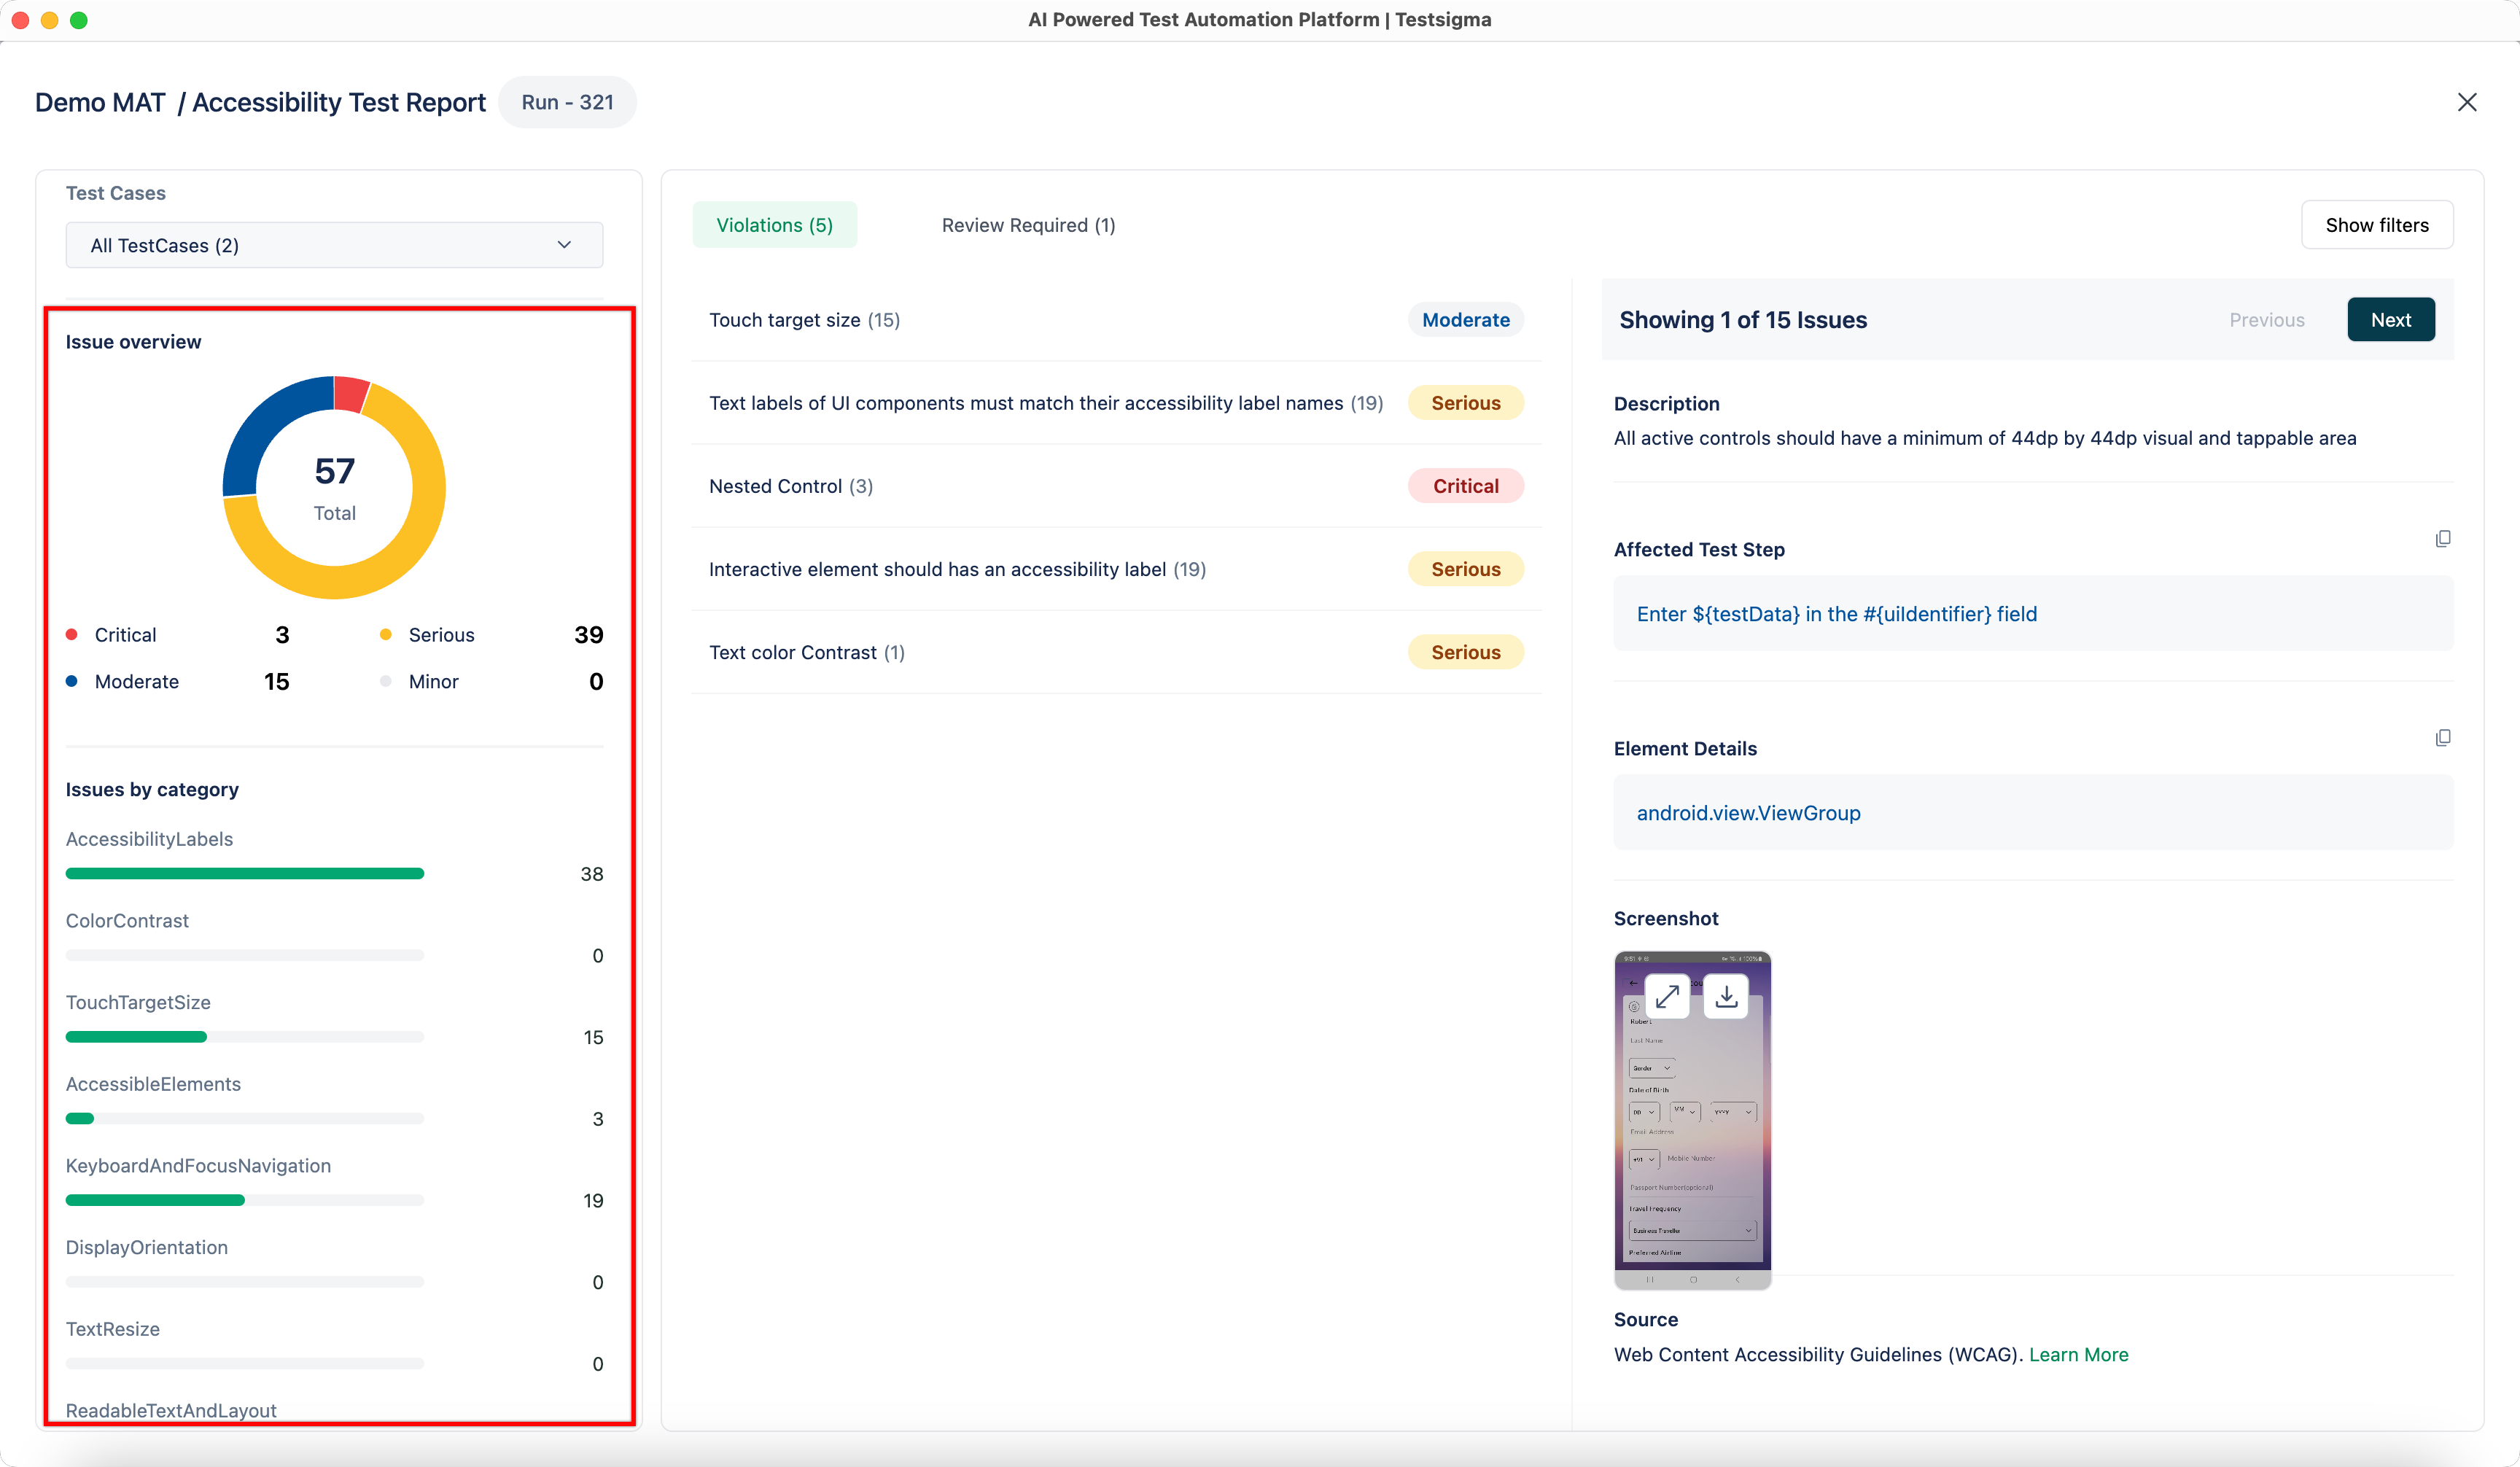
Total Issues: The Donut Chart displays the total number of issues detected during the test. Depending on severity, issues are categorized as Critical, Serious, Moderate, and Minor.
-
Issues by Category: This categorization provides users insights into specific accessibility challenges that were identified with a horizontal progress bar showing the number of issues under that category.
-
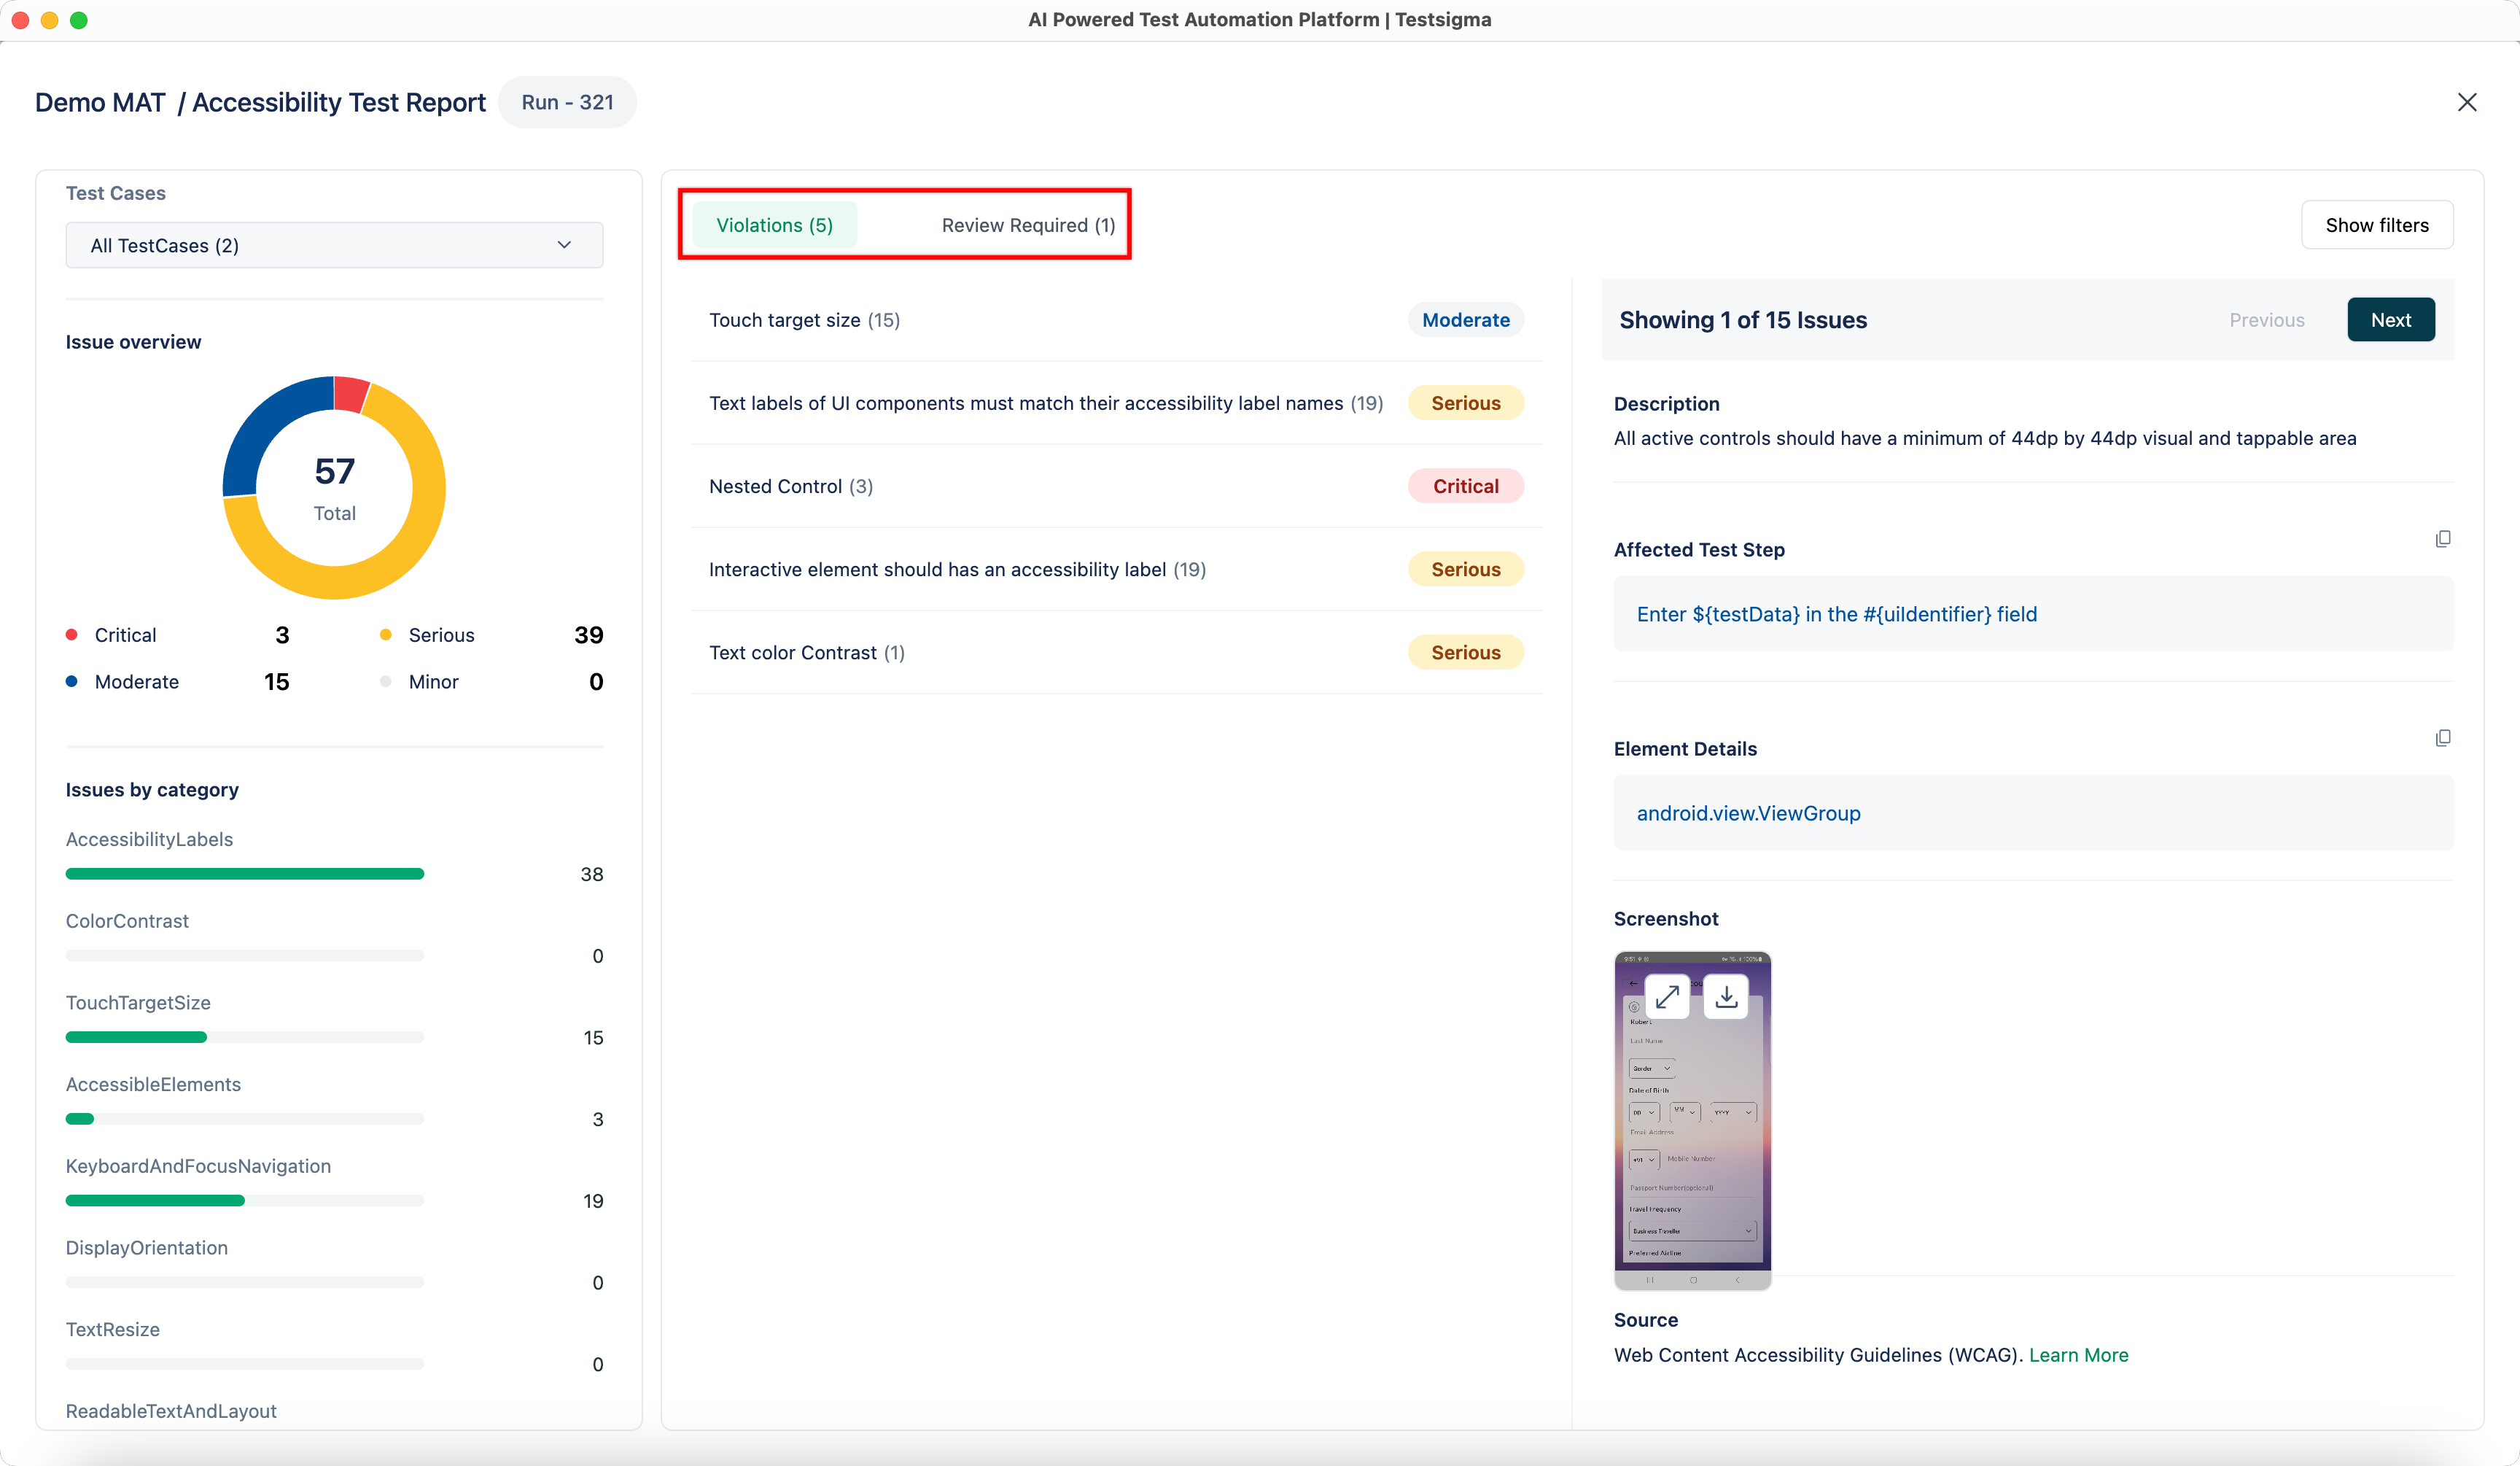
Violations: This lists all accessibility issues that need immediate action.
-
Review Required: This lists all accessibility issues that need manual review. Although Testsigma has identified these issues, we recommend a closer review for accuracy.
[[info | NOTE:]] | The issues are color-coded with labels to indicate their severity level. You can also filter the issues based on severity and category.
-
Pagination Controls: Provides navigation between the individual issues of specific issues selected under Violations and Review Tabs.
-
Next/Previous Buttons: Allows users to scroll through the list of identified issues.
-
Issue Details: This section briefly explains the detected issue with the affected Affected Test Step, Element Details, and Screenshots.
| Rule ID | Description | Platform | WCAG Compliance |
|---|---|---|---|
| TEXT_COLOR_CONTRAST | Ensures text contrast meets minimum readability standards. | Android & iOS | 2.0 – 1.4.3 AA |
| NESTED_CONTROL | Ensures interactive elements are not nested within each other. | Android | 2.0 – 2.1.1 A |
| IMAGE_VIEW_DESCRIPTION | Ensures images have meaningful descriptions for assistive technologies. | Android & iOS | 2.0 – 1.1.1 A |
| INTERACTIVE_ELEMENT_LABEL | Ensures interactive elements have clear accessibility labels. | Android | 2.1 – 2.4.6 AA |
| LABEL_IN_NAME | Ensures text labels match their accessibility labels. | Android & iOS | 2.1 – 2.5.3 A |
| BUTTON_IN_NAME | Ensures button labels start with capital letters. | Android | 2.1 – 3.1.6 AAA |
| EDITABLE_TEXT_LABEL | Ensures editable elements have both name and value. | Android | 2.0 – 4.1.2 A |
| DUPLICATE_TEXT_LABEL | Ensures no duplicate accessibility labels exist on the same screen. | Android | 2.1 – 4.1.2 A |
| TOUCH_TARGET_SIZE | Ensures interactive elements have a minimum tappable area. | Android & iOS | 2.1 – 2.5.5 AAA |
| NESTED_ELEMENT_NAME | Ensures visible text is included in accessible names. | iOS | 2.0 – 1.3.2 A |
| ACTIVE_CONTROL | Ensures interactive elements have accessible names. | iOS | 2.0 – 4.1.2 A |
| COLLIDING_ELEMENT | Ensures elements do not overlap. | iOS platform guideline | – |