| title | Generate API Key | ||||||||||||
|---|---|---|---|---|---|---|---|---|---|---|---|---|---|
| pagetitle | Generating API Key: Steps to Access Testsigma Programmatically | ||||||||||||
| metadesc | Learn how to generate your API key in Testsigma to access and control Testsigma programmatically. Follow these simple steps for smooth integration and automation. | ||||||||||||
| noindex | false | ||||||||||||
| order | 19.1 | ||||||||||||
| page_id | Generate API Key | ||||||||||||
| warning | false | ||||||||||||
| contextual_links |
|
You can access and control it programmatically once you generate the API key. Testsigma will authenticate the connection and integrate with any 3rd party tool (for CI/CD, bug reporting, and so on). This document will guide you through generating the necessary API keys.
Follow the below steps to generate an API key in Testsigma:
-
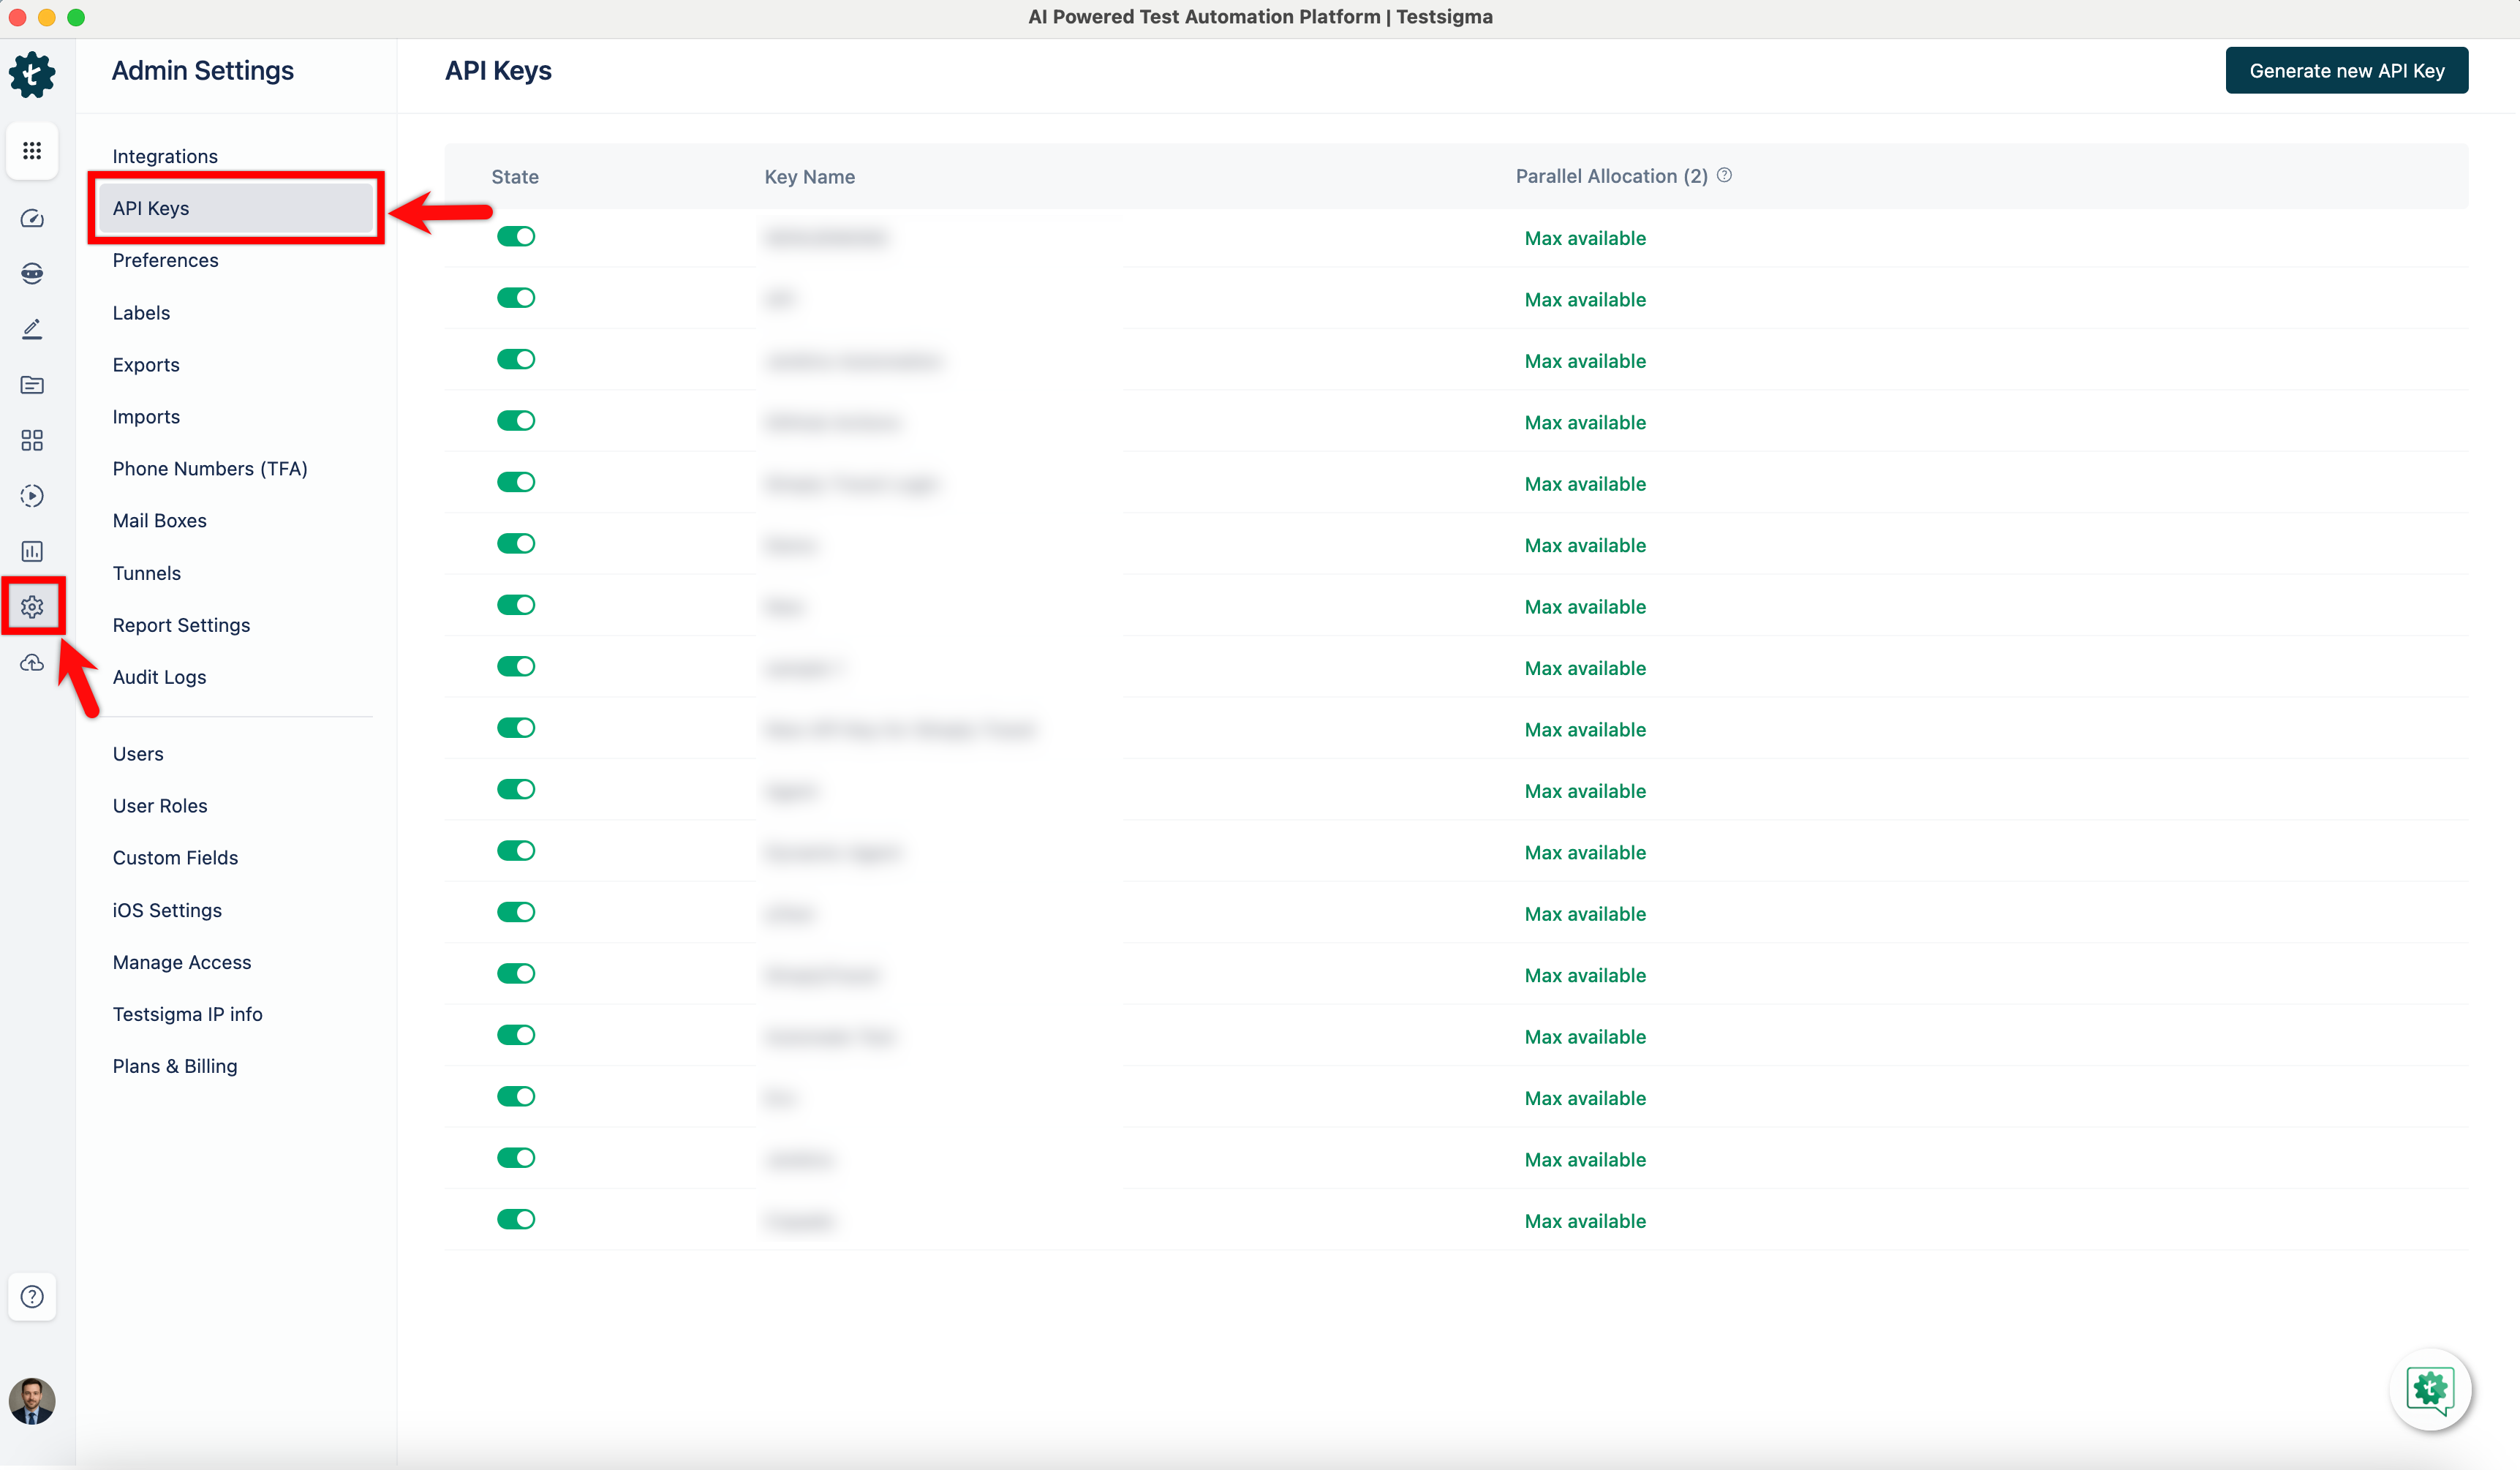
Navigate to Settings > API Keys in the left-side navbar.
-
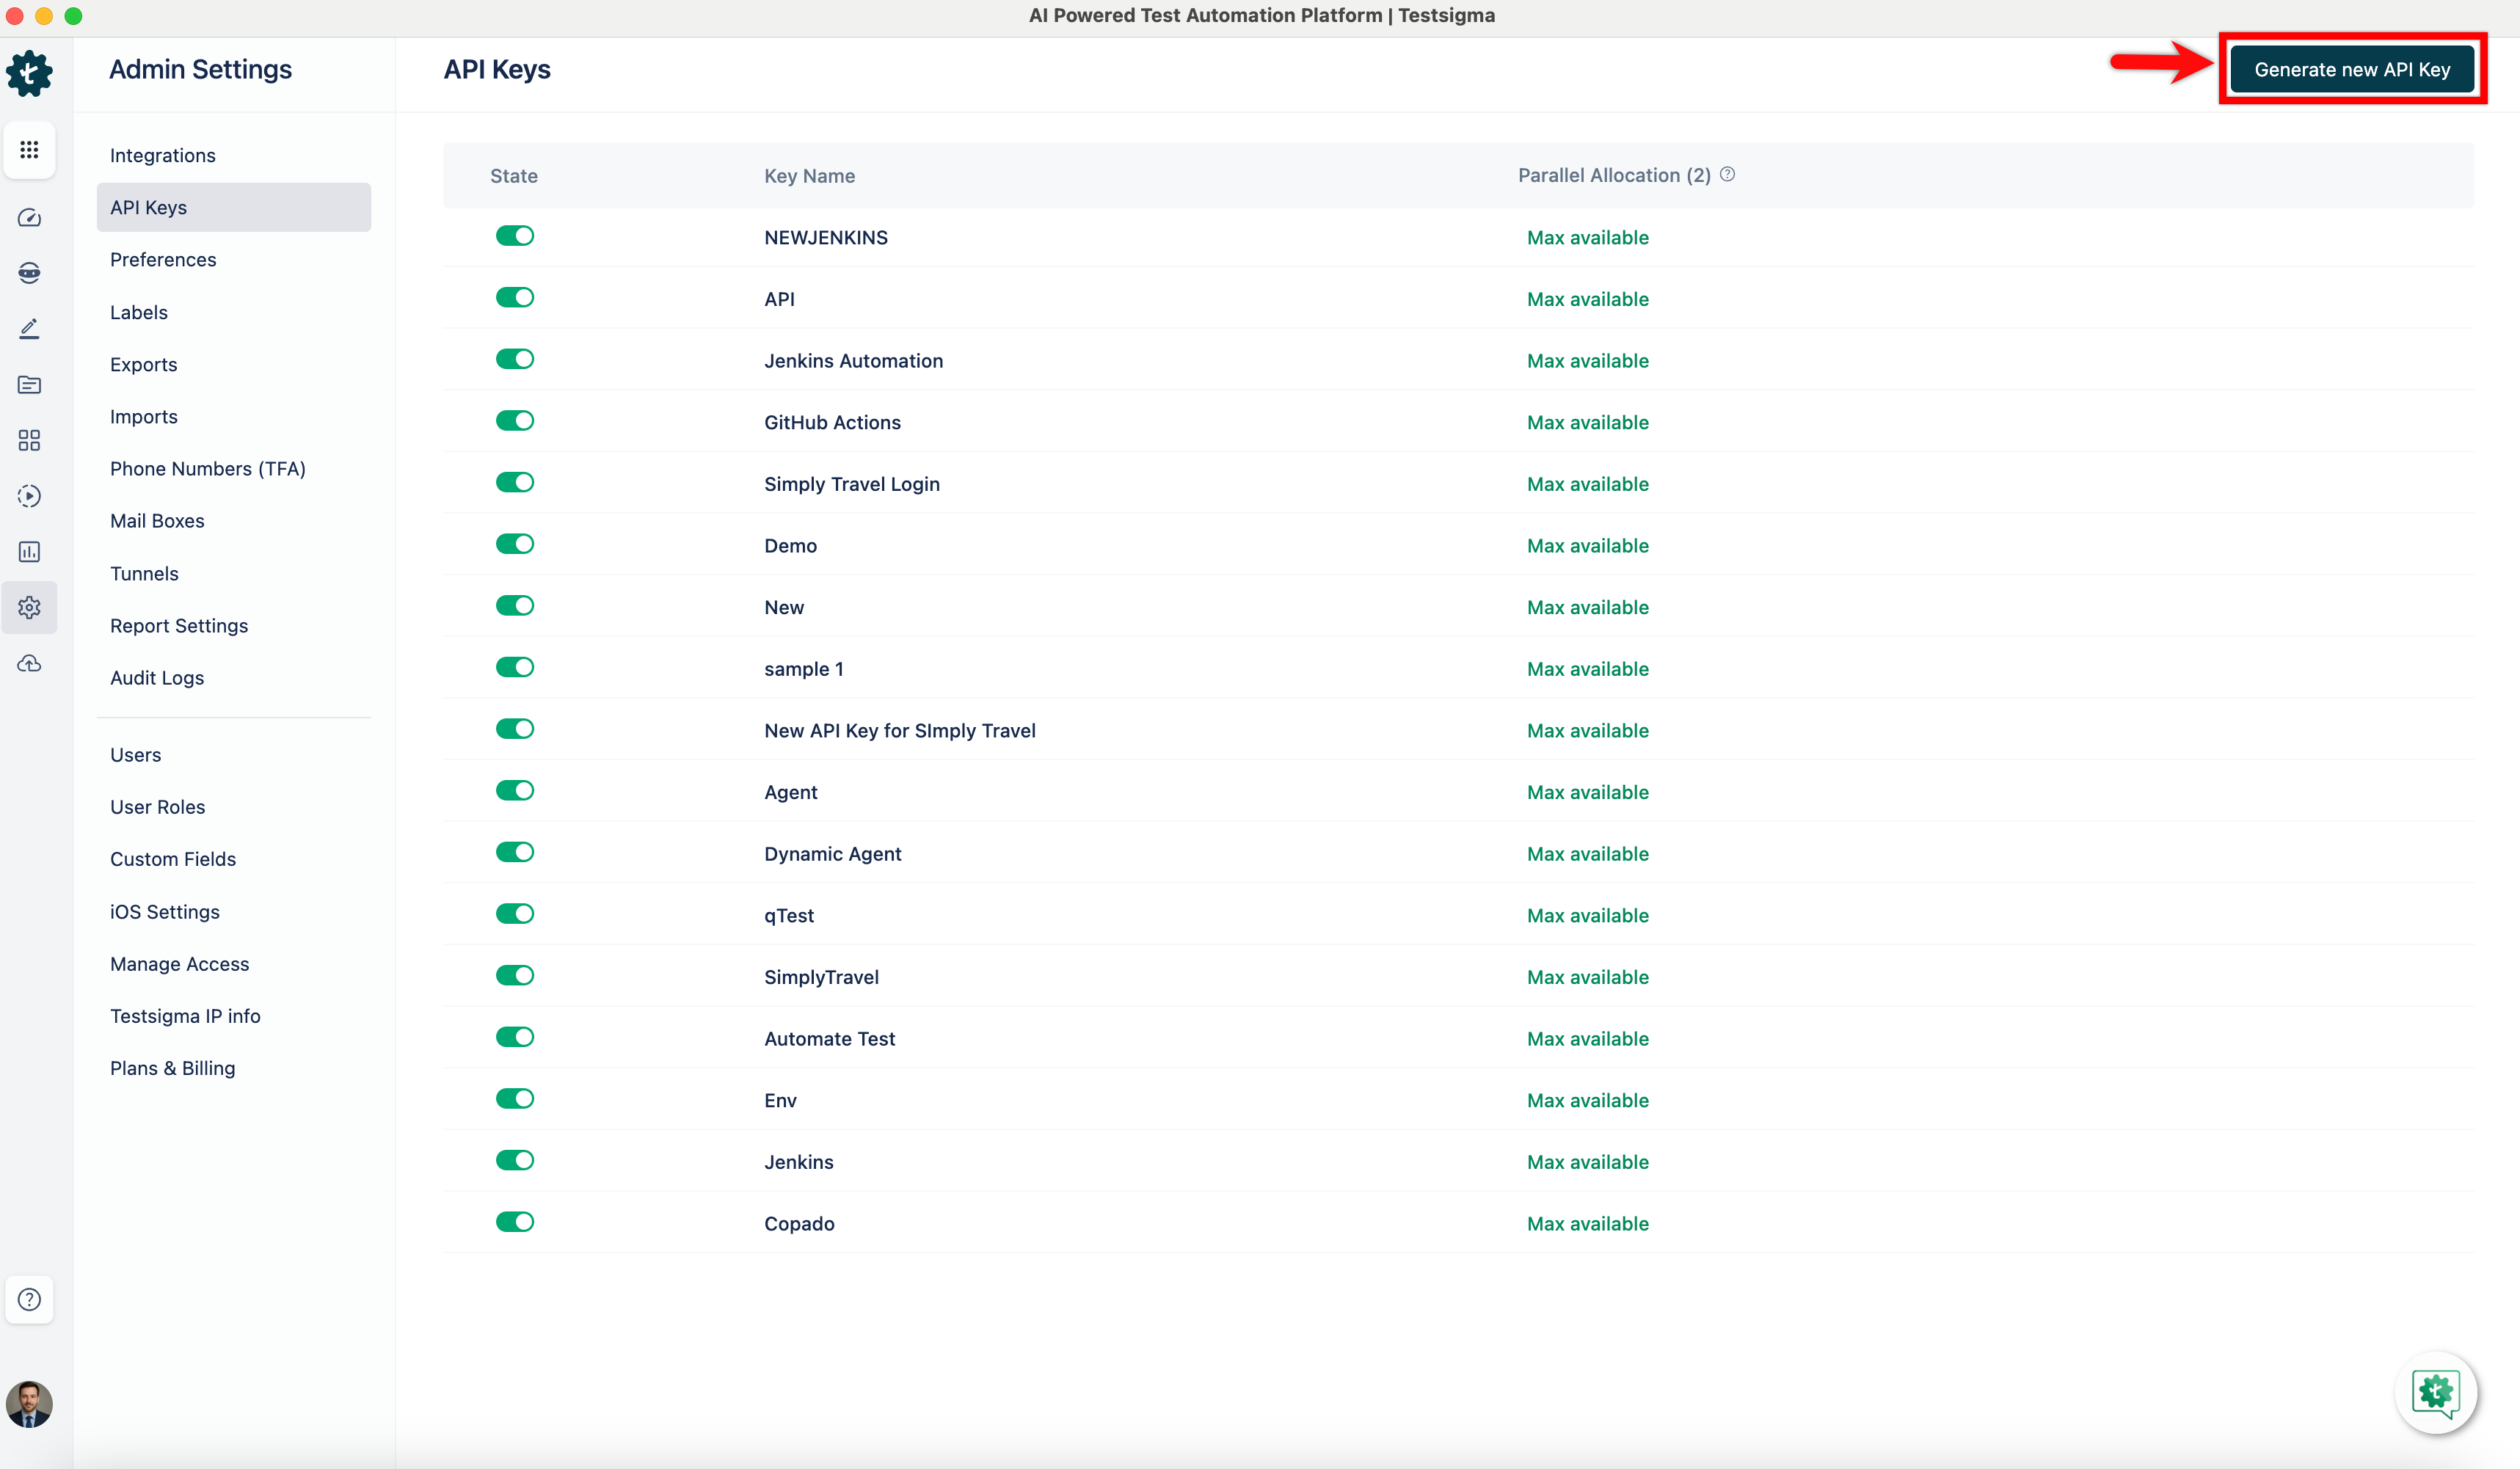
Click the Generate new API Key button in the top right corner of the screen on the API Keys page, and a Generate API Key pop-up overlay will appear.
-
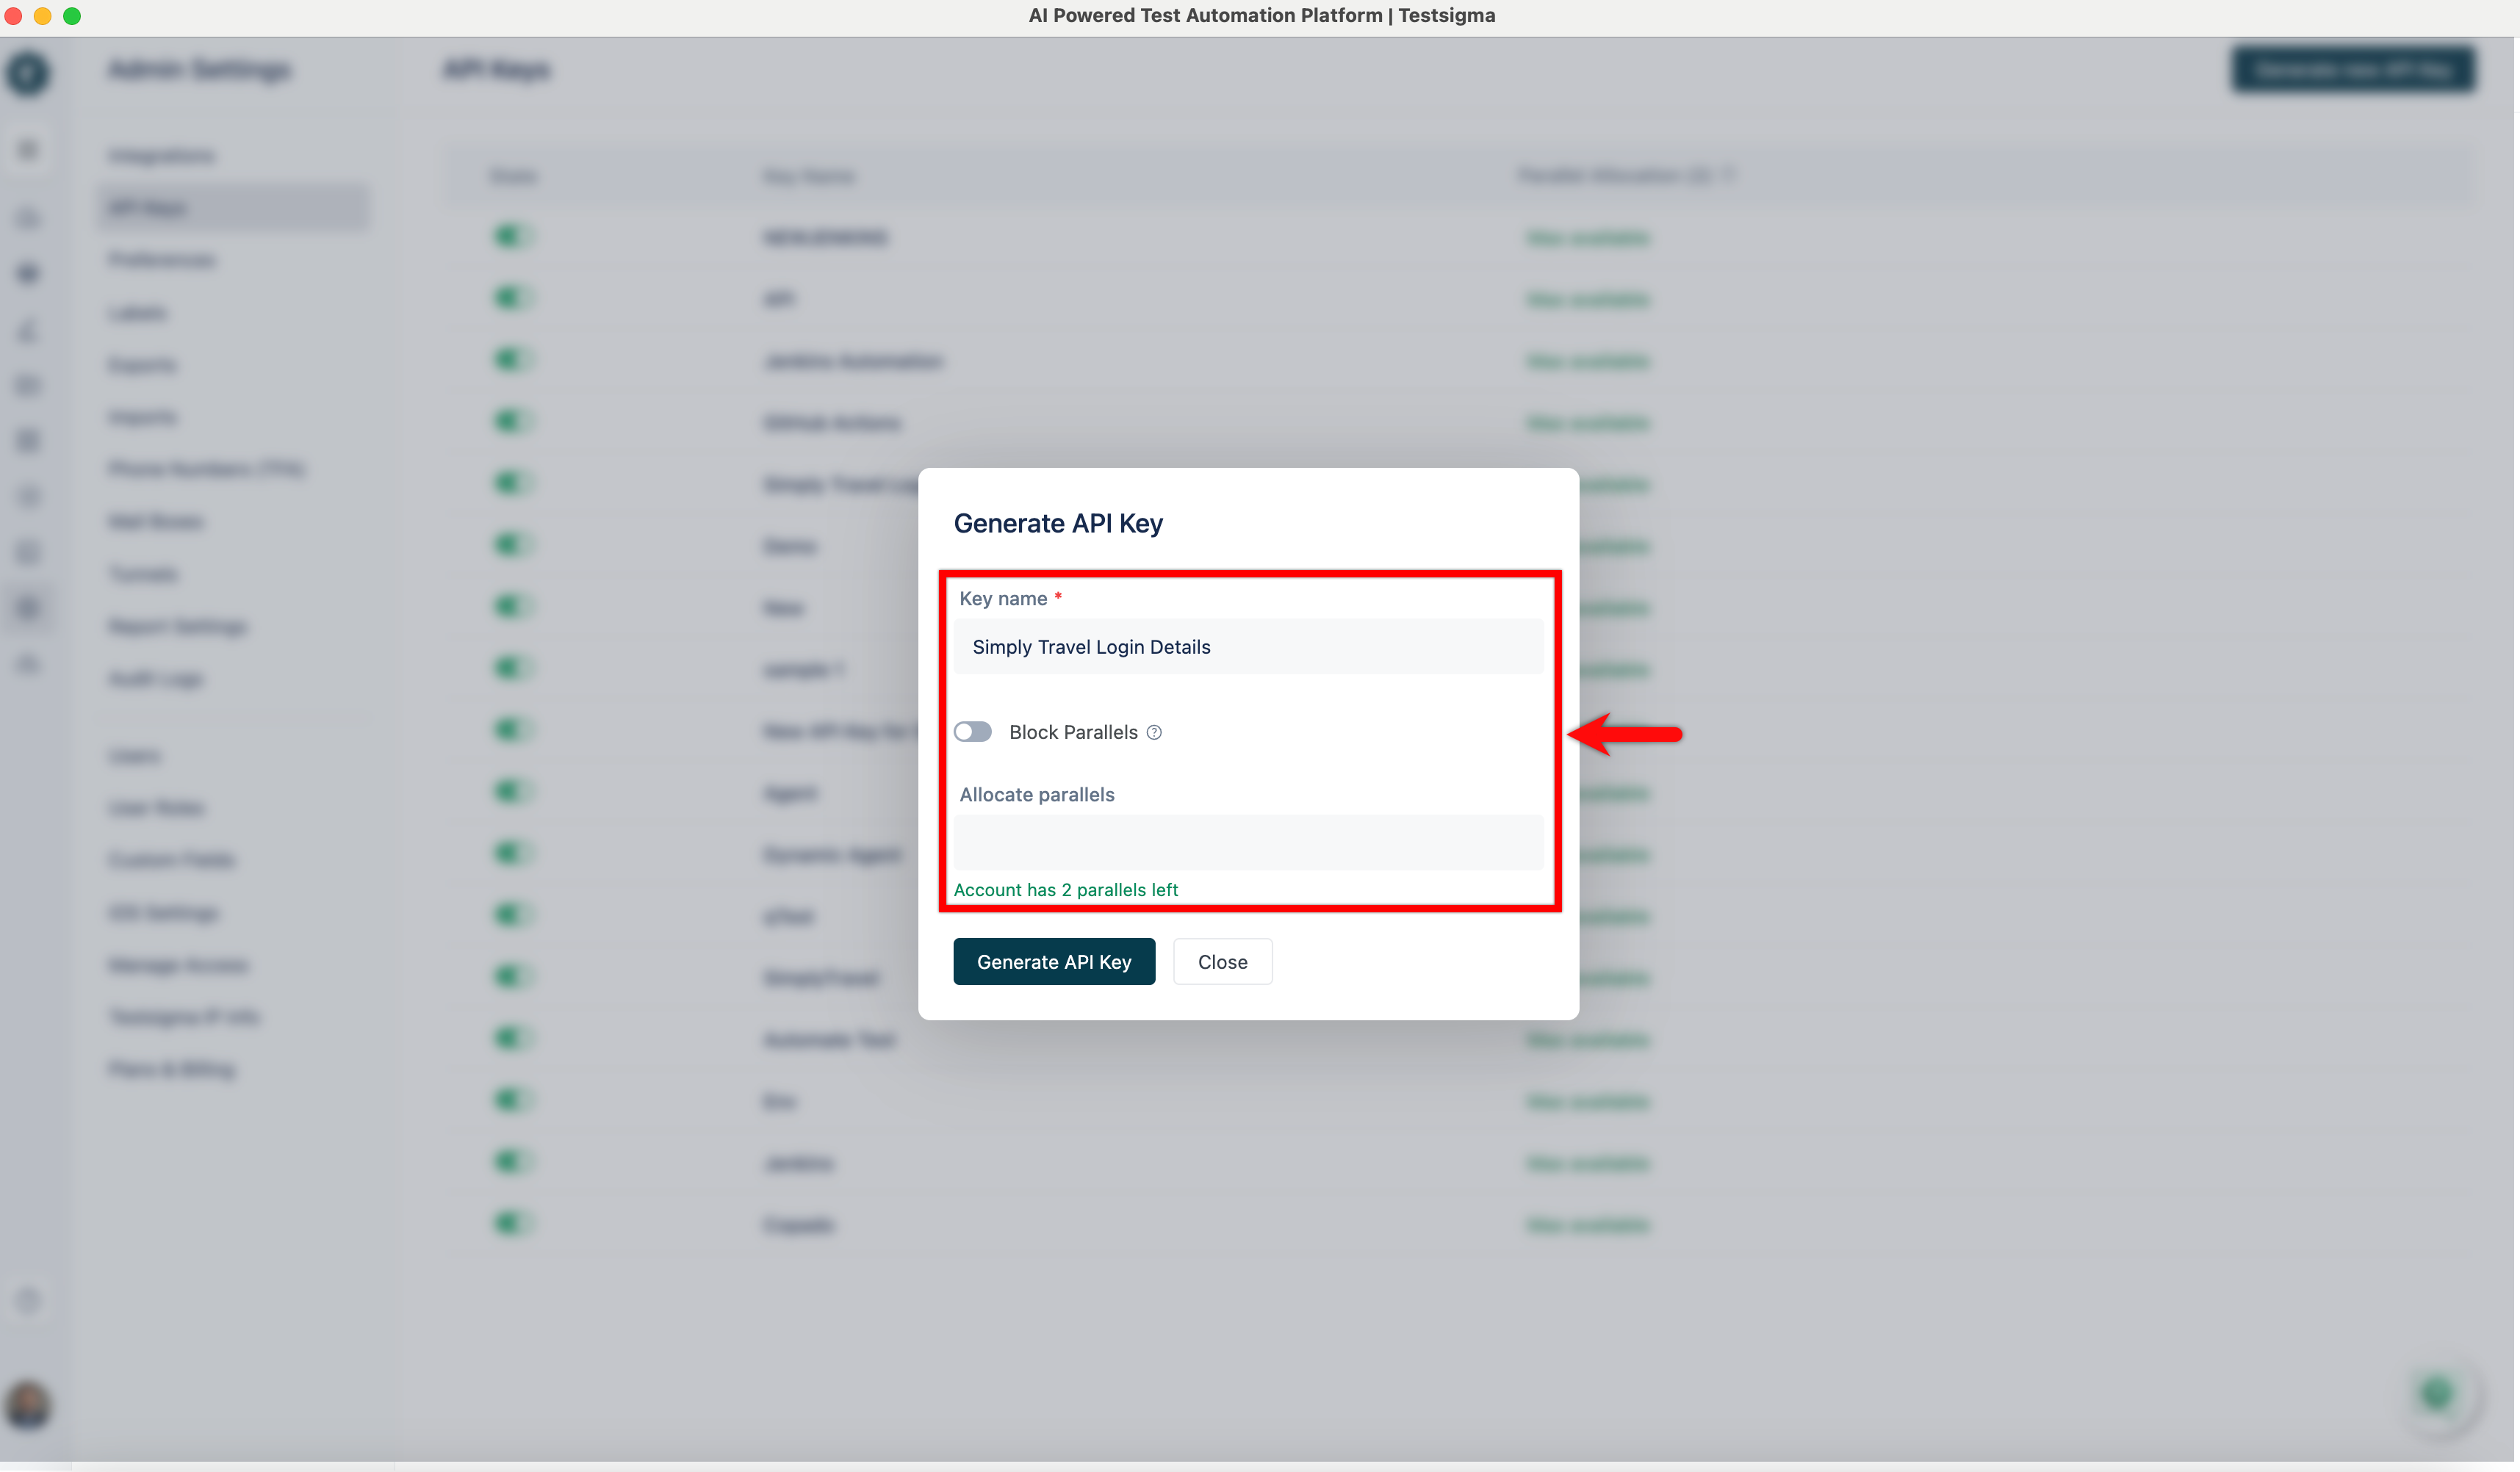
In the pop-up overlay for Generate API Key, you can enter a Name for your API Key and specify the number of parallel test executions for this key. The overlay provides a toggle for restricting parallel test execution for this key.
-
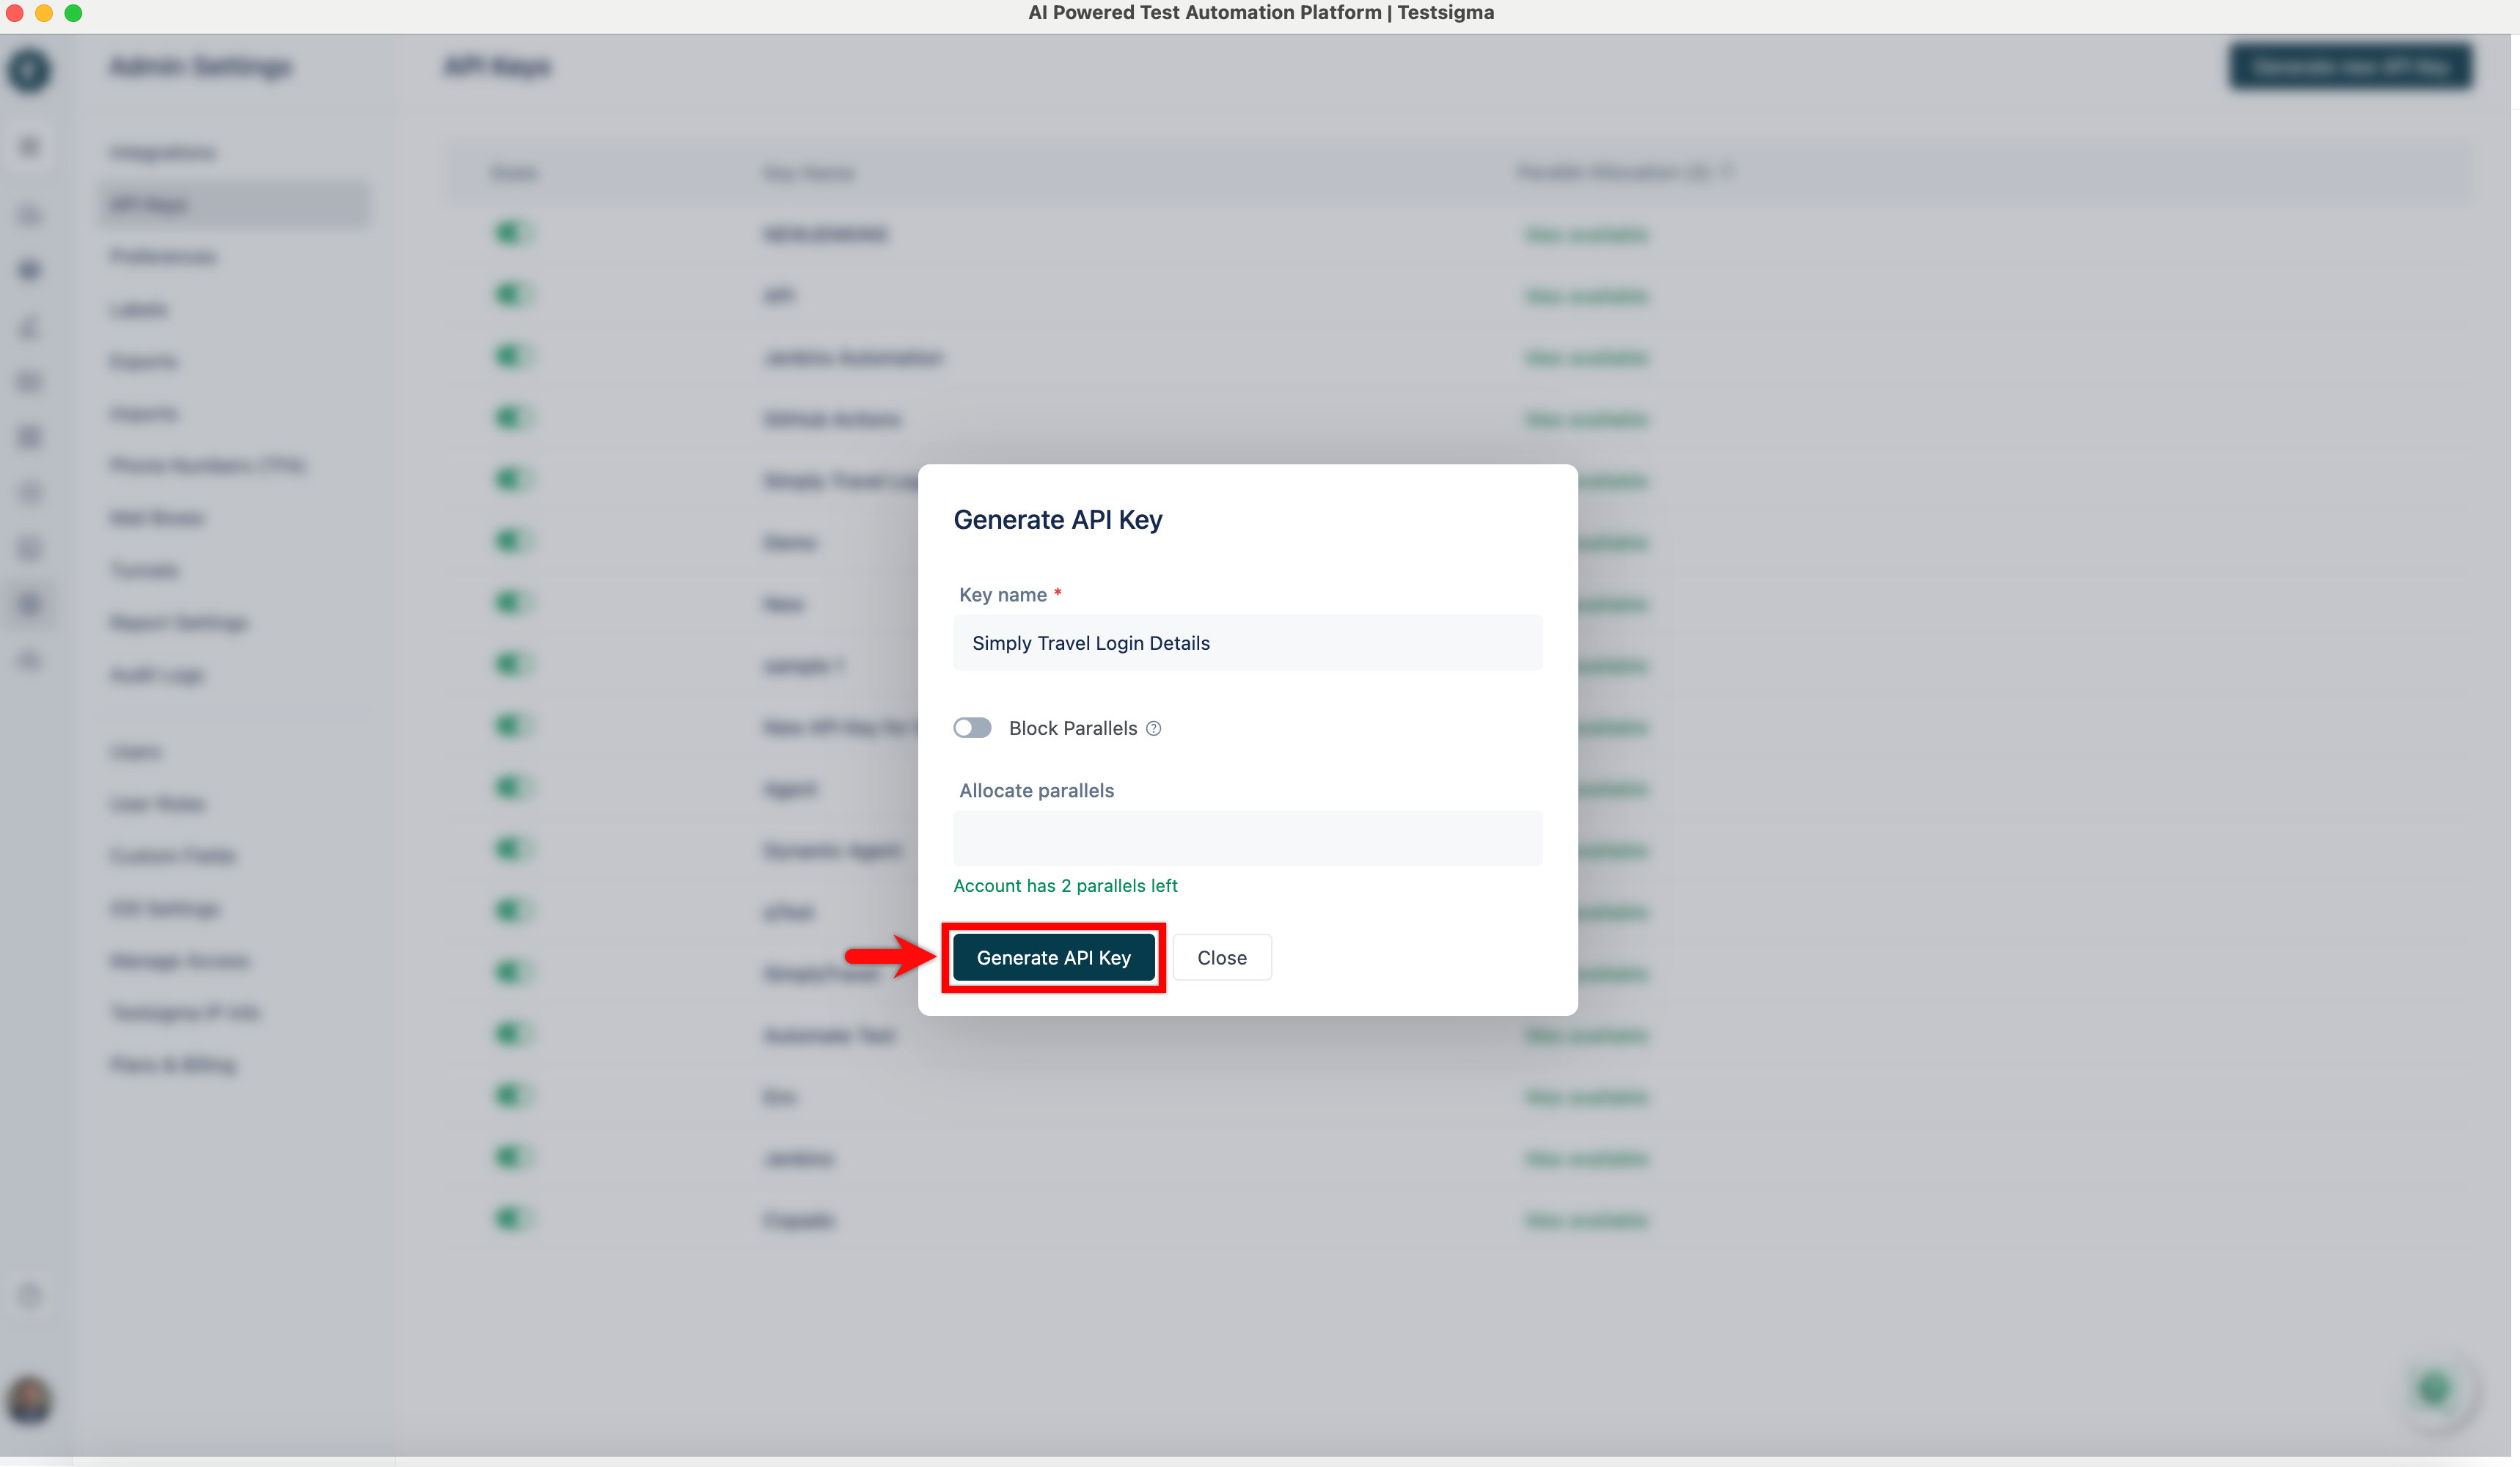
After entering a name and configuring parallel settings, click the Generate Key button.
-
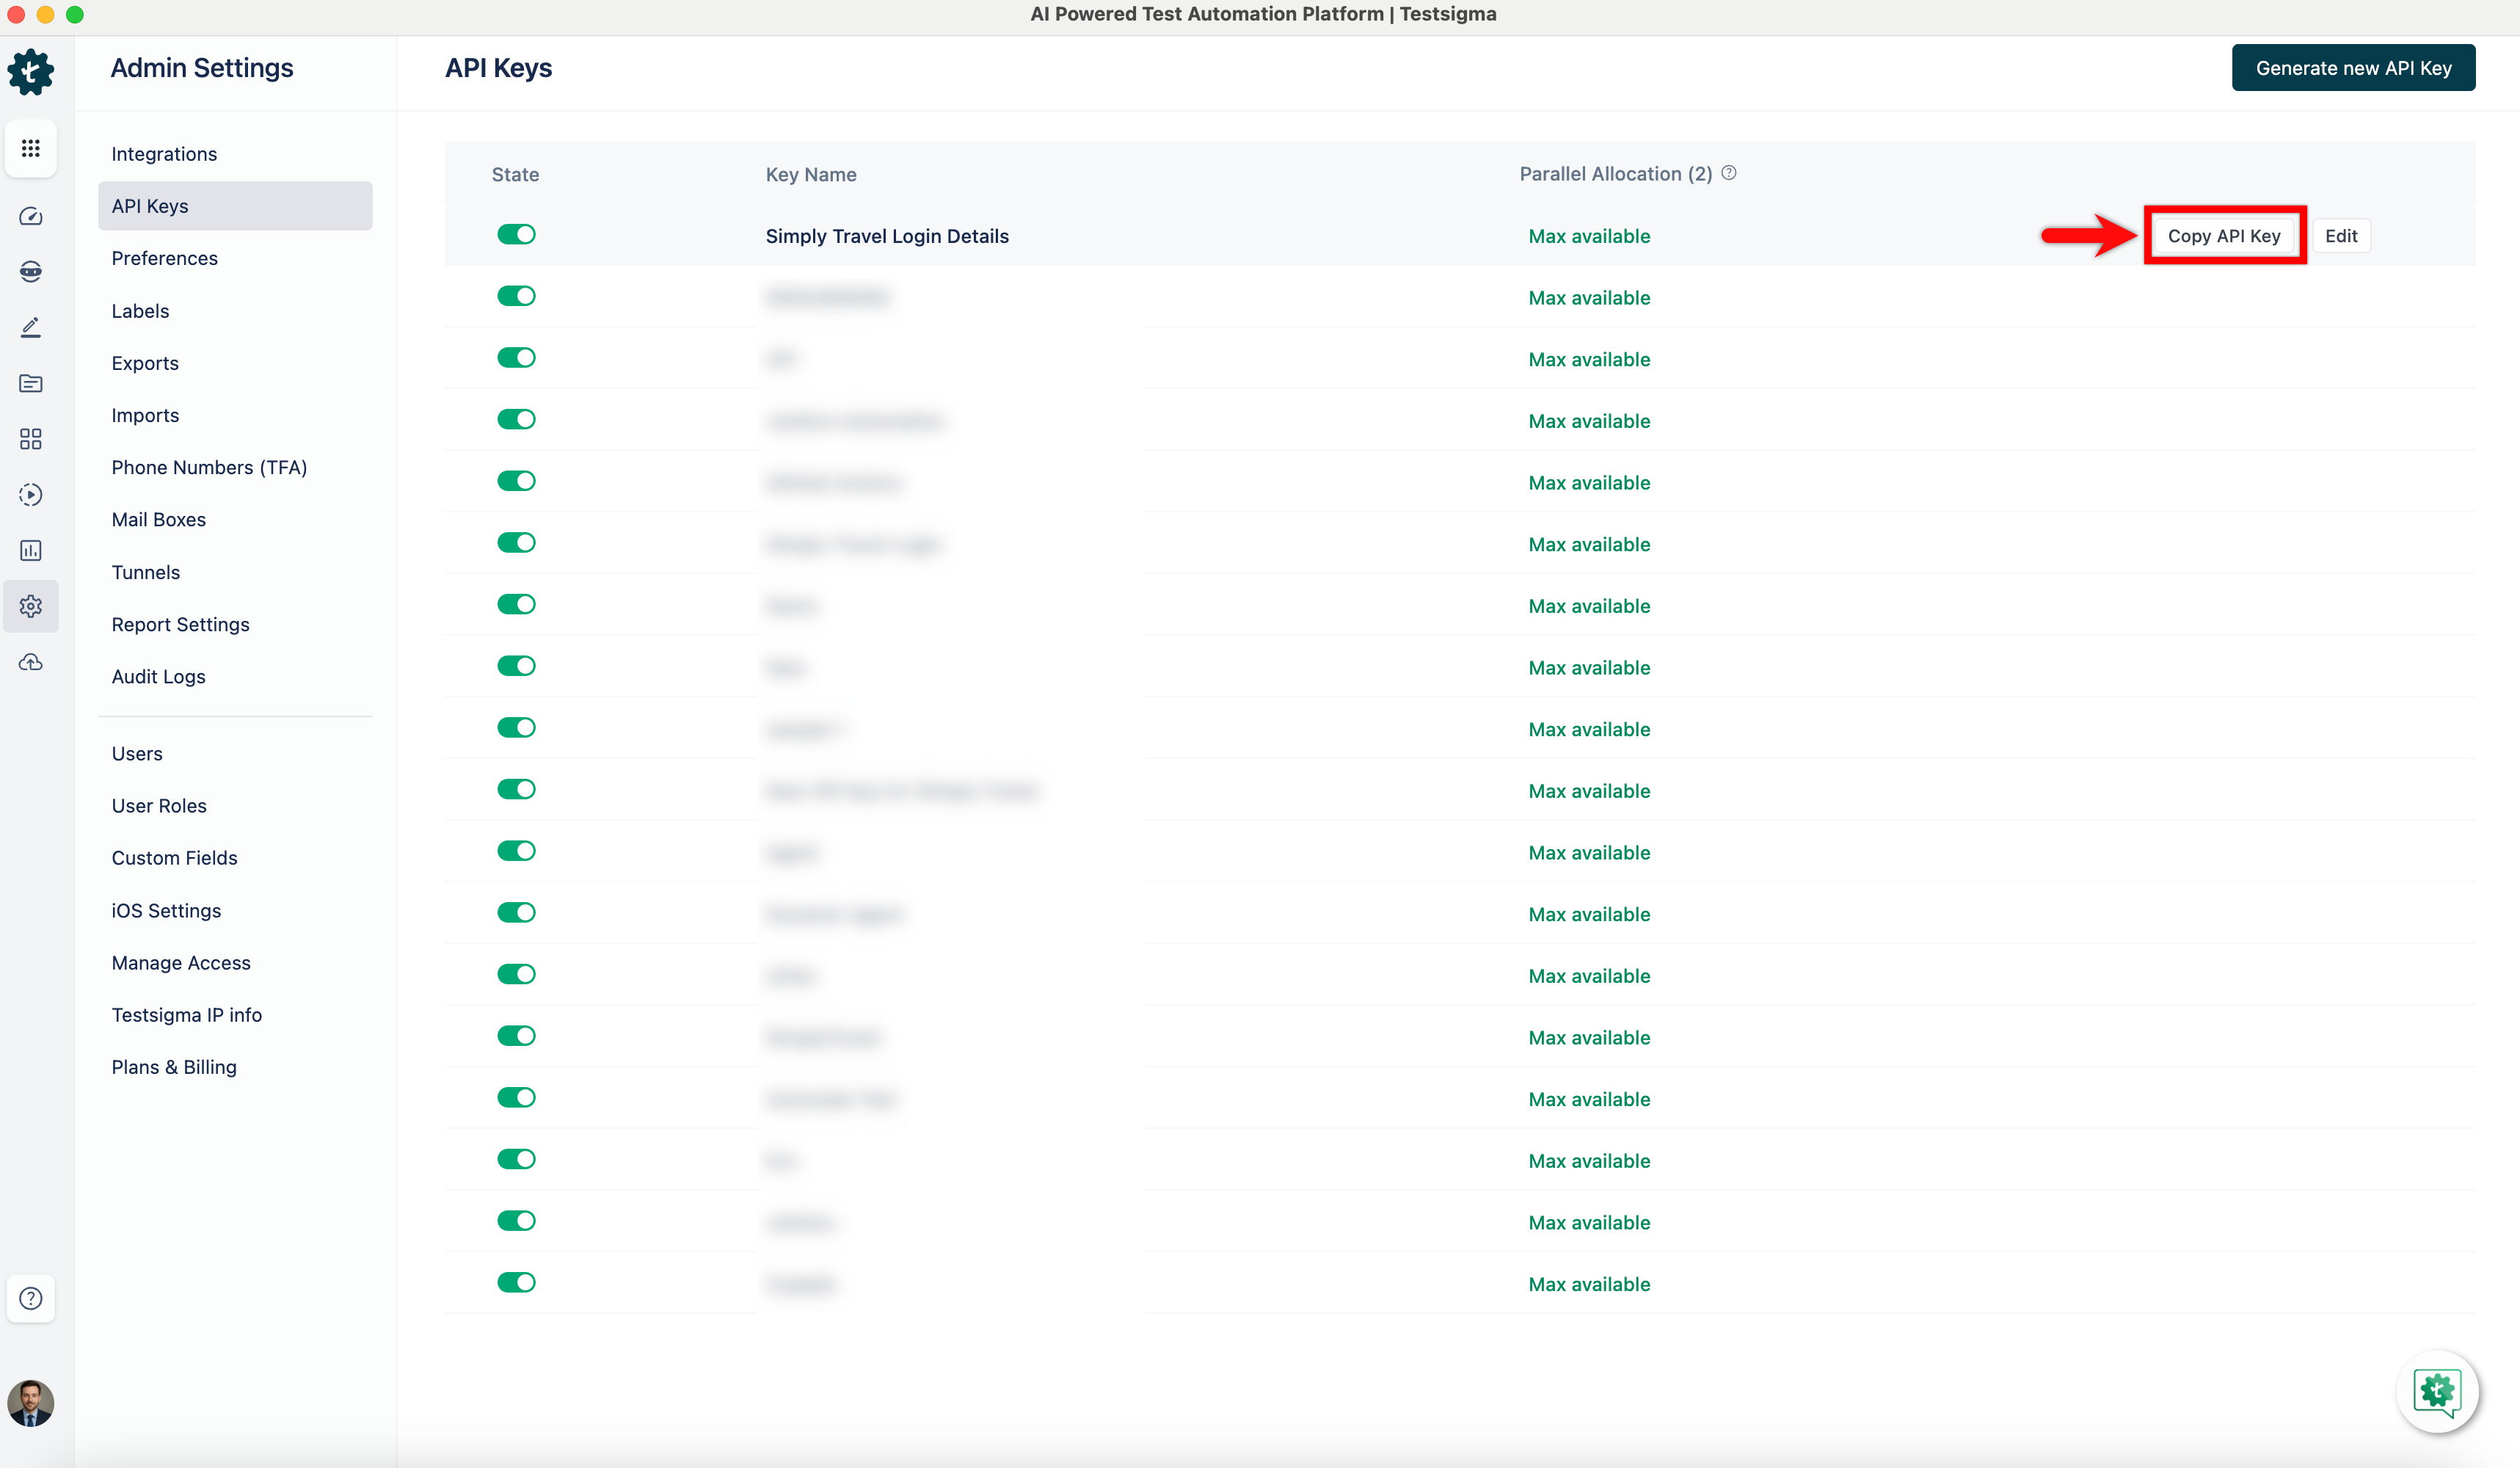
The API key will be displayed on the screen. Click the Copy API Key button to copy it to your clipboard for use in your applications or scripts.
[[info | NOTE:]] | Only users with Admin or Super Admin roles can generate API keys in Testsigma.