The upload of App Store screenshots is automated via fastlane.
First, you will want to generate the PNG files for the screenshots you want to update:
- You can use fastlane to post-process raw screenshots of the UI to add some marketing design around them.
- Alternatively, if your designer already provided some pre-generated PNG files for you to use, you can put them directly in the right folders for fastlane to pick them up in the next phase.
Then, you will use update_metadata_on_app_store_connect with_screenshots:true to upload those PNG files to App Store Connect.
This step takes the raw screenshots placed in the screenshots/ (WordPress) / jetpack_screenshots/ (Jetpack) folders, and apply some post-processing based on the instructions from the fastlane/screenshots.json (WordPress) / fastlane/jetpack_screenshots.json (Jetpack) config files, including
- Framing the raw screenshots into an image of an iPhone frame
- Adding some marketing texts from
fastlane/appstoreres/{metadata,jetpack_metadata}/<locale>/app_store_screenshot_*.{txt,html}on the image
To run the automation to post-process the raw screenshots into promotional screenshots, run:
bundle exec fastlane create_promo_screenshotsfor WordPressbundle exec fastlane create_jetpack_promo_screenshotsfor Jetpack
Also, the marketing text added on those screenshots is localized. If you update the copies you will need to ensure they also go through translation by following this process before you can create the promo screenshots with localized copies:
- First, update the
fastlane/appstoreres/{metadata,jetpack_metadata}/source/promo_screenshot_*.txtfiles with new English copies - During the release process, those new copies will be imported into GlotPress (see
update_appstore_stringslane) - Once those copies have been translated in GlotPress, run
bundle exec fastlane download_promo_strings(WordPress) /bundle exec fastlane download_jetpack_promo_stringsto update thefastlane/appstoreres/{metadata,jetpack_metadata}/<locale>/*.{txt,html}files with those translated copies
Instead of going through the 2 sections above to generate the screenshots from the app's current UI for all locales, maybe you instead already have pre-designed PNG files provided by your designer that you'll just want to use as-is.
In that case, you just need to put those files in the approprate folders for the fastlane automation from the next section to find them and upload them to App Store Connect.
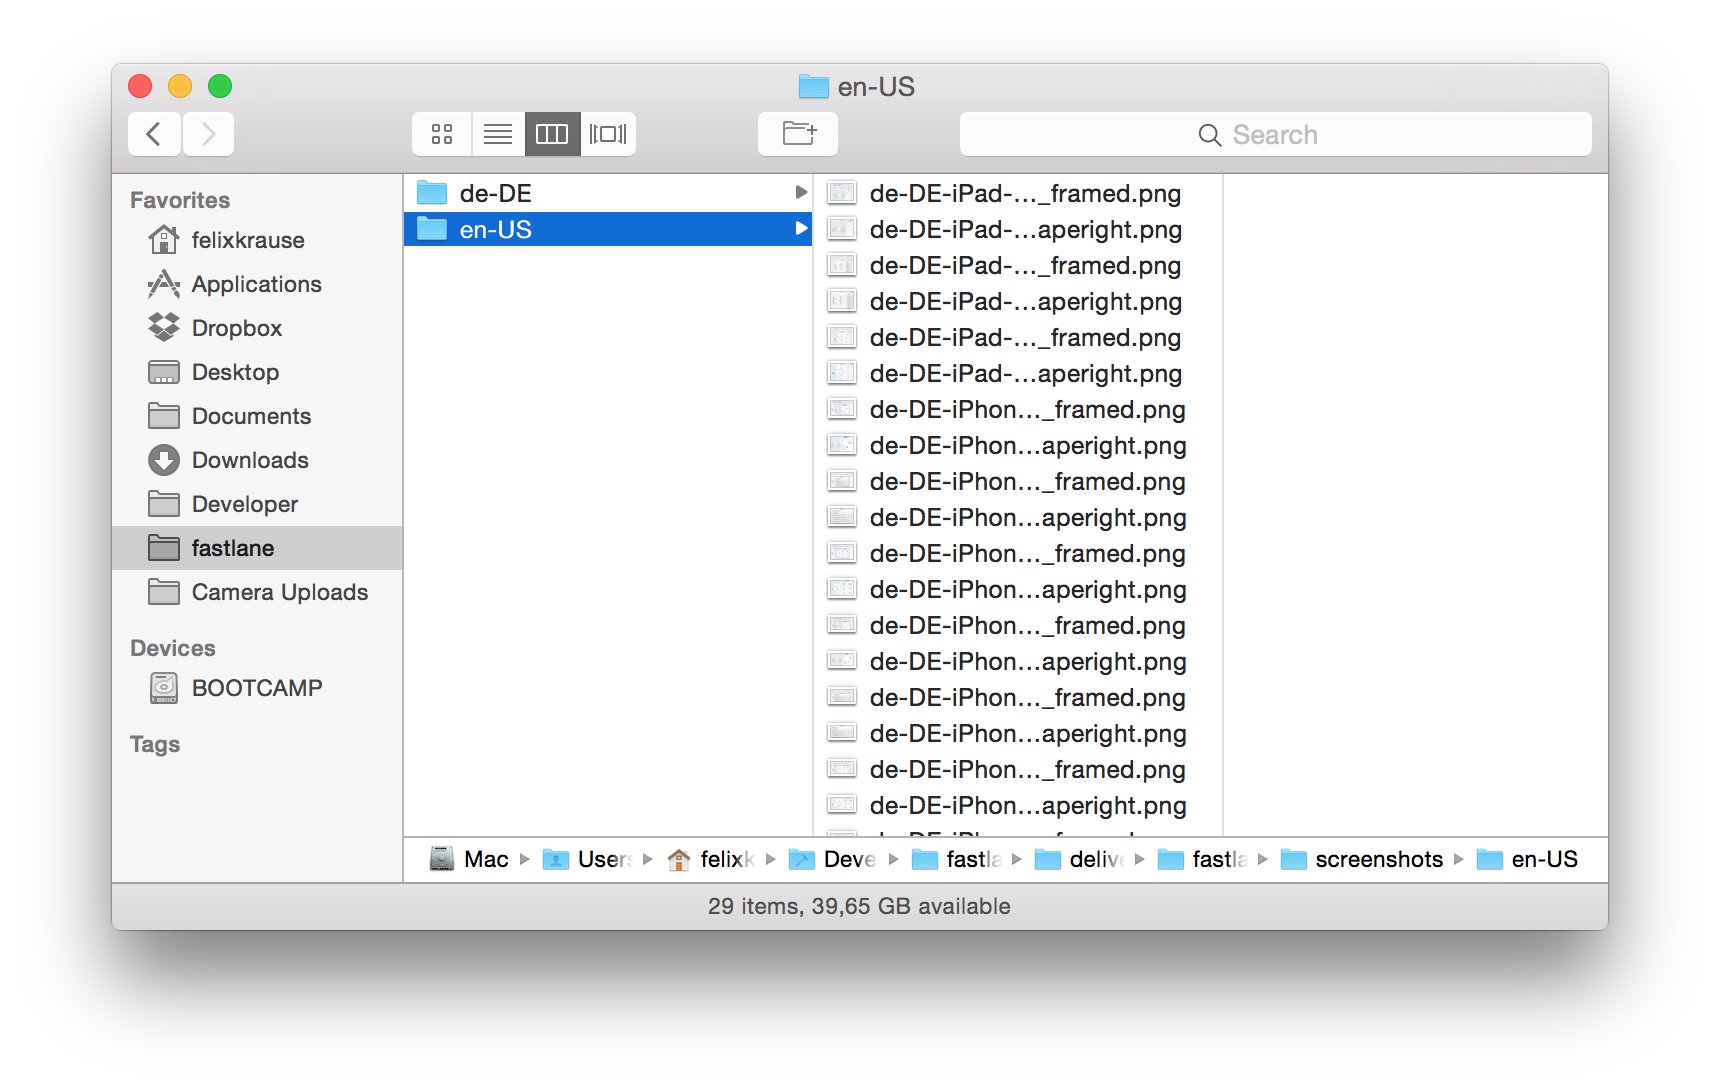
- WordPress final promotional screenshots should be placed in
fastlane/promo_screenshots/<locale>/*.png - Jetpack final promotional screenshots should be placed in
fastlane/jetpack_promo_screenshots/<locale>/*.png
Fastlane will auto-detect the device type each screenshot is for based on the image resolution. Screenshots will be uploaded in alphabetical order (which means you can use e.g. numbers in file names to enforce the order the screenshots will appear in the App Store)
Your fastlane/promot_screenshots/ folder should thus look something like this
If you don't want to provide dedicated localized screenshots for some locales (and make the App Store fall back to the English ones instead), be sure to delete any potential old <locale>/*.png files that might be present in your filesystem from a past iteration, to avoid fastlane to pick up those old files.
Once all the final screenshot PNG files have been put in the right fastlane/{jetpack_,}promo_screenshots/<locale>/*.png location:
- Run
update_metadata_on_app_store_connect with_screenshots:trueto upload the screenshots for both WordPress and Jetpack - Or run just
update_wordpress_metadata_on_app_store_connect with_screenshots:trueto only upload them for the WordPress app - Or run just
update_jetpack_metadata_on_app_store_connect with_screenshots:trueto only upload them for the WordPress app
Note
Those lanes not only uploads the screenshots to ASC, but also the other textual metadata (app title, subtitle, etc…) for those apps.